Using Nvm
How To Manage Node Version On Windows Using nvm
nvm stands for Node Version Manager. With its help, you can switch between multiple Node.js versions based on projects you are working on. You can install nvm-windows and use it to install Node.js and manage versions of multiple installations.
Prerequisite
Delete any existing Node.js installation directories - which is probably C:\Program Files\nodejs - you can just simply remove Node.js app from Apps.
Download nvm
- Go to the official repository to download nvm-windows. It looks like:
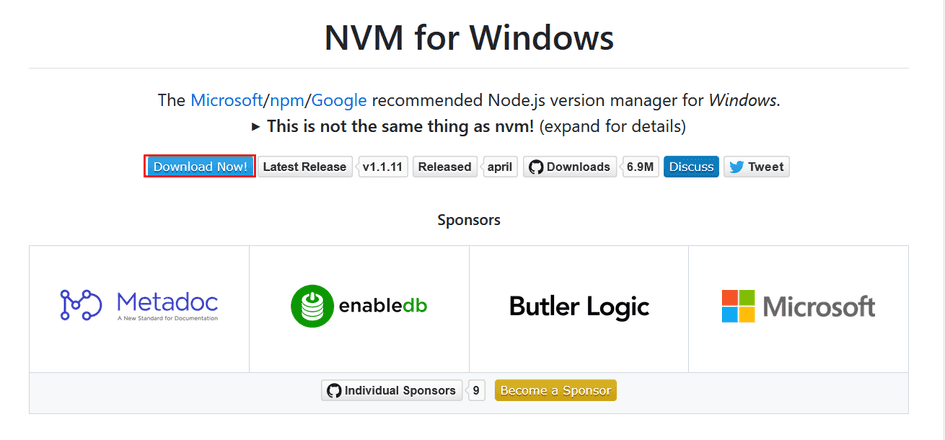
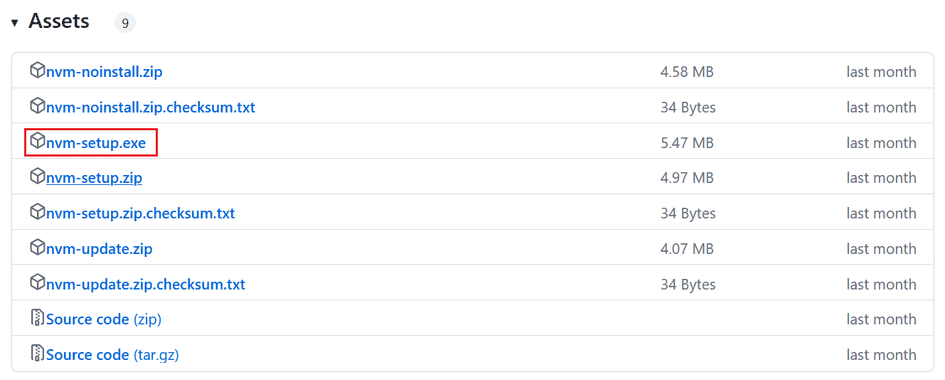
- After you click Download Now! and then, scroll down to Assets, click nvm-setup.exe to download nvm-windows.
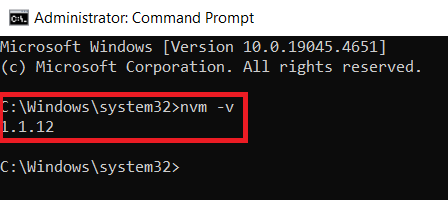
- Open the setup file and follow the installation wizard to install it. Once finished, you can open Command Prompt as an administrator to confirm the installation. To do it, enter nvm -v as shown below:
Install Node
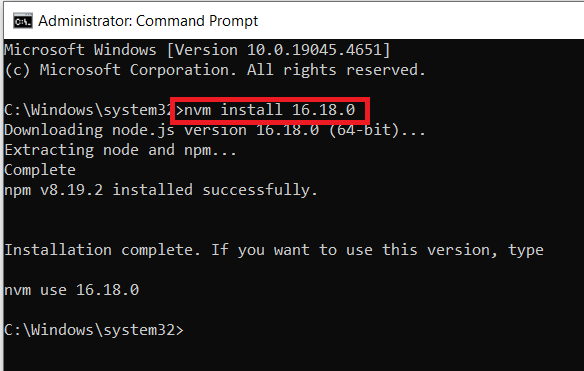
- Open Command Prompt as an administrator. Enter nvm install target-node-version-number as shown below:
- You can also check out the list of Node versions to install entering nvm list available. So, feel free to install any version you want to use.
Choose Node Version
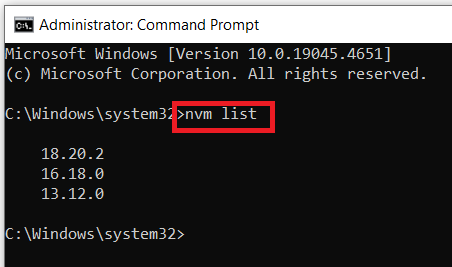
- To check out Node versions installed on a machine, enter nvm list. It will show us the list of versions installed.
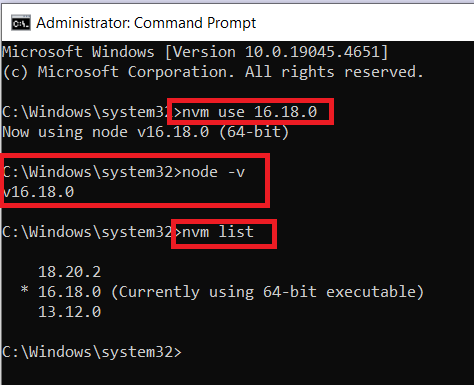
- To use one of the versions. Enter nvm use target-node-version-number and confirm the node version you choose entering node -v.
- If nvm-windows has been successfully installed, you are ready to handle different projects that are dependent on each of different Node versions.