Using Studio Appbar
Plateau Studio interface offers a multitude of intuitive features, designed to enhance your overall user experience. Explorer, a hub located on the left of the screen, which serves as your gateway to effortless navigation and efficient management of your projects.
Home Button
Located at the top left of the screen and redirects to Plateau Studio home page.
Tabs
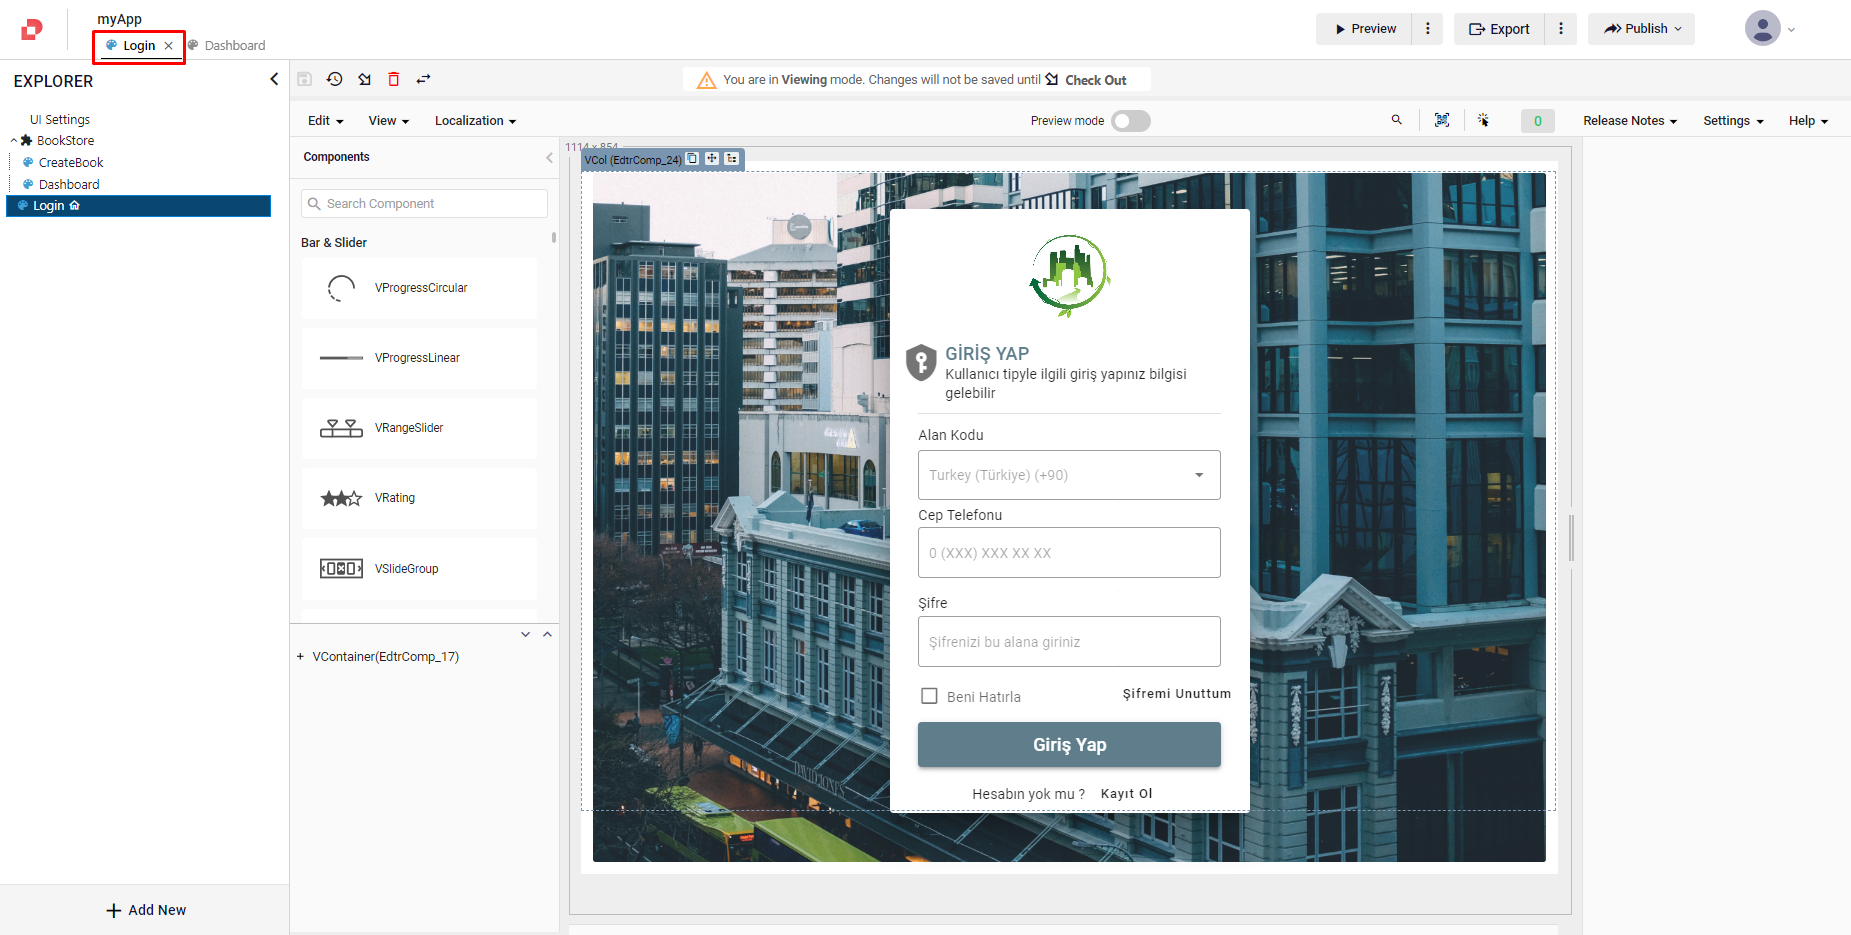
At the top of the UI Editor, you'll find a set of tabs designed to enhance your navigation experience between the models.
Located on the top of the UI Editor and under the application name.
Tabs allow you to effortlessly switch between different models you are working on.
If you wish to close a specific tab, simply click on the X located next to it. This action will remove the tab from view, keeping your workspace tidy and organized.
Explorer
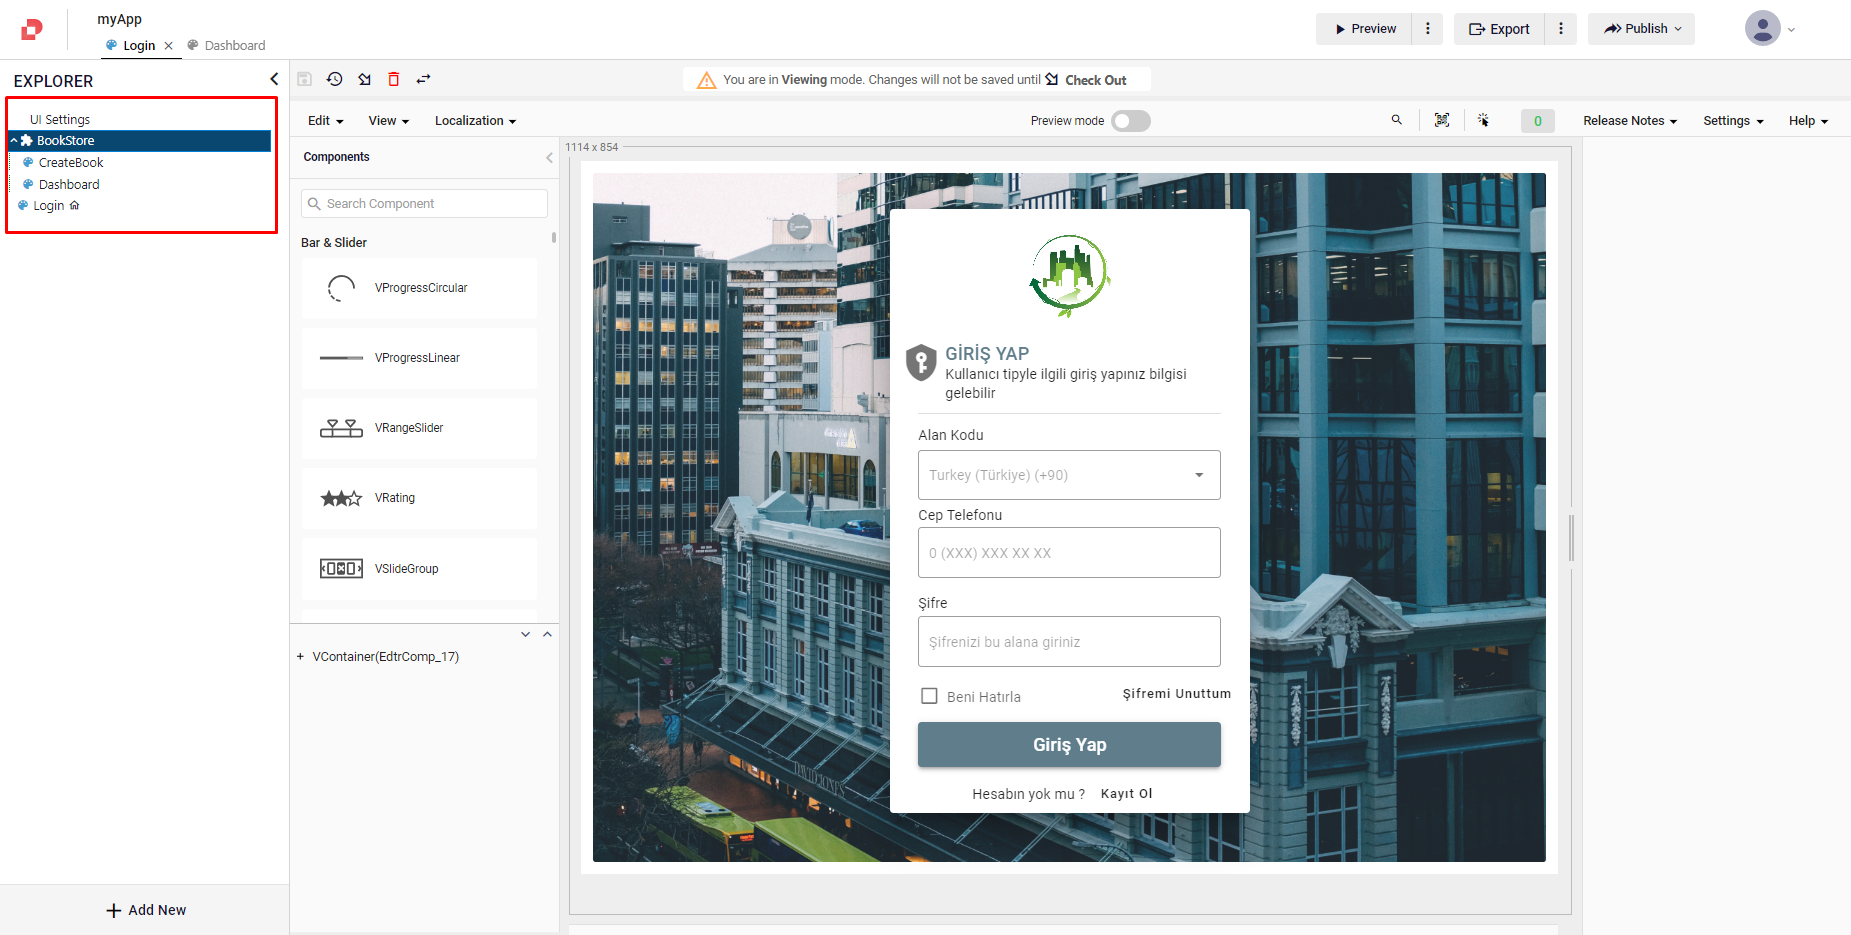
Explorer provides a hierarchical representation of your models and modules within your application in Plateau Studio. The explorer offers a structured display of various models, including UI screens, workflows, data modules, and more.
Expand and Collapse
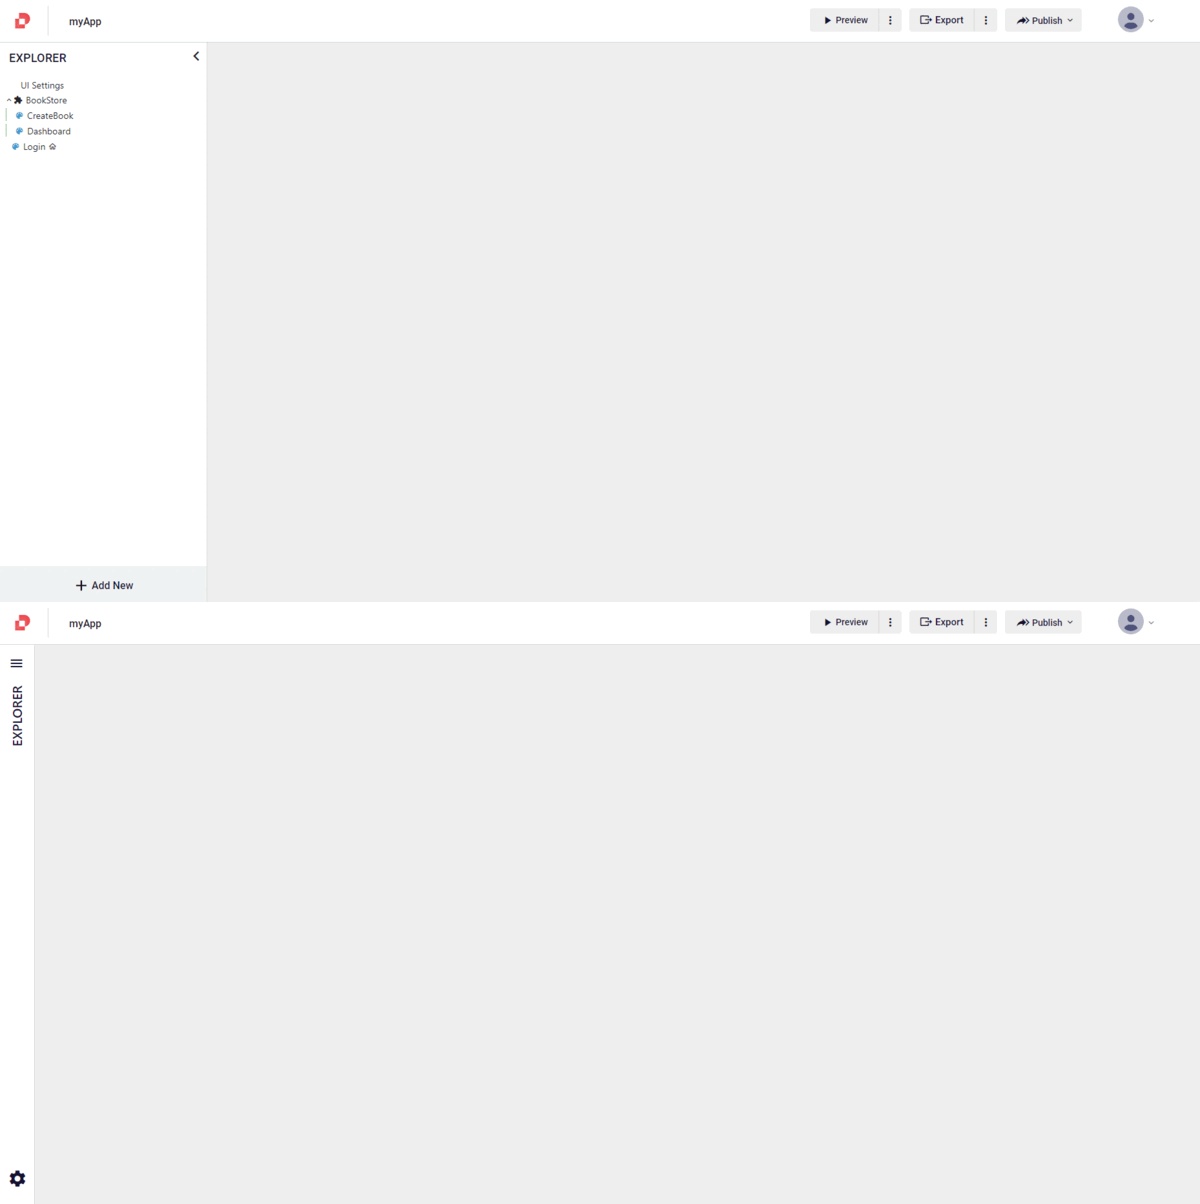
You can expand and collapse the explorer. This collapsible functionality enables you to focus on specific areas of interest and minimizing clutter.
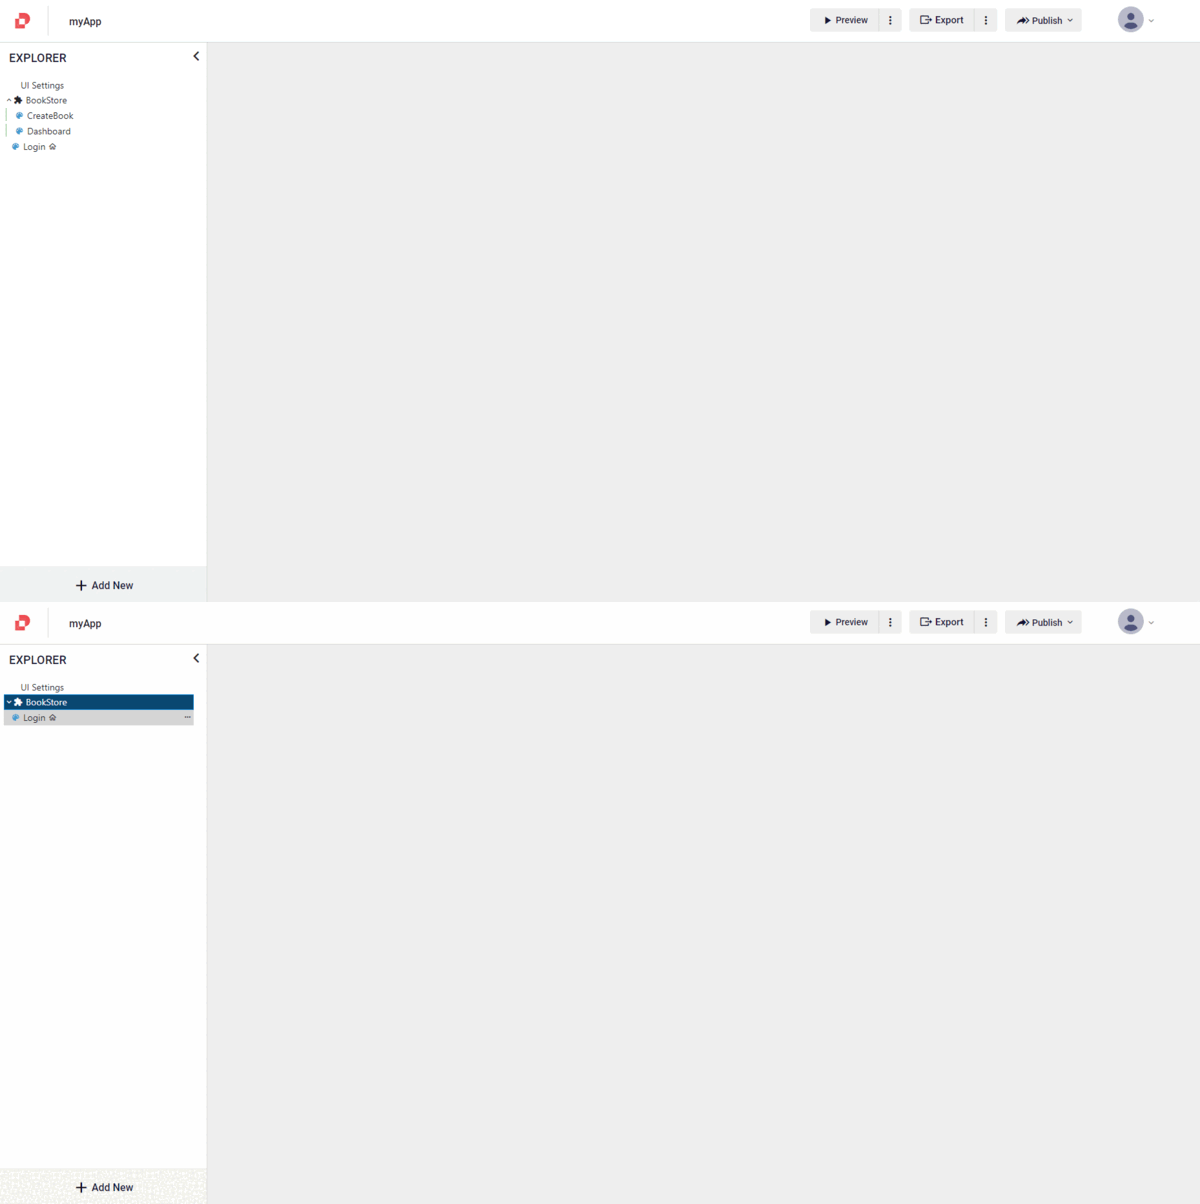
You can also expand and collapse your module details in your explorer window by clicking on them.
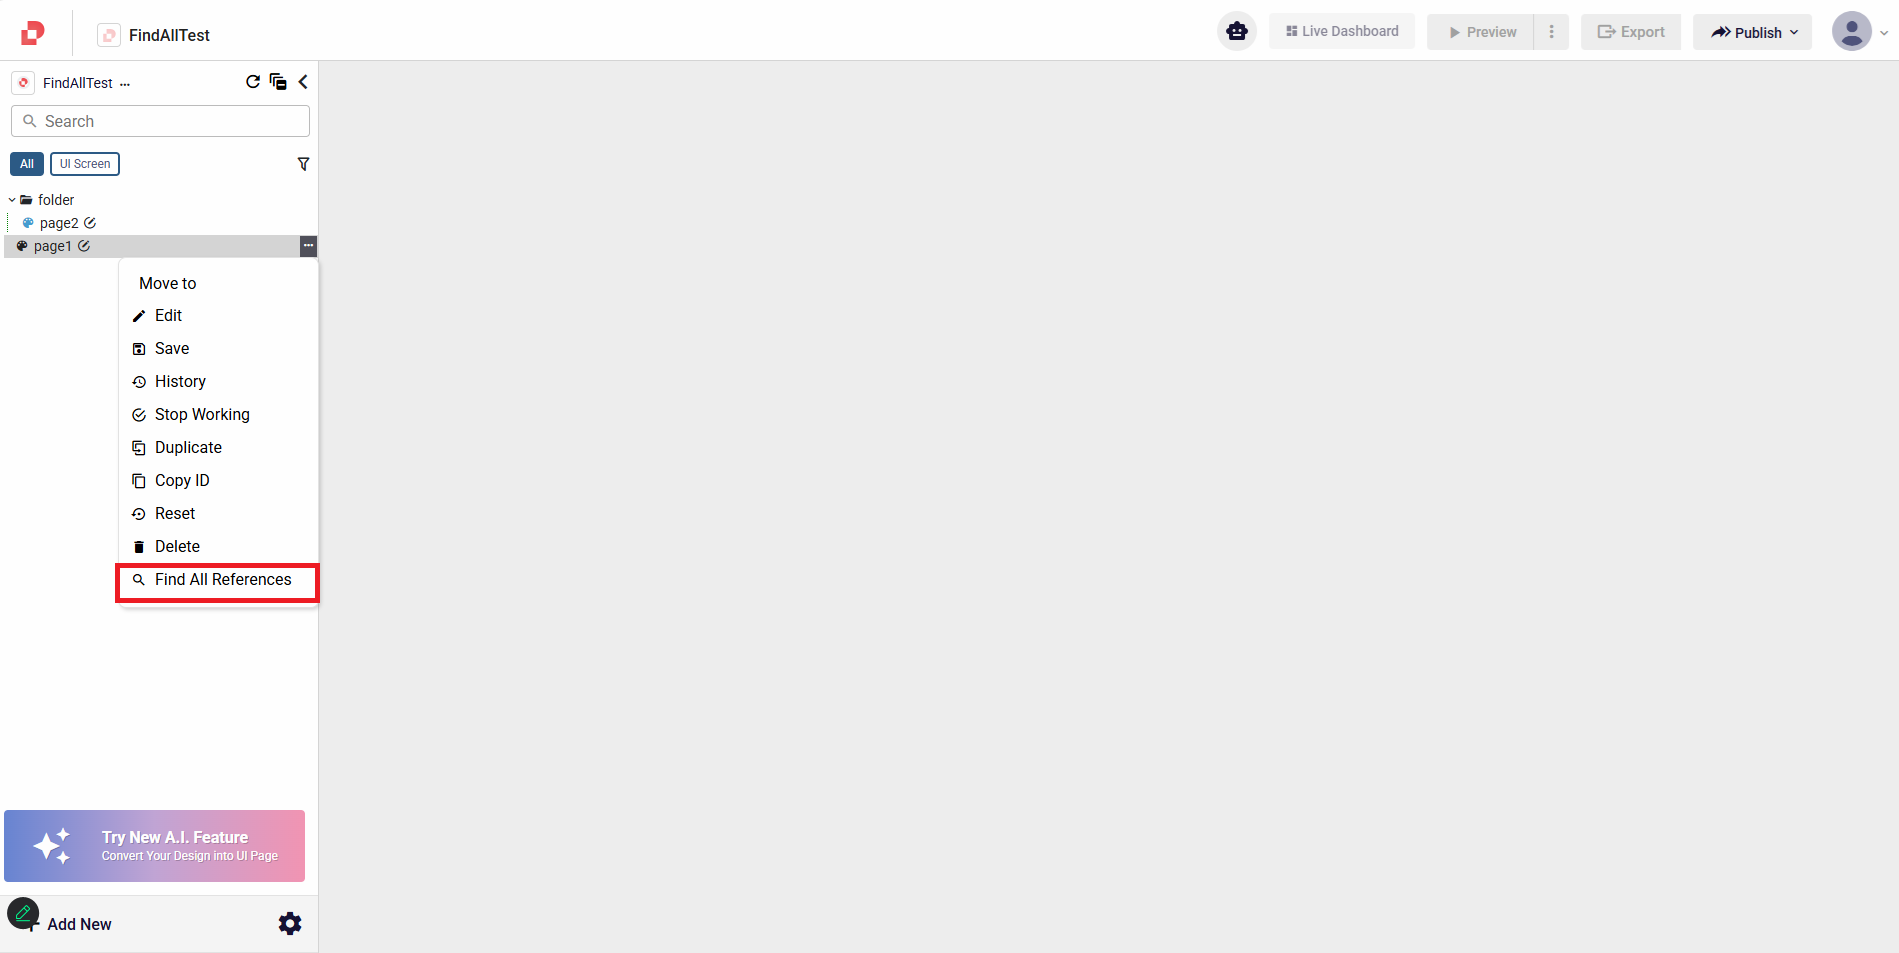
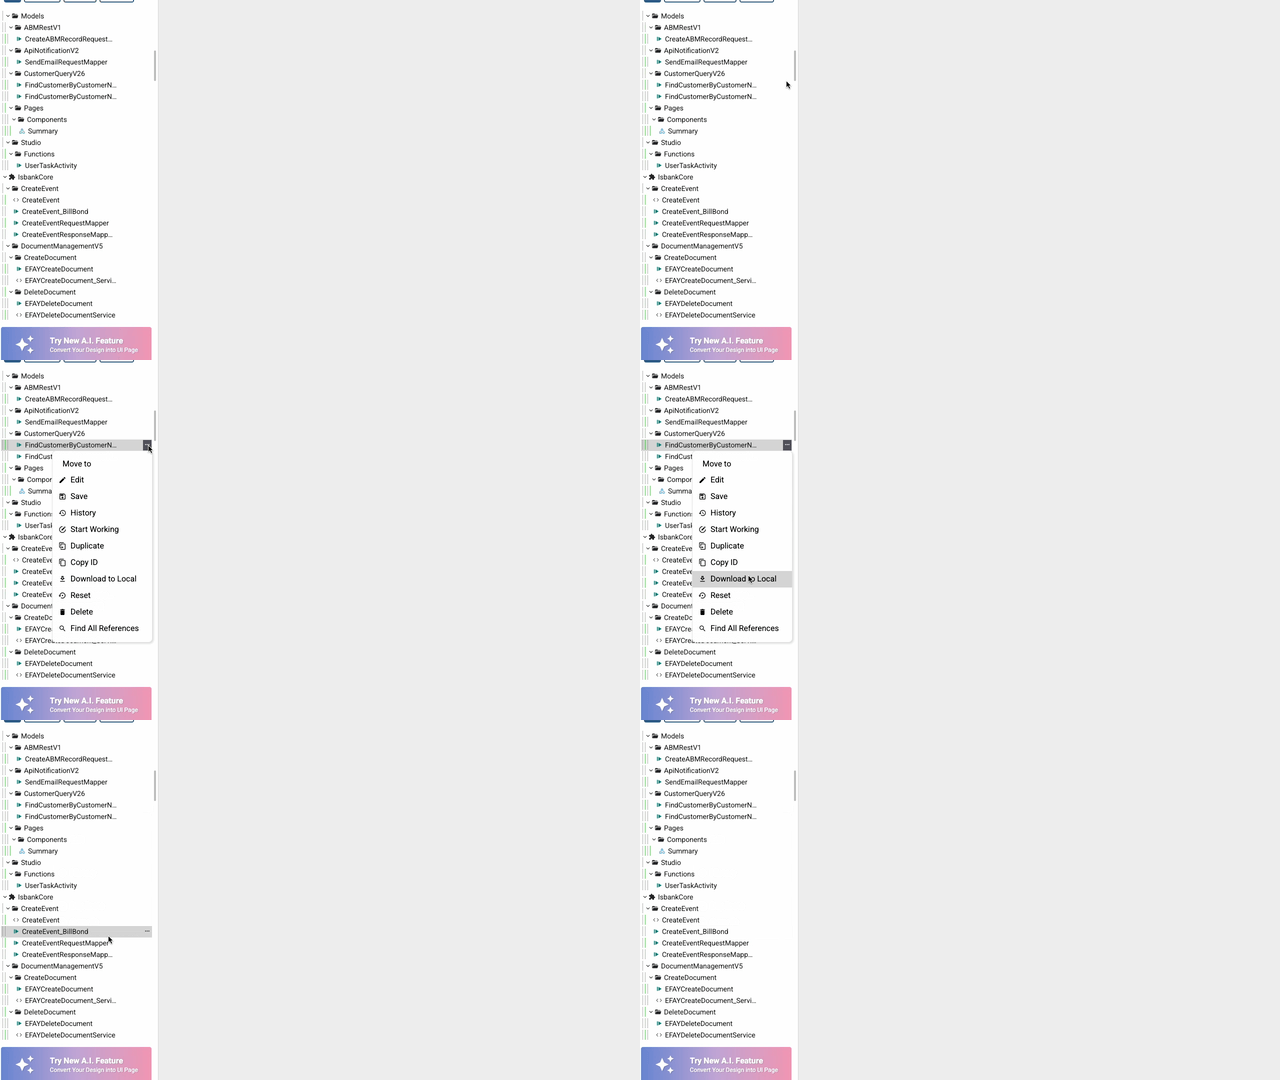
Find All References
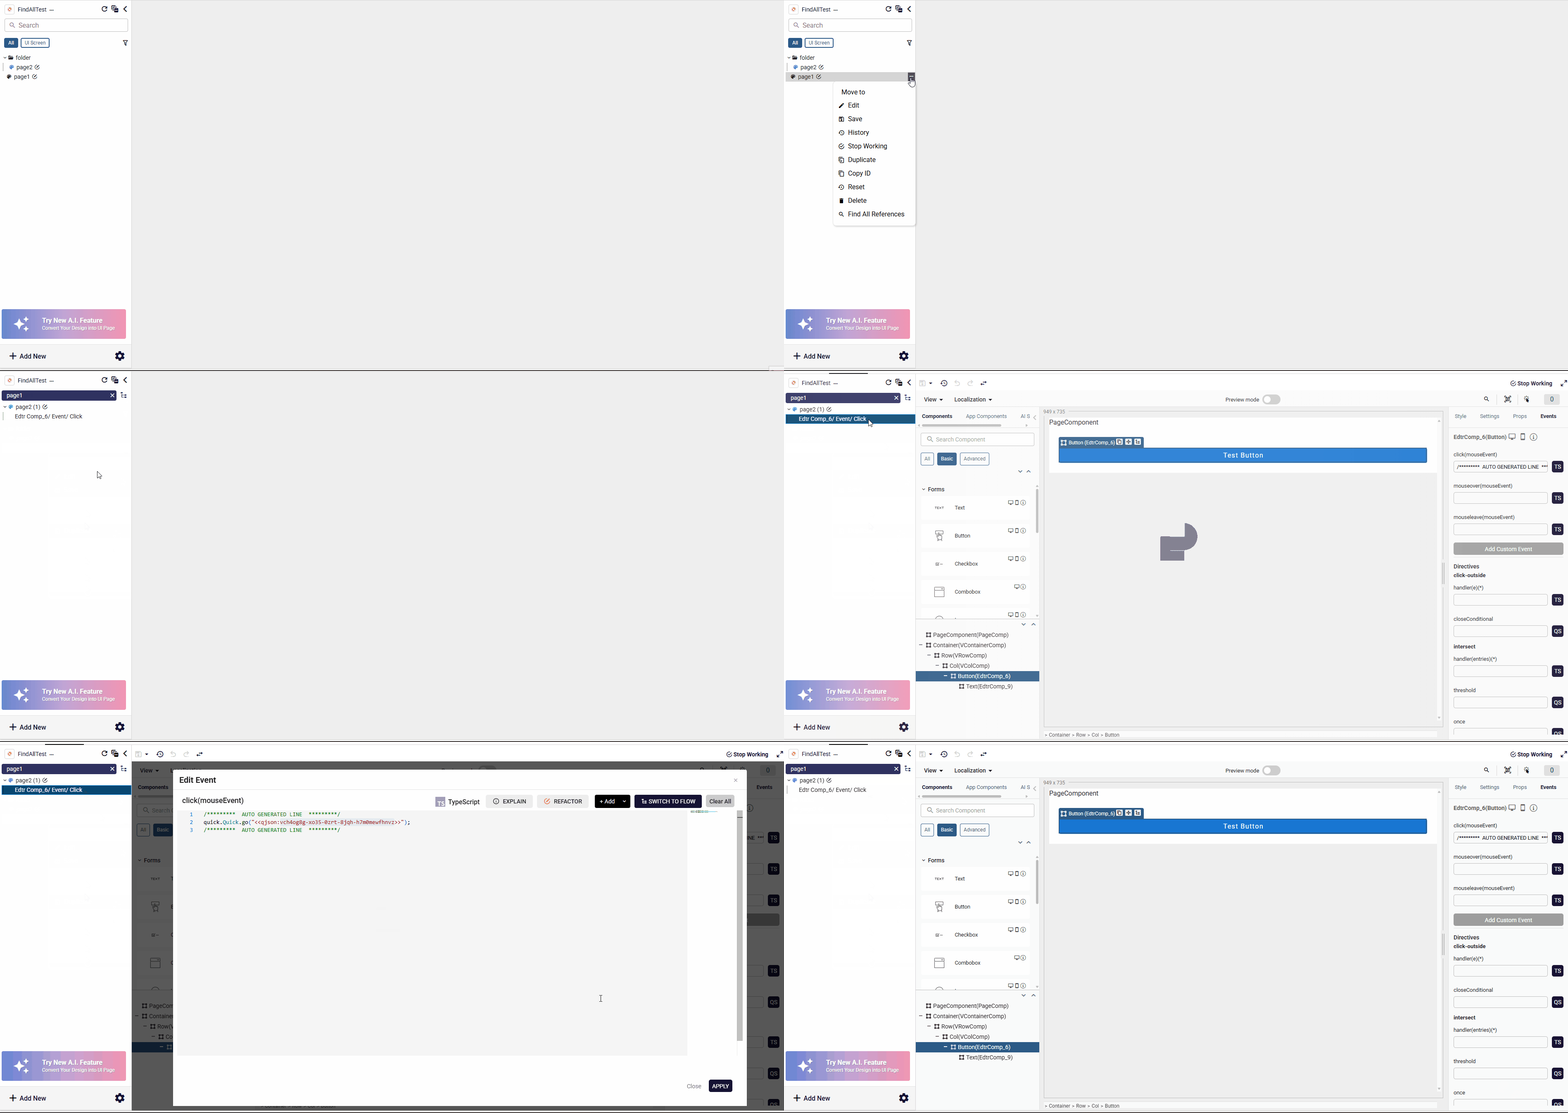
The Expolorer provides a Find All References option for each model. This allows searching for a selected model's references and displaying a list of all models where it is used, ensuring easier navigation and management of dependencies.
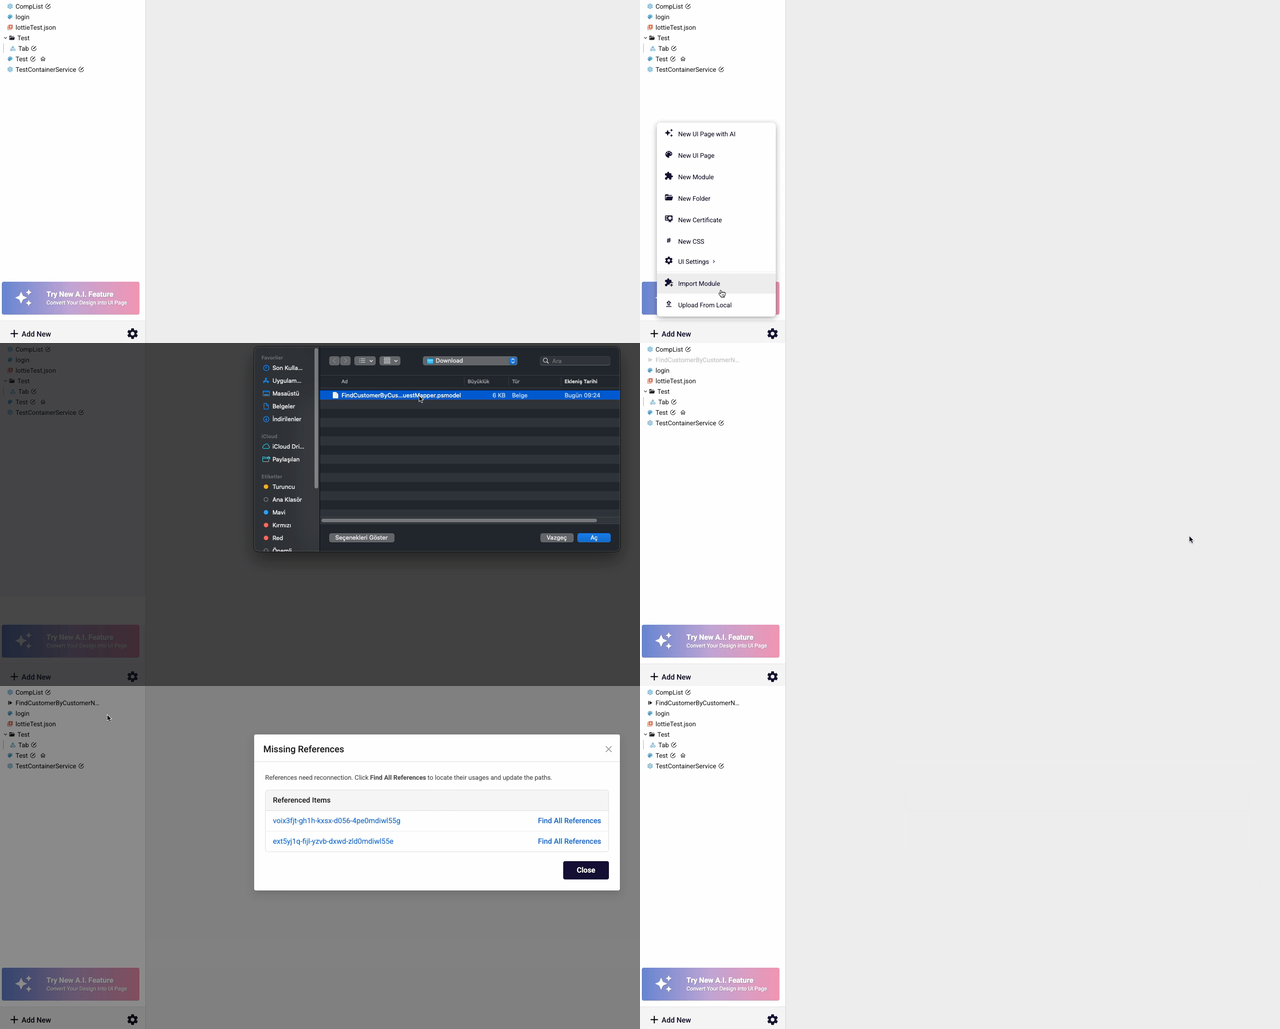
Download To Local For Models
Download to Local option for models in Studio, allowing you to clone a model from one application and reuse it in another by downloading and uploading it locally.
Model Search
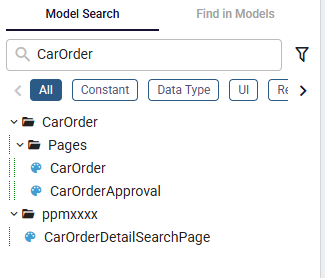
The search area at the top of the Explorer includes the Model Search tab.
Use Model Search when you want to find a model by its name or ID.
- Click the Model Search tab.
- Type the model name or model ID into the search input.
- Explorer filters the visible model list according to your search text.
- Use model type chips, such as UI, Workflow, Data Type, Endpoint, or Backend Function, to narrow the result list.
- Click All to clear selected model type filters.
- Click the filter icon to open the filter menu and select model types manually.
Find And Replace
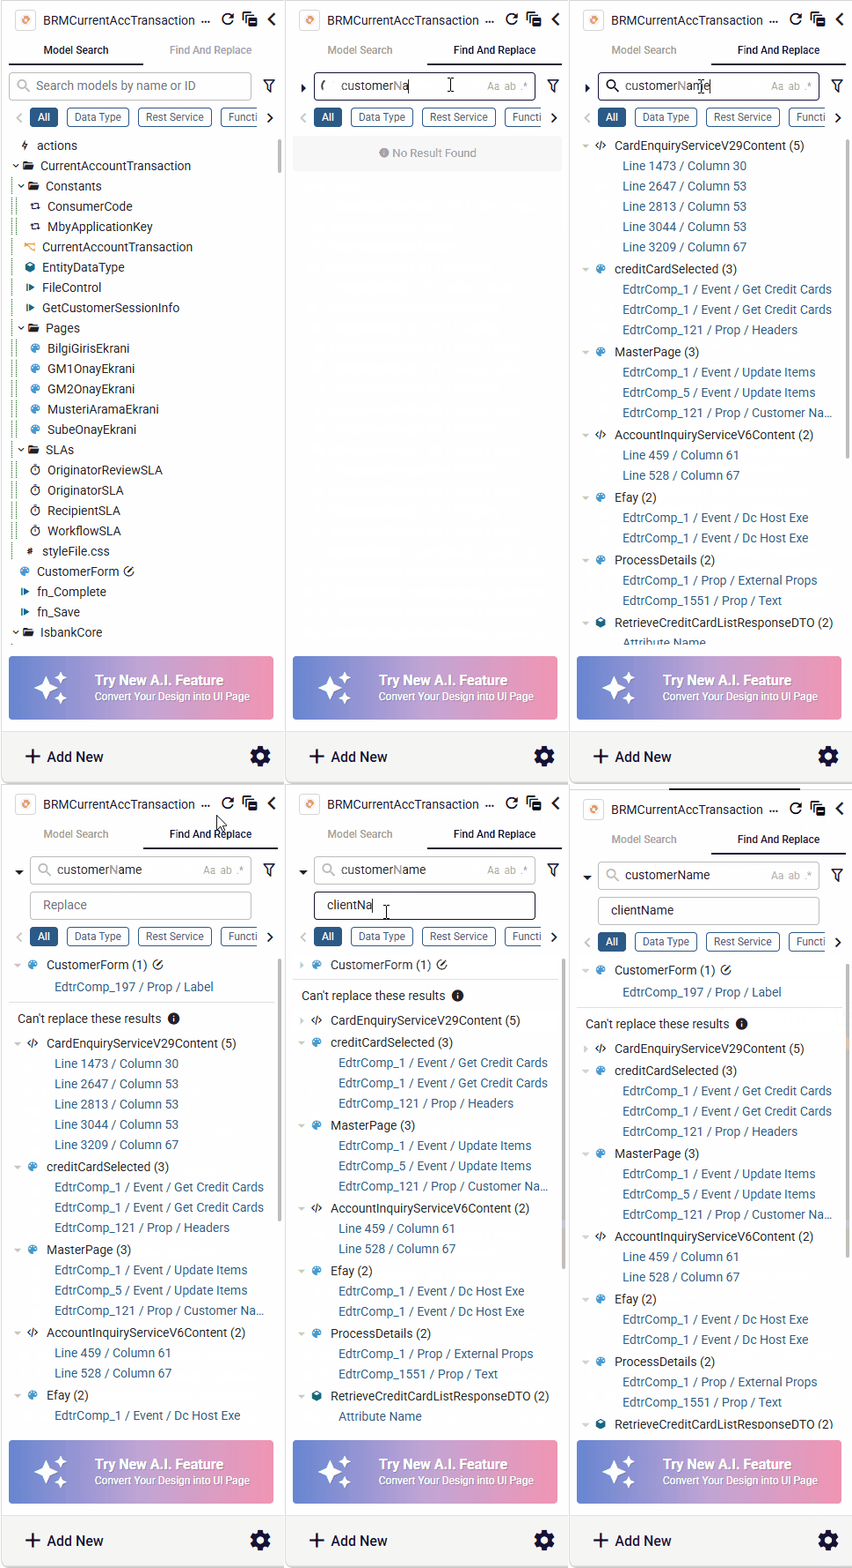
The search area at the top of the Explorer also includes the Find And Replace tab. It allows you to search inside model contents across the application and replace the results you choose, directly from the result list.
Use Find And Replace when you want to find a text, variable, ID, configuration value, or expression used in your models — the related model is opened and the change is applied for you.
Click the Find And Replace tab.
Type the text you want to search for and press Enter or wait for the results.
Plateau Studio searches within all searchable models in the application.
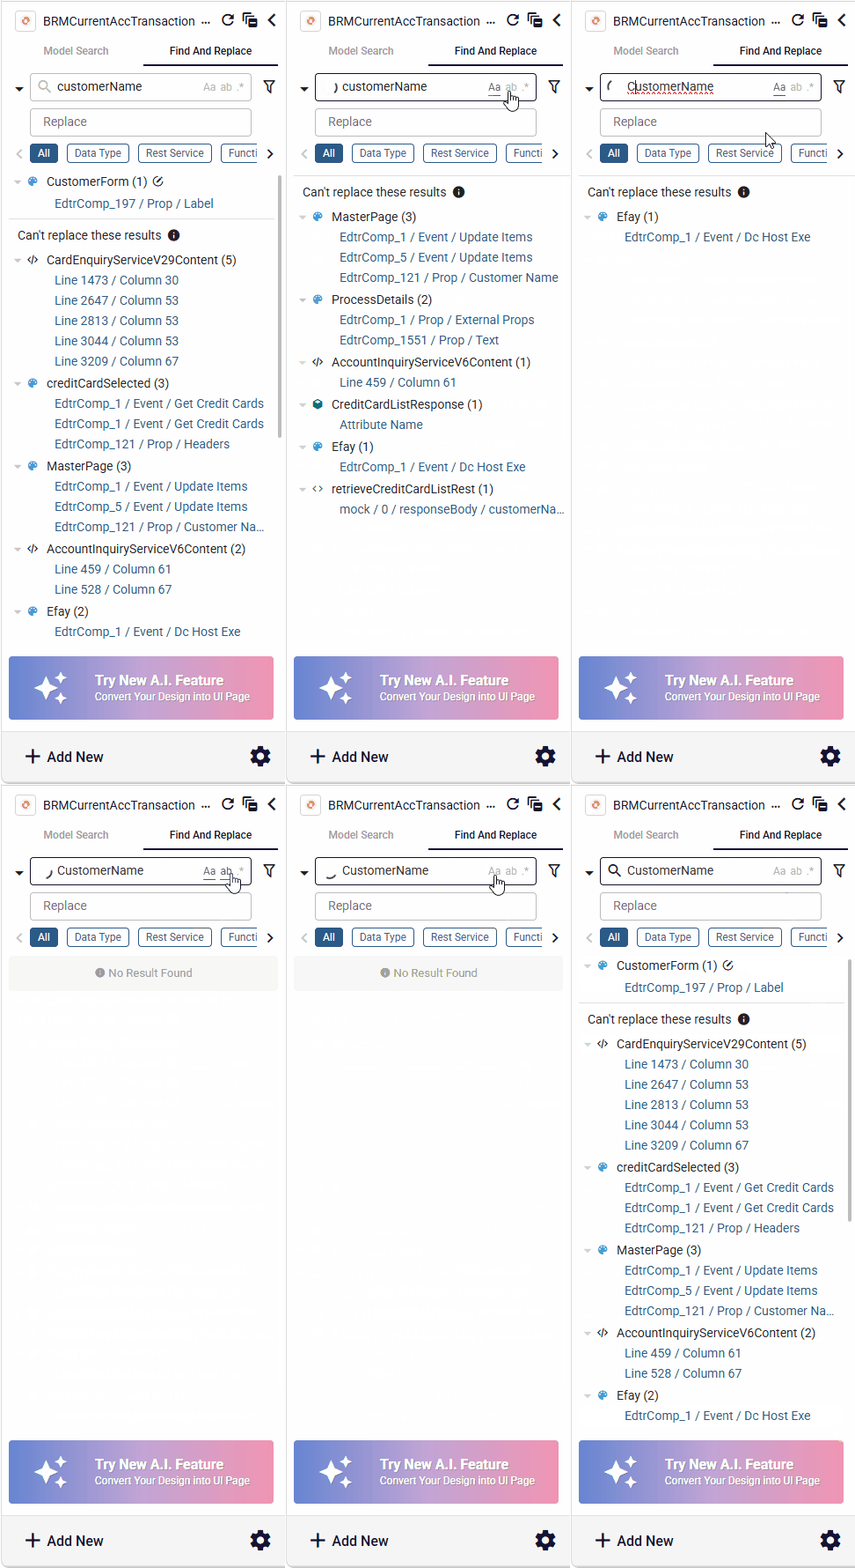
Results are grouped by model name, and each group shows the number of matches found in that model.
Click a model group to expand or collapse its results.
Click a result row to open the related model and navigate directly to the matched location.
Use the model type chips, or the filter icon, to narrow results to specific model types, and click All to clear the filters.
Search Options
You can refine the search behavior with the options inside the search field:
- Aa — Enables case-sensitive search.
- ab — Matches whole words only.
- .* — Enables regular expression (Regex) search.
While the search is running, a loading icon appears in the search input and next to model groups that are still being processed. If there are no matches, the result panel shows No Result Found.
Replacing a Match
- Click the arrow on the left side of the search field to expand the Replace field.
- Type the new value into the Replace field. Leaving it empty removes the matched text.
- Hover over a result row and click the Replace icon on the right.
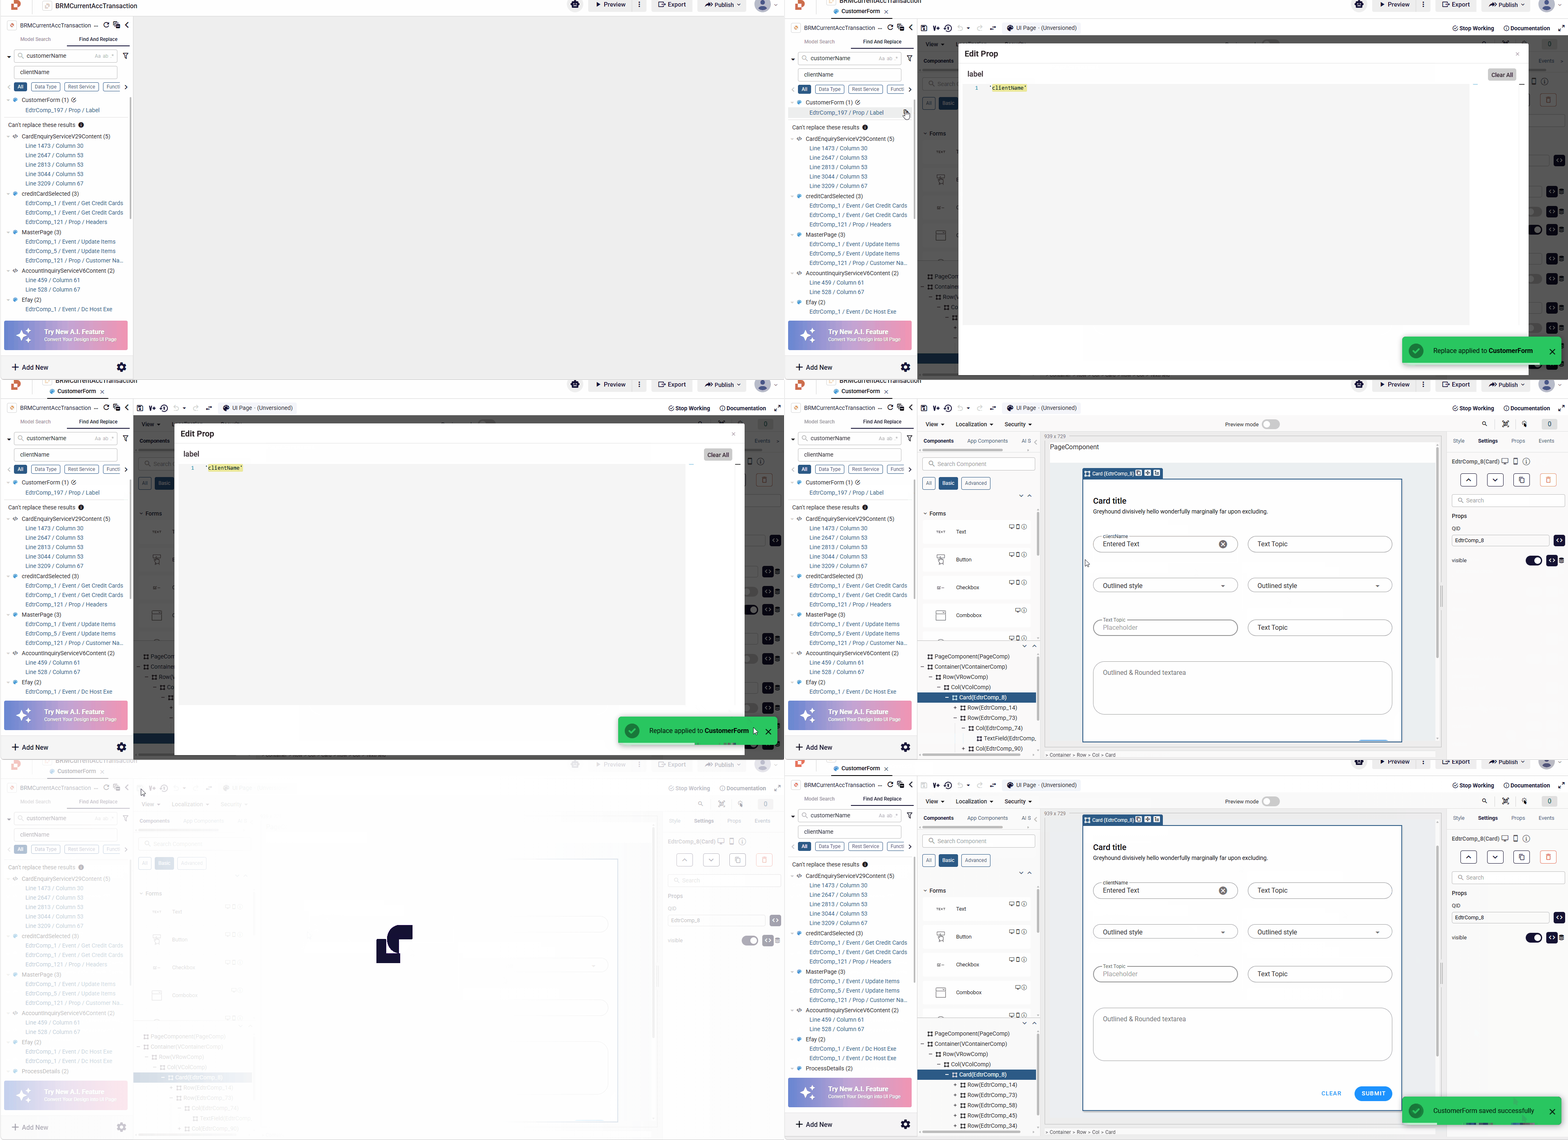
When you click Replace, Plateau Studio:
- Opens the related model automatically if it is not already open.
- Replaces only the selected match — other matches are not affected.
- Navigates to the changed location in the editor and briefly highlights it.
- Shows a success notification.
Replace works on the model's current content: if the model is already open with unsaved changes, the replacement is applied on top of them.
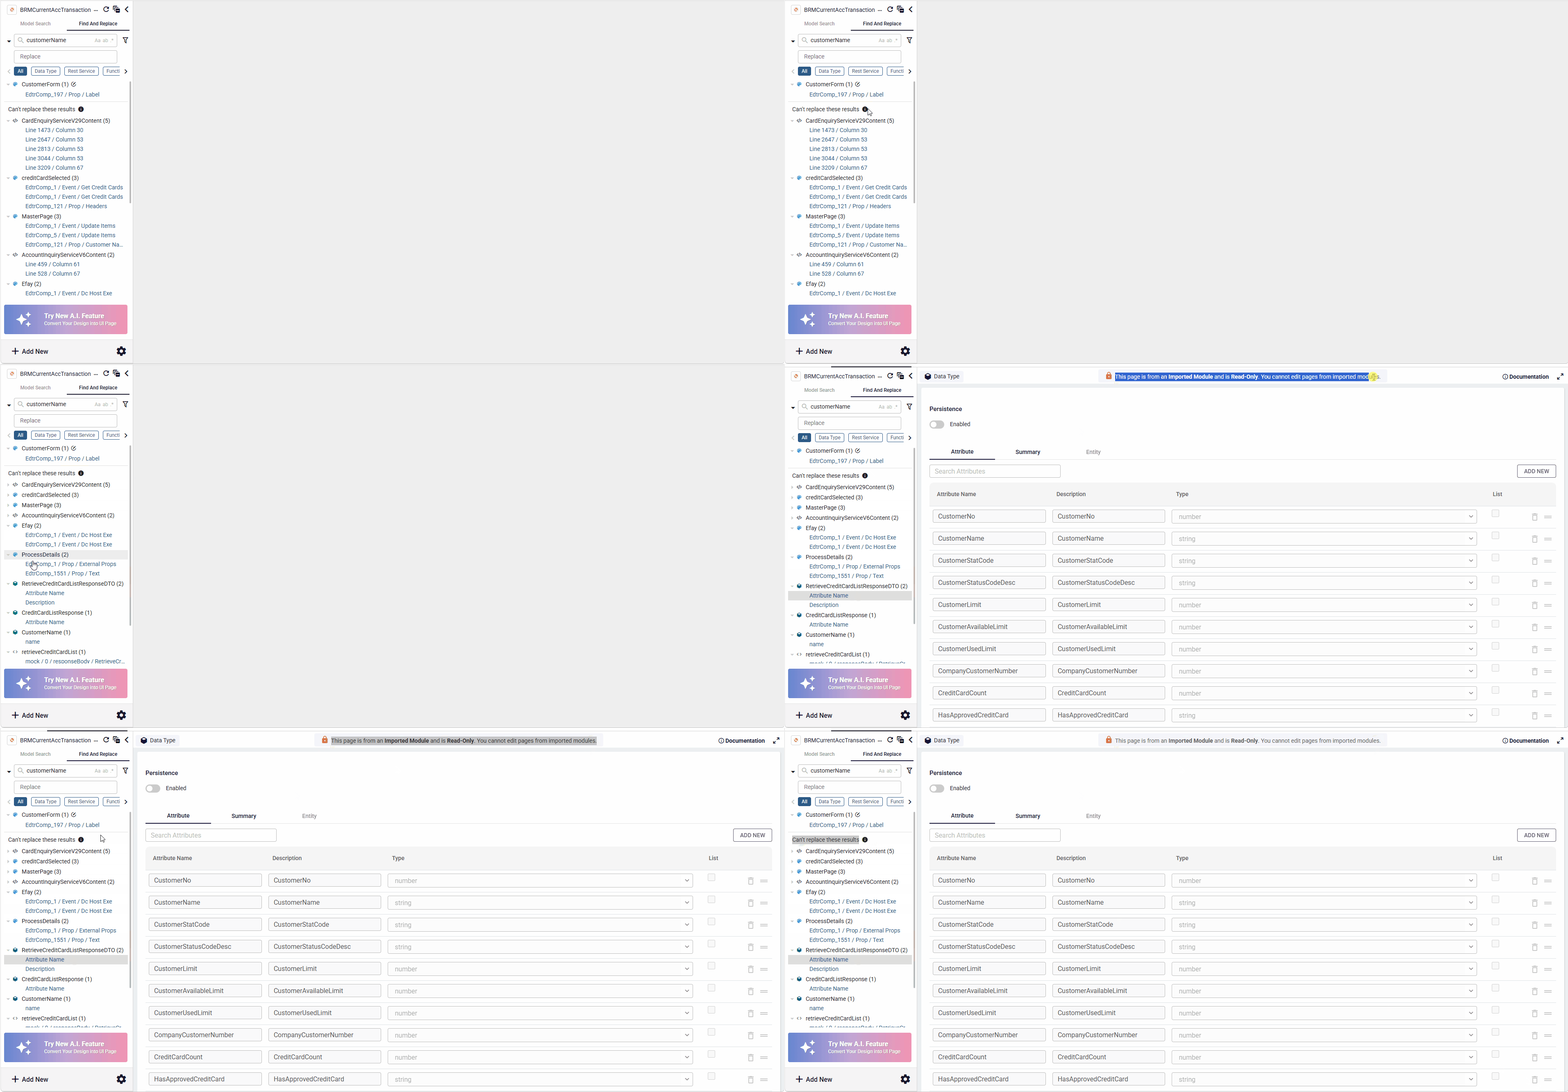
Some matches cannot be changed from the search panel — for example, values that are managed by the model itself. These results are listed separately under Can't replace these results and do not show a Replace icon. You can still click them to navigate to their location in the model.
Saving Your Changes
Replace modifies the model content but does not save the model. It also does not check in, publish, or create a new version. To make the change permanent, save the model as you normally would.
- If you have not started working on the model yet, use Start Working before saving.
- A replaced match stays in the result list until the model is successfully saved, so an unsaved change never disappears from your results. Once the model is saved, the replaced match is removed from the list.
- If you revert the model instead of saving, the content returns to its previous state; the match remains in the result list and can be replaced again.
UI Editor Area
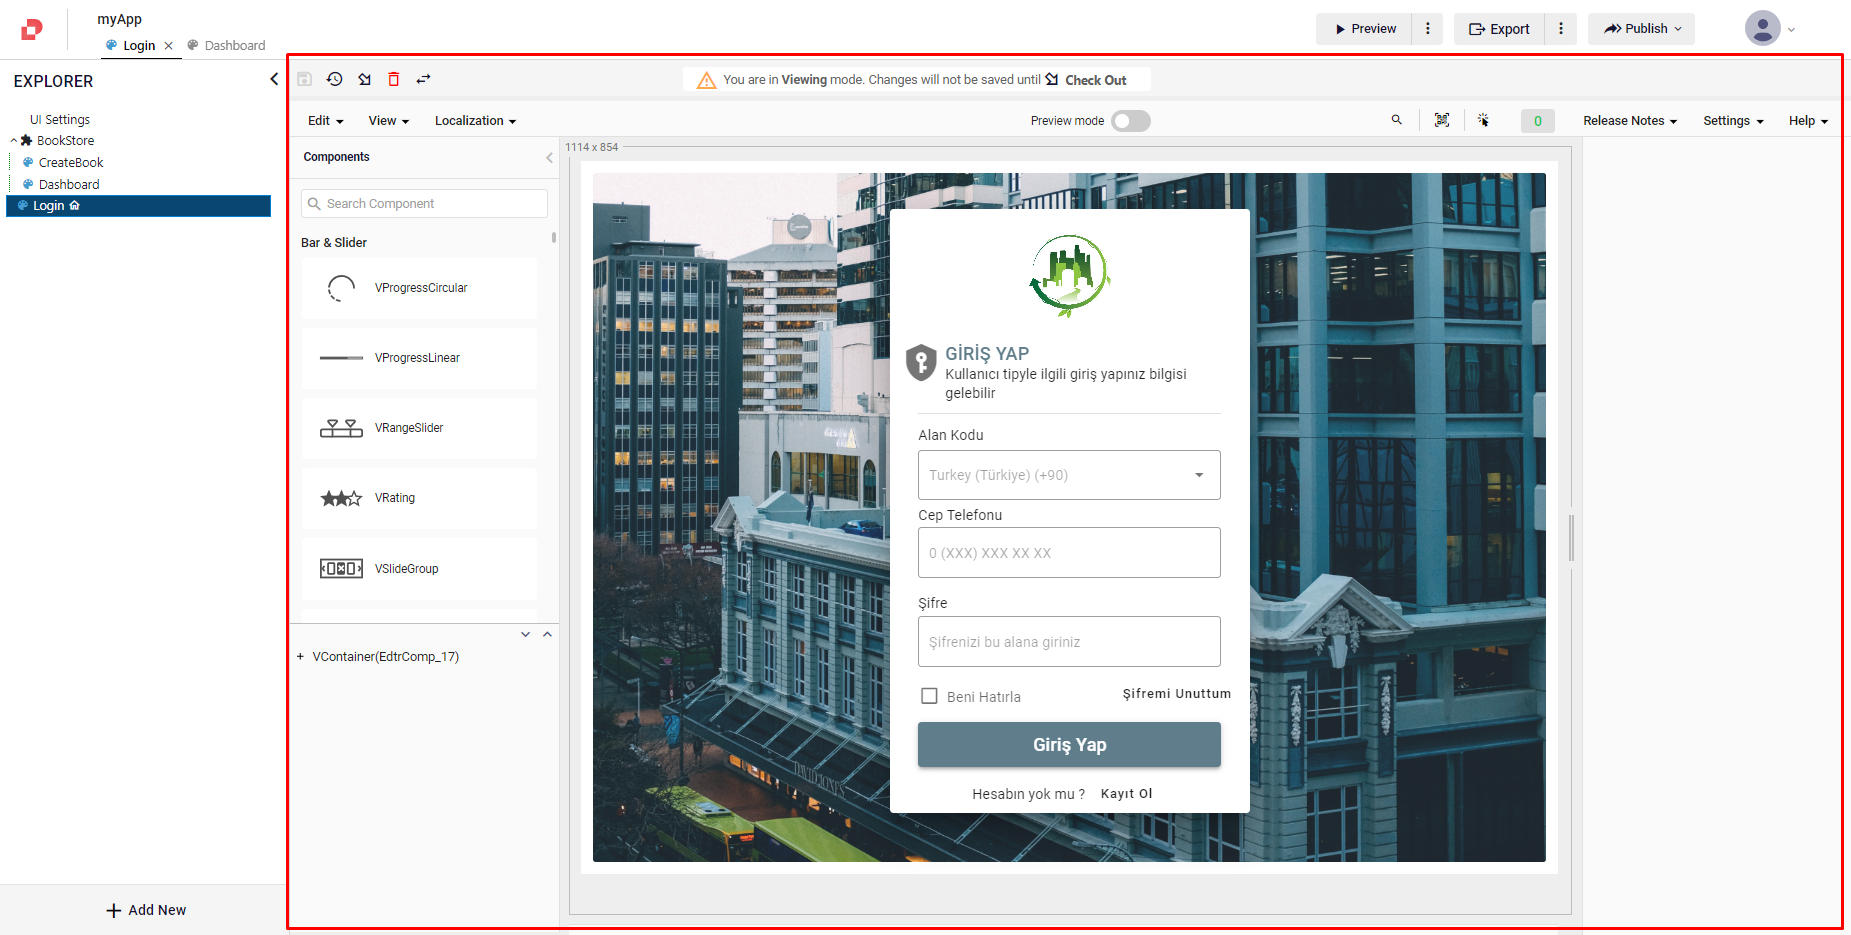
The UI Editor area, situated at the center of the screen, serves as your dedicated workspace for customizing various aspects of your application and components, including styles, properties, and events.
The model that you select from the explorer opens in the UI Editor area and you can edit your models here.