SLA Management
The SLA Definition Editor is a development tool that allows you to define escalation timelines for processes and tasks. Within this editor, you can configure goal, deadline, and critical thresholds to establish time-based priority levels.
At each threshold, you can also implement custom functions and escalation logic, enabling more responsive and timely handling of processes and tasks. By using these features, you ensure that workflows align with service level expectations and organizational performance standards.
How to Add SLA Definition to Your Application?
To create a new SLA definition, navigate to the left-hand menu and click the Add New button. From the dropdown menu that appears, select New SLA Definition.
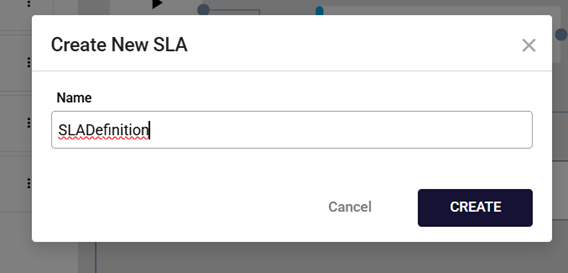
Next, enter the name of your SLA in the designated field and click the Create button.

Alternatively, if you have added a folder to the navigation menu, you can click the + button next to that folder and select the SLA Definition option from the menu that appears.
Then, enter the name of your SLA and click the Create button.
How to Define SLA Definition?
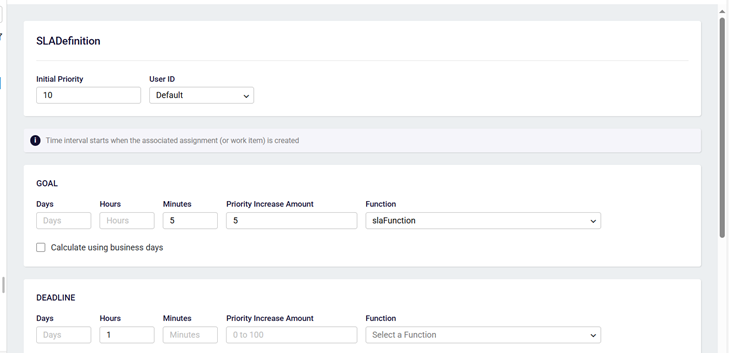
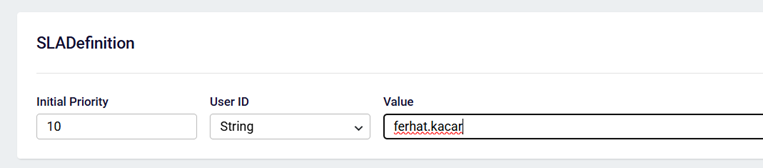
Enter the initial priority value and select the user ID from the dropdown menu. You can define the user that the SLA will run with in three different ways.
If you select the Default option, the SLA runs with the schedulerSystemUser, which you must define.
If you select the String option, enter the user ID value as a string.
If you select the Constant option, choose a previously created constant for the user from the dropdown menu on the side.

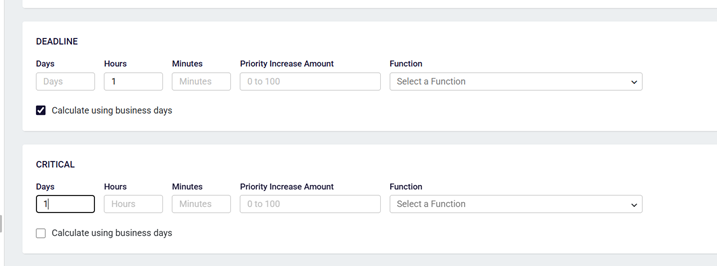
You can enter values for any of the Goal, Critical, or Deadline fields as needed. For the field you fill in, select the Days, Hours, Minutes, and Priority Increase Amount values.
If you want to execute a function when the SLA time expires, select it from the Function dropdown.
When you select the Calculate using business days checkbox, the SLA end date is calculated based on working hours.

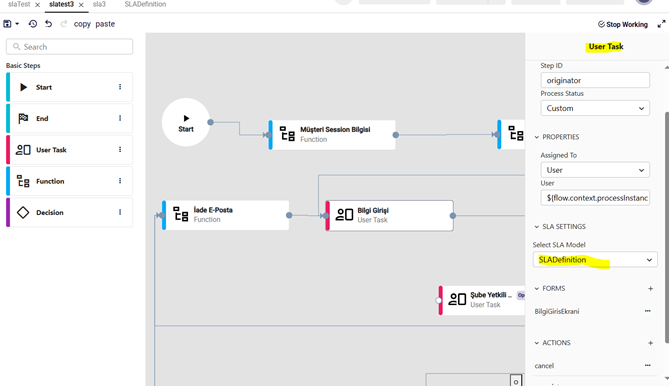
How to Use Defined SLA Model in a Workflow and User Task?
After you define an SLA, the created SLA model appears under the SLA Settings section for workflows and user tasks. To assign an SLA to a workflow or user task, select the relevant SLA model from the dropdown menu on the left side.