Tags Management
The Tags feature provides a robust way to create, manage, and apply custom labels to organize and categorize data effectively. This functionality exists at two levels:
- Organization Group Tag Management:
- Define the tags that will be globally available to every organization under your organization group and all applications within those organizations.
- Application-Specific Tags:
- Fill in the values for the tags specific to your application.
Key Components
1. Organization Group Tag Management
Found under the Manage Organization for the main organization group.
Purpose: To define tags that are globally applicable across all organizations and applications under the group.
Includes:
Tags Listing View: Displays all globally defined tags.
New Tag Modal: Define new global tags with customizable options such as
Predefined ValuesandRequired.Behavior of Predefined Values
- Tags with predefined values restrict input to a fixed set of options.
- These values are defined at the organization group level and cannot be modified at the application level.
Edit/Delete Options: Modify or remove tags globally.
2. Application-Specific Tags
- Found under Application Settings > Tags tab.
- Purpose: To fill out the values for tags that are specific to a particular application.
- Includes:
- Tags Listing View: Displays all tags inherited from the organization group.
- Value Input/Selection:
- Text input for simple tags.
- Dropdown selection for predefined tags.
Step-by-Step Instructions
Defining Tags in Organization Group Tag Management
Viewing Existing Tags
- Navigate to the Manage Organization for your main organization.
- Click on the Tags tab.
- Use the search bar to filter tags by their label or scroll through the list to locate a specific tag.
Creating a New Tag

- Click on the New Tag button in the Tags Listing View.
- Fill in the following fields:
- Tag Label: Enter a descriptive name for the tag.
- Description: Add details about the purpose of the tag.
- Configure the Applications section:
- Toggle Required to make this tag mandatory for all applications under this group.
- Toggle Predefined Values to enable predefined options for the tag.
- If enabled, add values under the Values Section:
- Use the input field to add each value.
- Click the trash icon to remove any unnecessary values.
- Click Create to save the tag.
Editing or Deleting a Tag
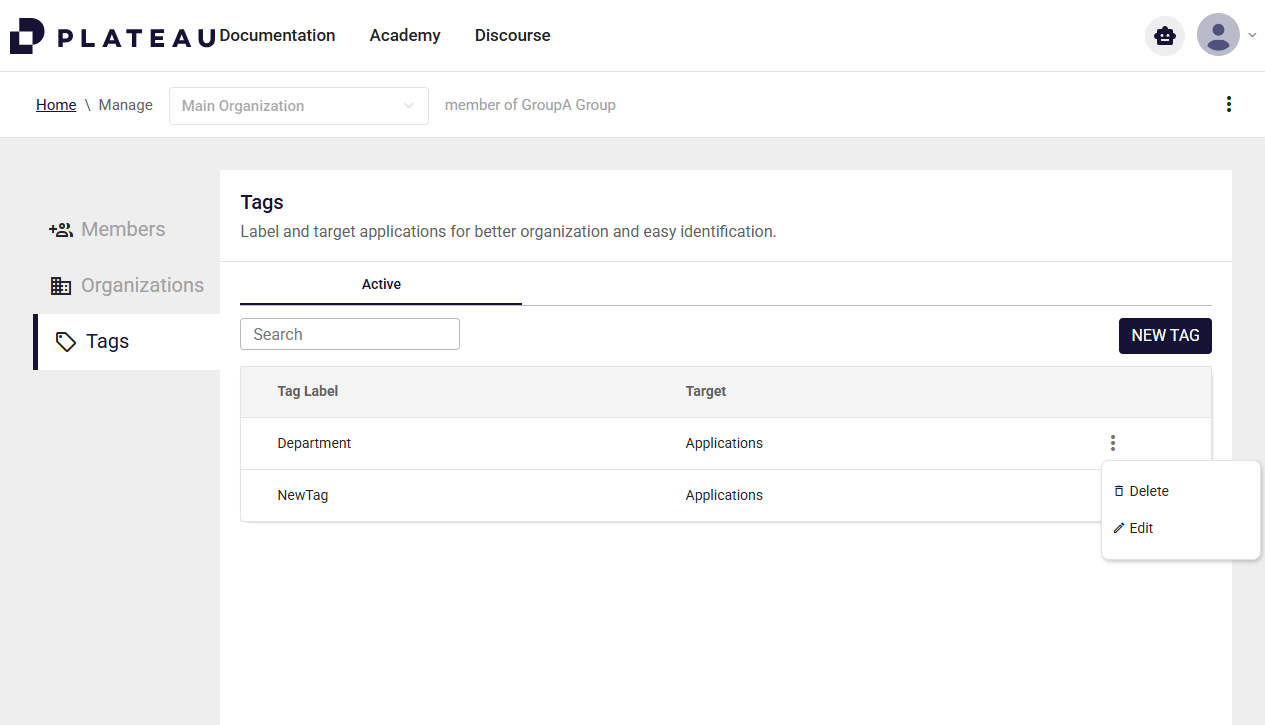
- Locate the tag you want to edit or delete in the Tags Listing View.
- Click the options menu (three dots) beside the tag and select Edit or Delete.
- For editing, modify the required fields or values and click Update.
Filling Tag Values in Application Settings
Viewing Tags
- Navigate to the Application Settings menu.
- Click on the Tags tab.
- All globally defined tags will be displayed.
Filling Tag Values
- For each tag:
- Predefined Tags: Select a value from the dropdown.
- Text-Based Tags: Enter a custom value in the text field.
- Values must be filled for all
Requiredtags.
Saving Changes
- Once all tag values are filled, changes are automatically saved or can be saved manually (depending on your setup).
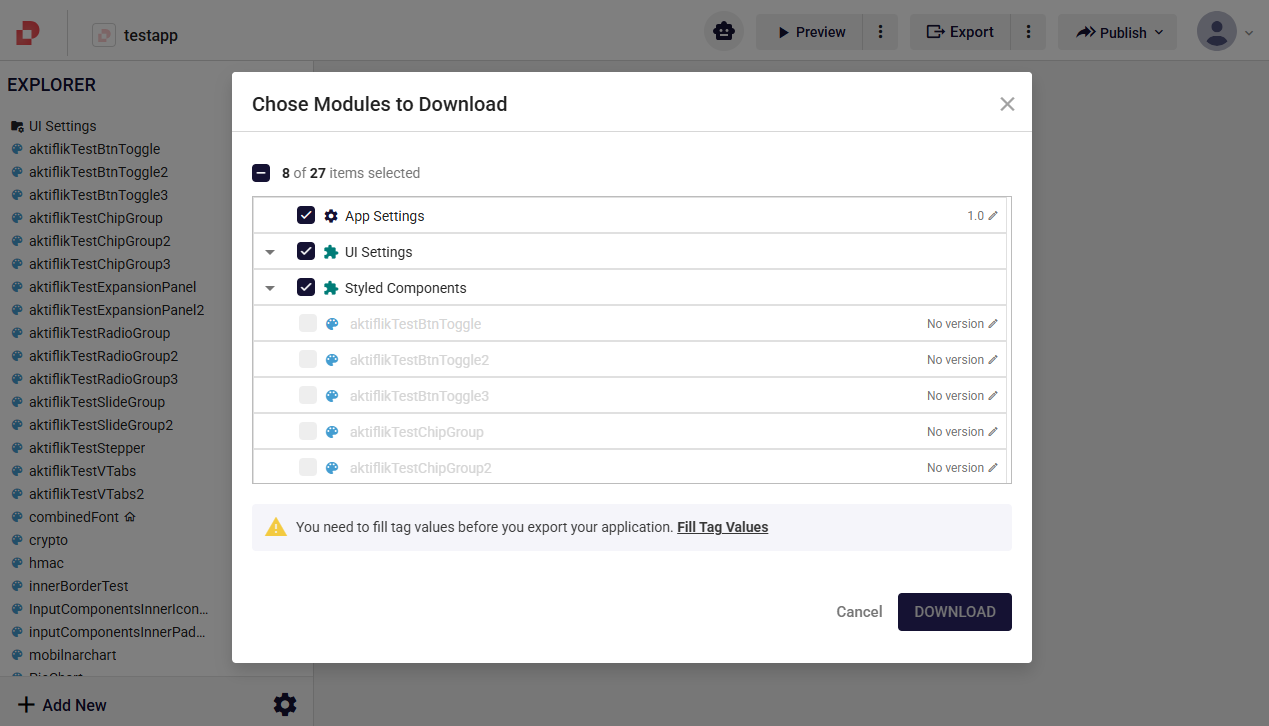
- If a required tag is left blank, a notification will alert you during actions like application export.
Notifications and Error Handling
- Missing Required Tags:
- If a required tag value is not filled, a notification will appear with actionable links:
- Example: "You need to fill tag values before you export your application. [Fill Tag Values]"
- Clicking the link redirects users to the Application Settings > Tags tab to resolve the issue.
- If a required tag value is not filled, a notification will appear with actionable links:
Examples
Defining a Tag
- Navigate to Manage Organization > Tags.
- Create a tag named "Department" with predefined values: "HR," "Finance," "IT".
- This tag will be available for all applications under the organization group.

Filling Application-Specific Values (Application Settings)
- Navigate to Application Settings > Tags.
- For the "Department" tag, select "HR" from the dropdown.
- For text-based tags like "Project Name" input the relevant name.