How to Add Custom Integration to Your Application
The 3rd Party Tool Integration feature enables to integrate various third-party tools into your applications. In this document, you can find comprehensive instructions on utilizing this feature within your application.
Custom Integration
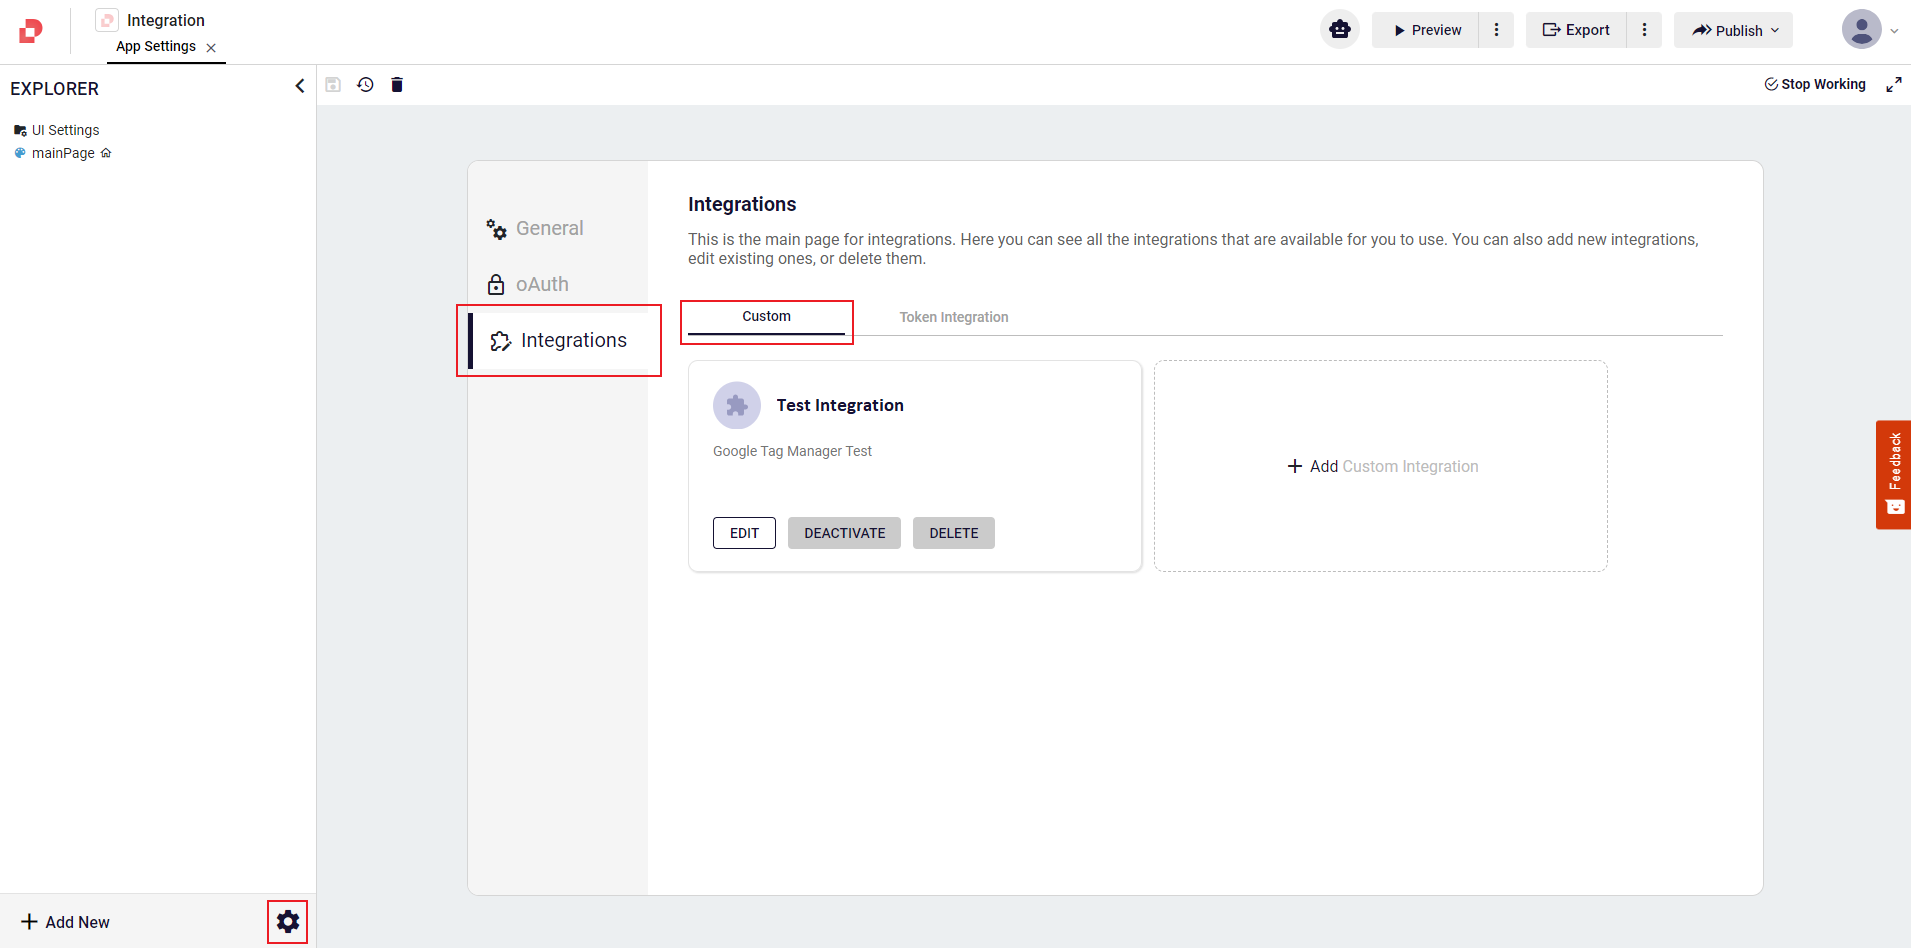
To access the integrations section, navigate to the App Settings of your application and locate the Integrations tab. Here, you can add and manage custom integrations as per their requirements.
Custom Integration Structure
Each custom integration consists of the following sections:
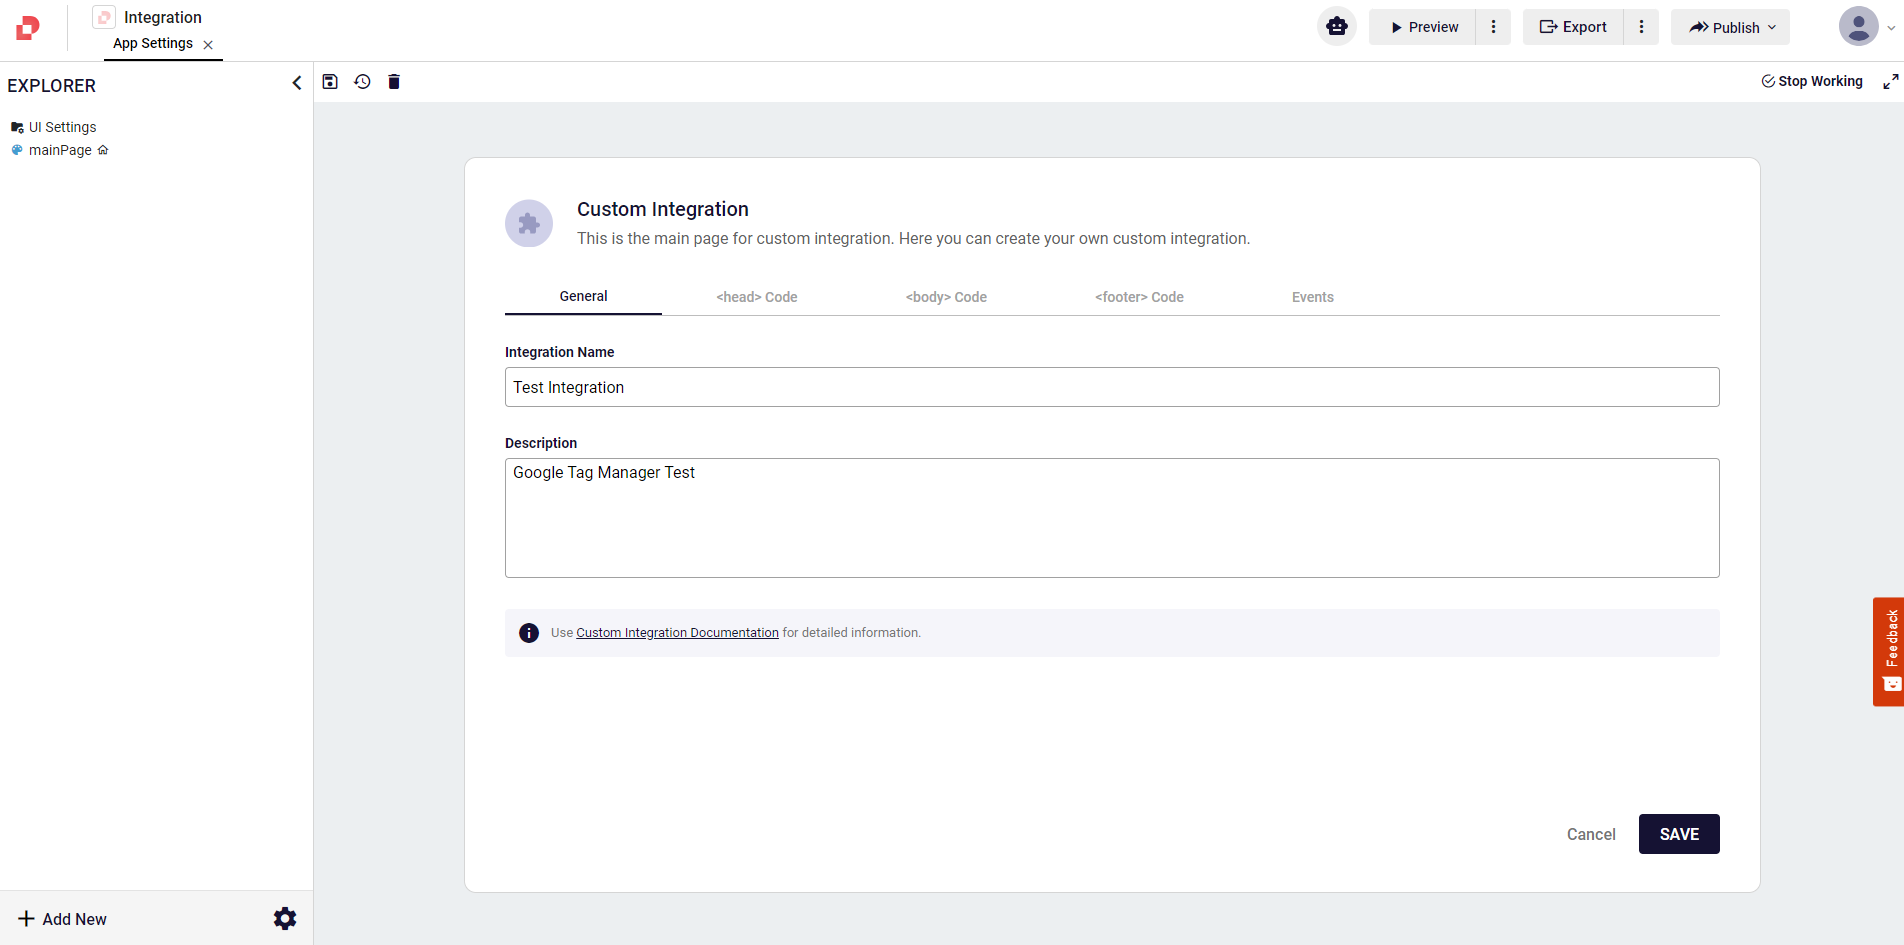
- General:
- Name: Provide a name for your custom integration.
- Description: Add a brief description to explain the purpose of the integration.
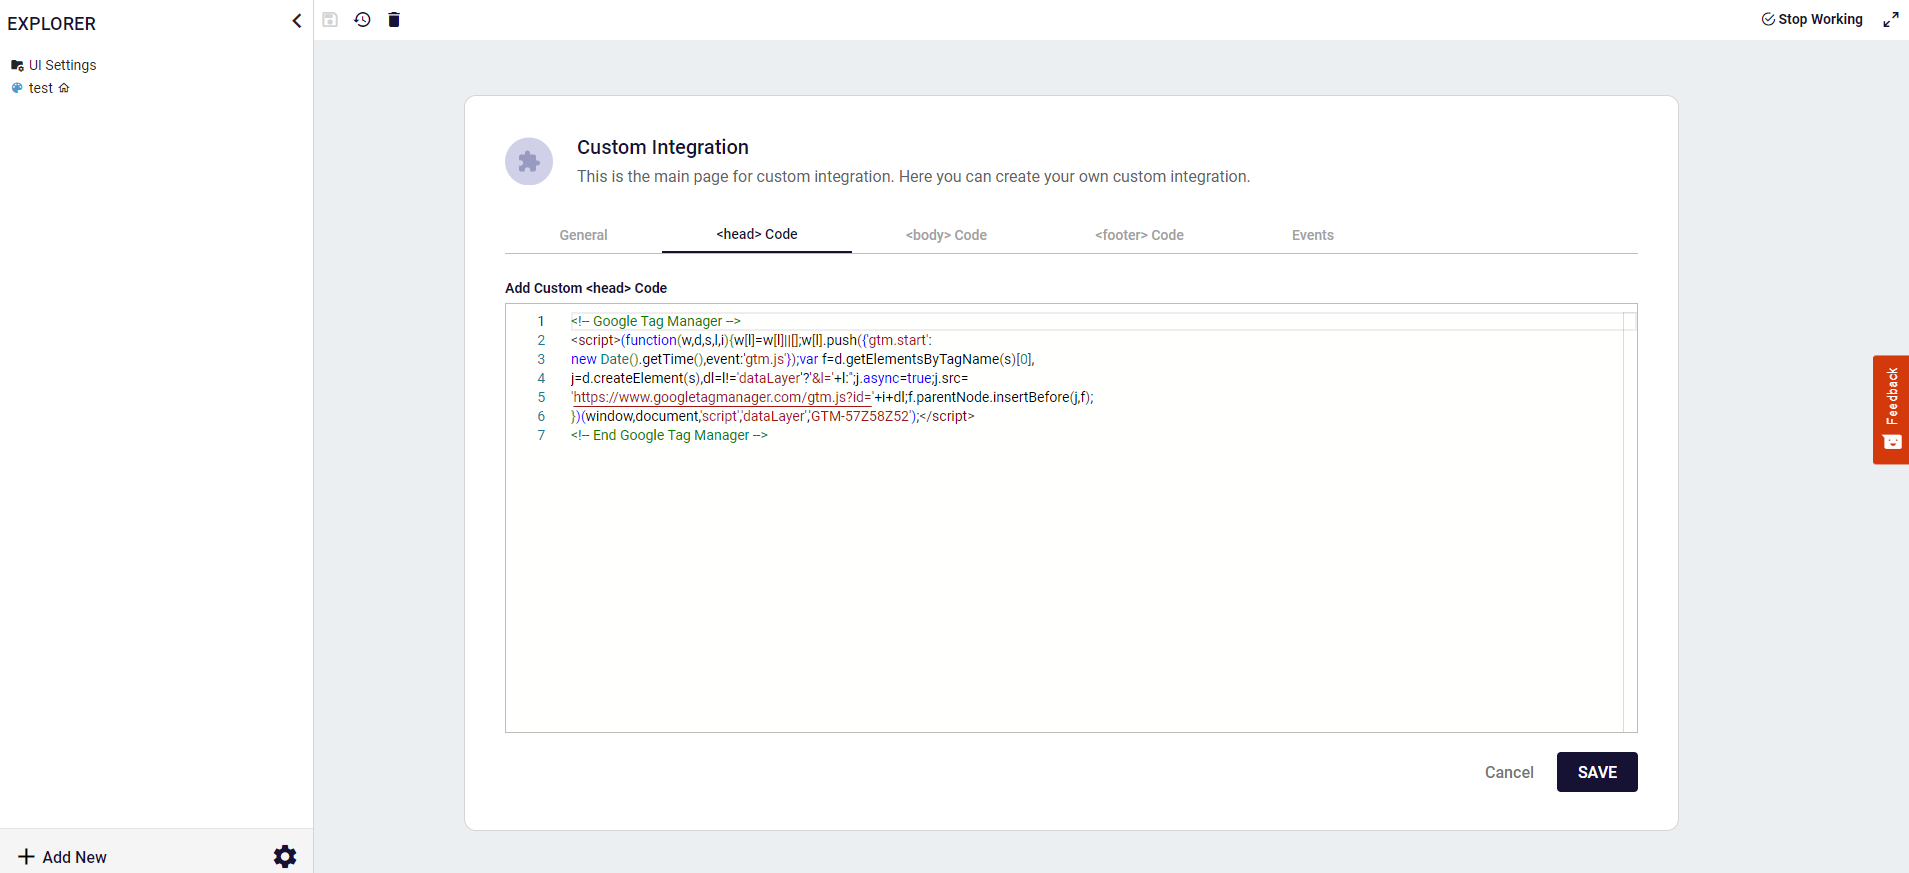
- Head Code:
- HTML code to be included in the < head > section of the application's index.html file.
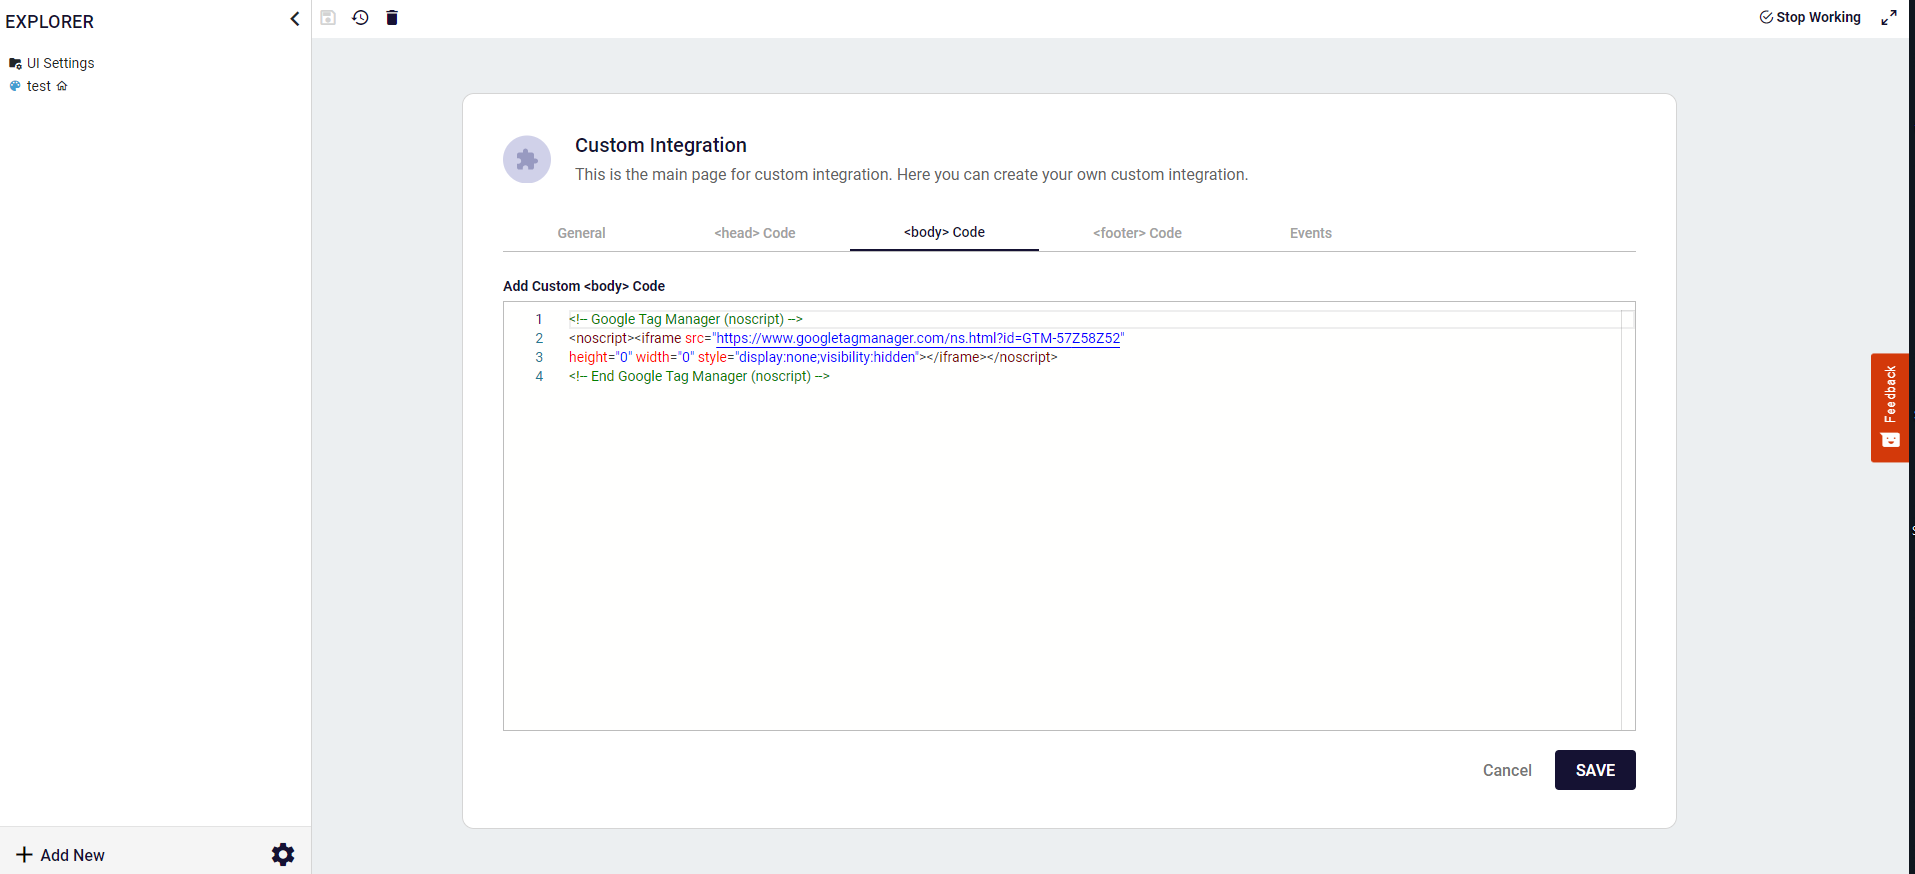
- Body Code:
- HTML code to be included in the < body > section of the application's index.html file.
- Footer Code:
- HTML code to be included in the < footer > tag of the application's index.html file.
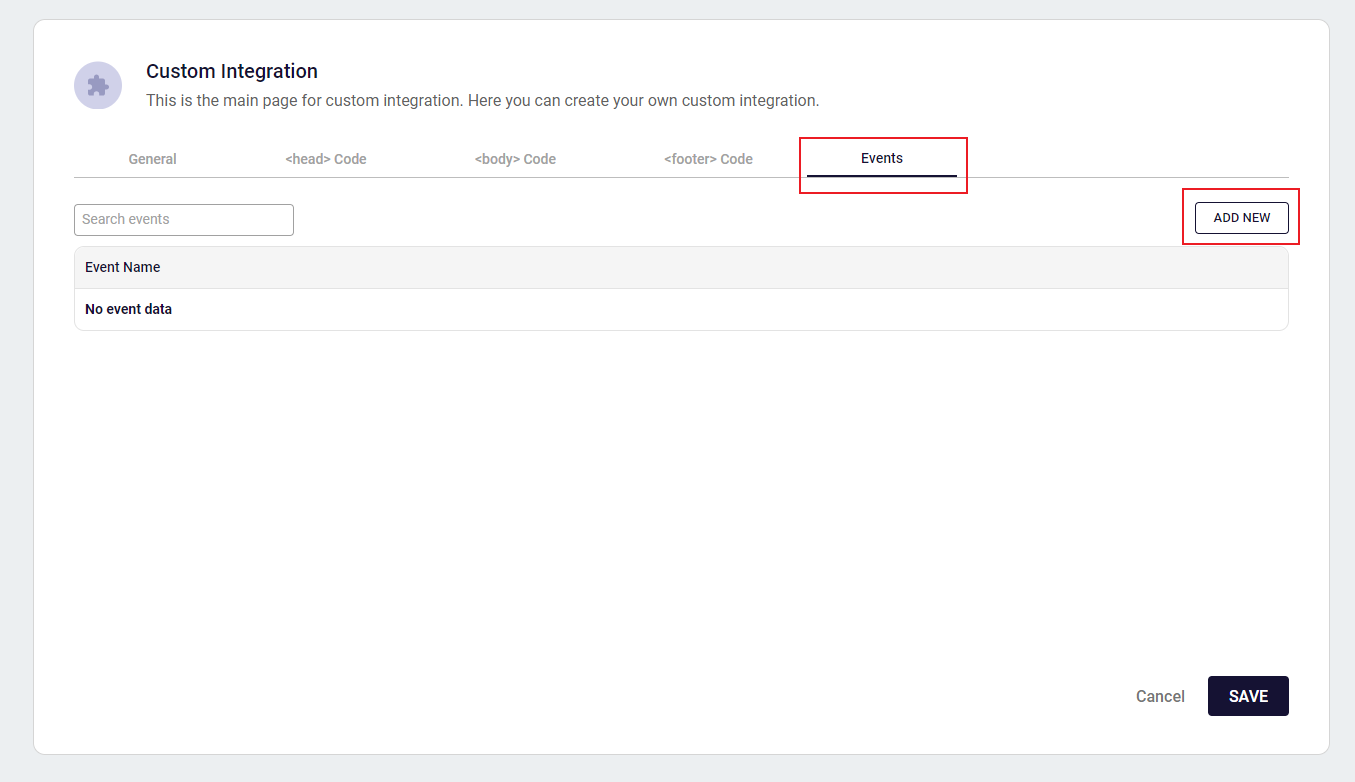
- Events:
- Define a custom events with parameters, return value, and event content code.
How to Add a Custom Integration?
When adding a custom integration, ensure to provide a name and at least one code section (head, body, or footer).
How to Utilize Custom Events?
Once configured, you can add custom events to the UI Editor's code editor IntelliSense configuration. Then, you can utilize your custom events by using quick.webScripts. You can access all configured custom events through this object.
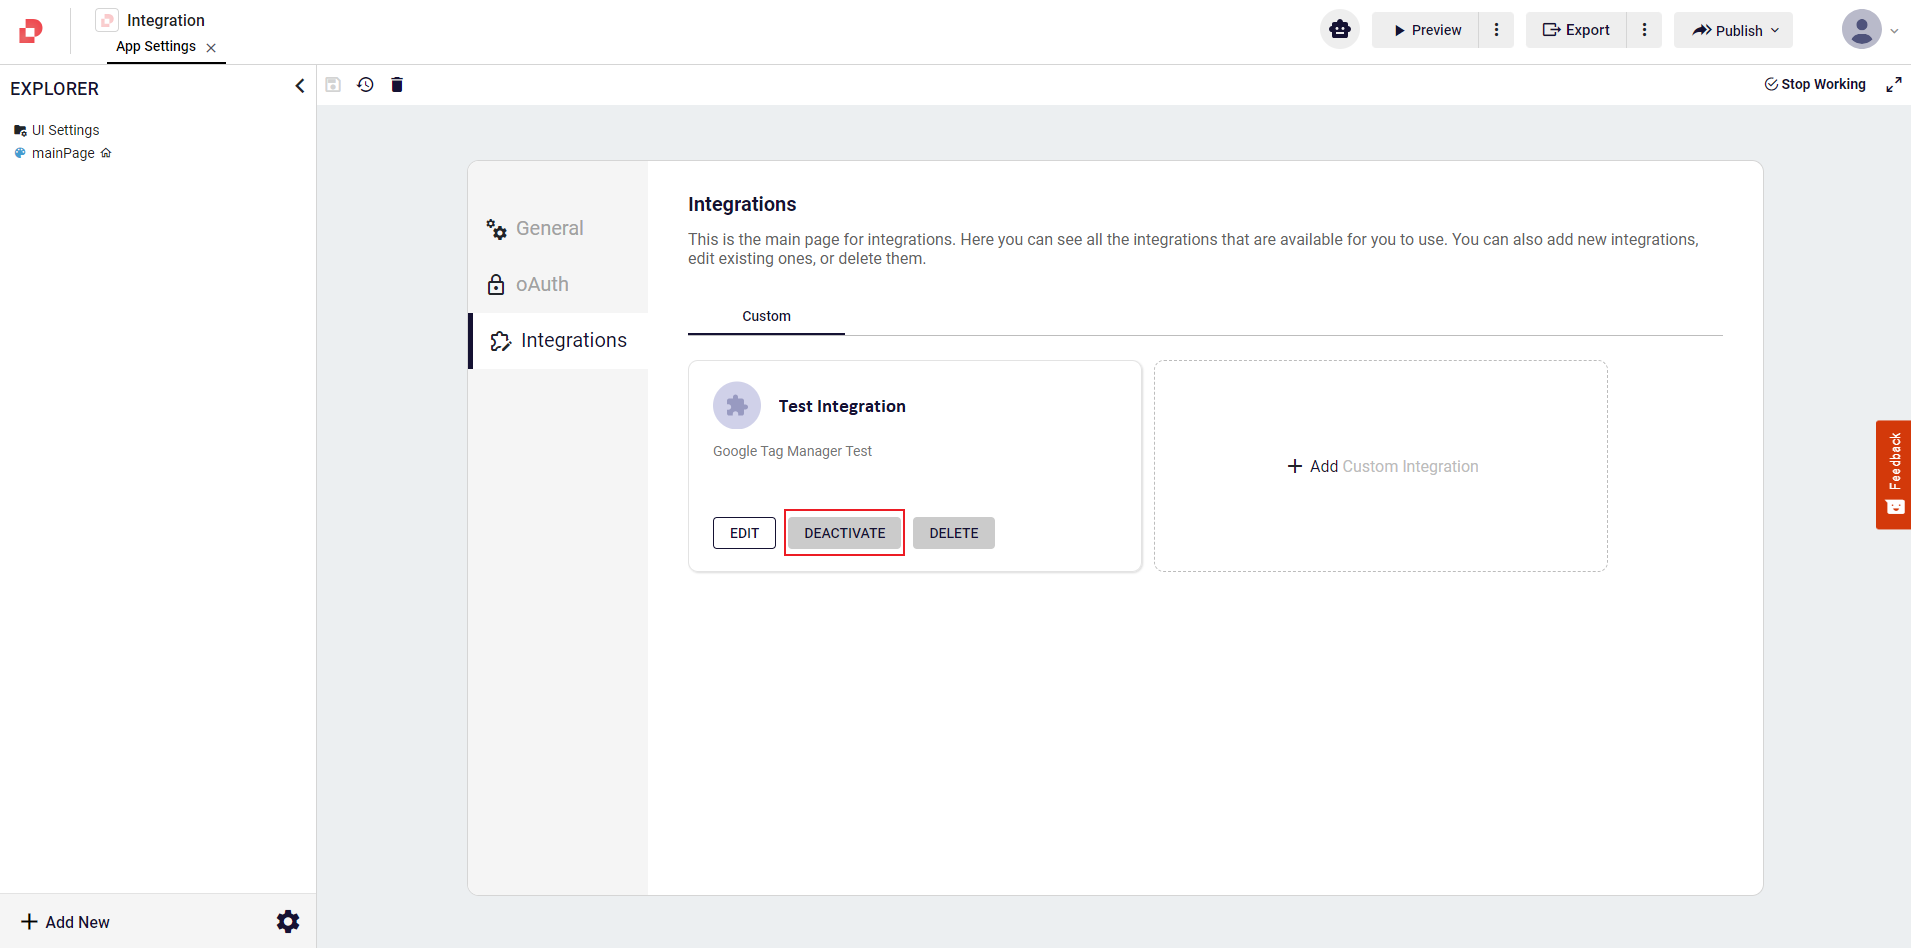
Activation and Deactivation
You can activate or deactivate each of your custom integration using the toggle button provided on the Integration card. Deactivation will suspend the integration's functionality within the application.
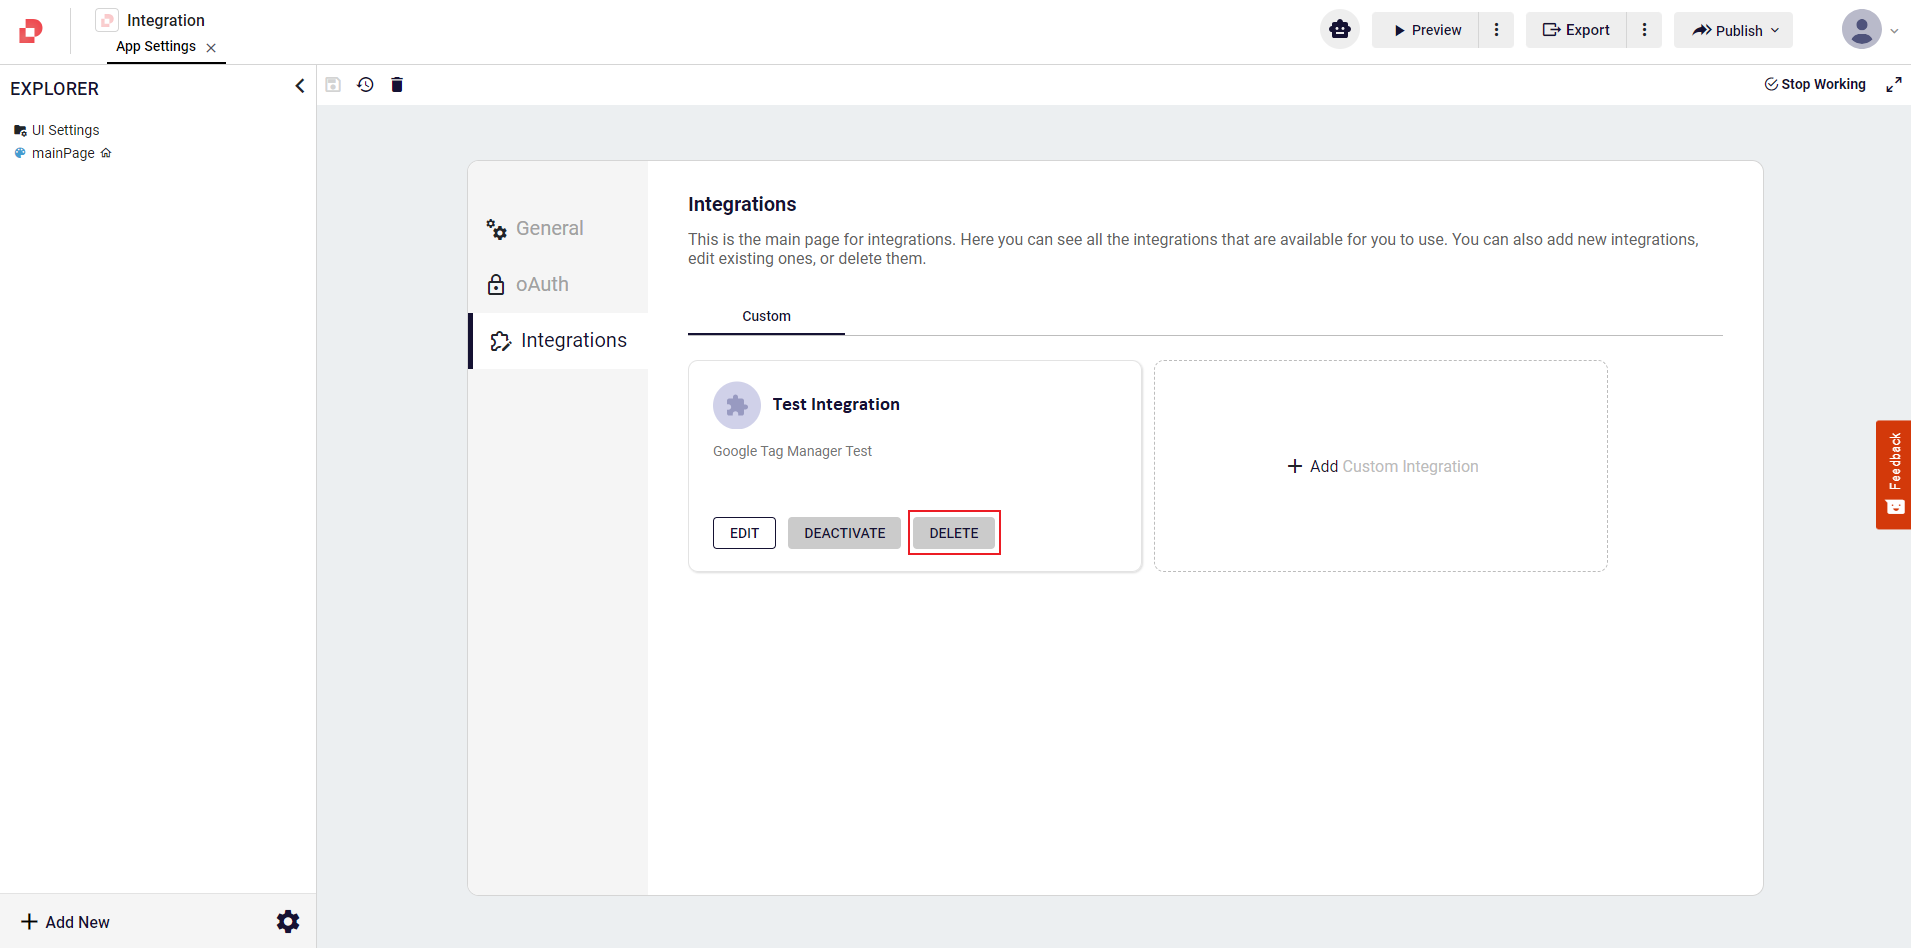
Deleting a Custom Integration
You can delete a custom integration by clicking the delete button on the integration card. This action permanently removes the integration from the application settings.
Example Usage of Google Tag Manager
Google Tag Manager (GTM) is a tool for managing various tags and scripts on your application without directly modifying the code. Here's a step-by-step example of how you can use GTM in your Studio application:
Create a Google Tag Manager Account and Set up a Container
If you haven't already, go to the Google Tag Manager website and sign up for an account using your Google credentials.
Once signed in, you'll need to create a container for your application. A container is a snippet of code that you'll add to your application's index.html file to enable Google Tag Manager functionality.
Install GTM Container on your Application
Google Tag Manager will provide you with code snippets that you need to add to your application.
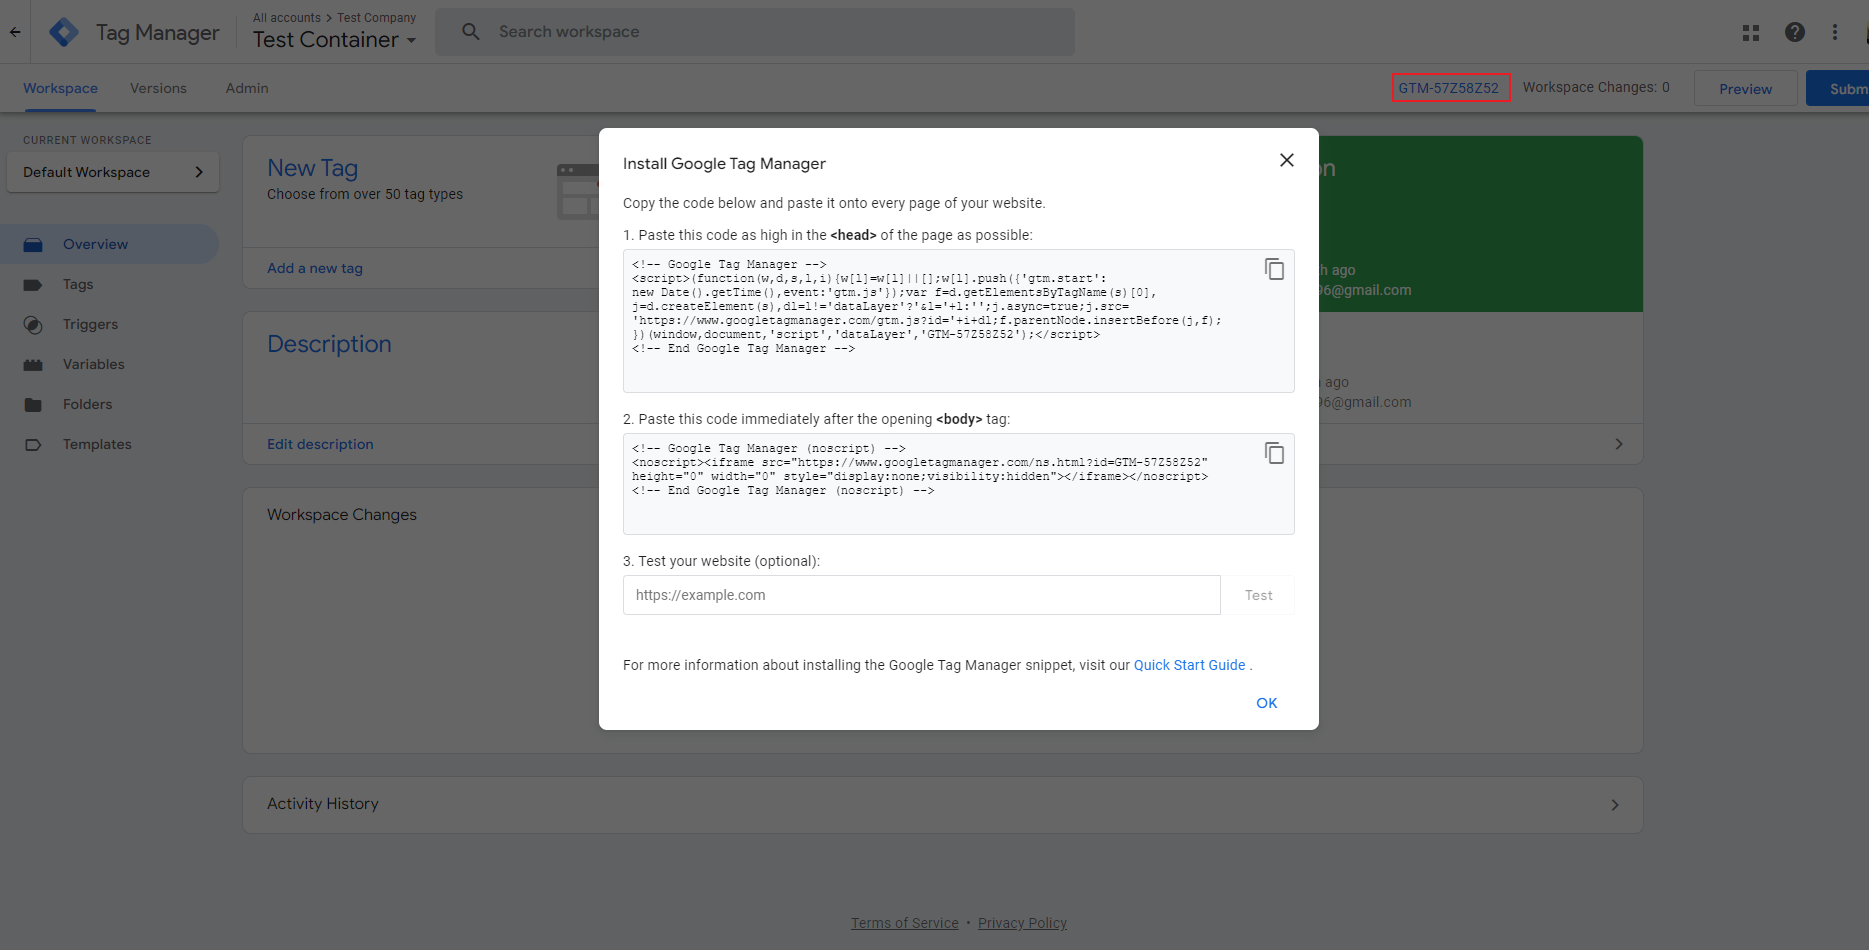
You should add these snippets to the head and body section in your custom integration.
Configure Events
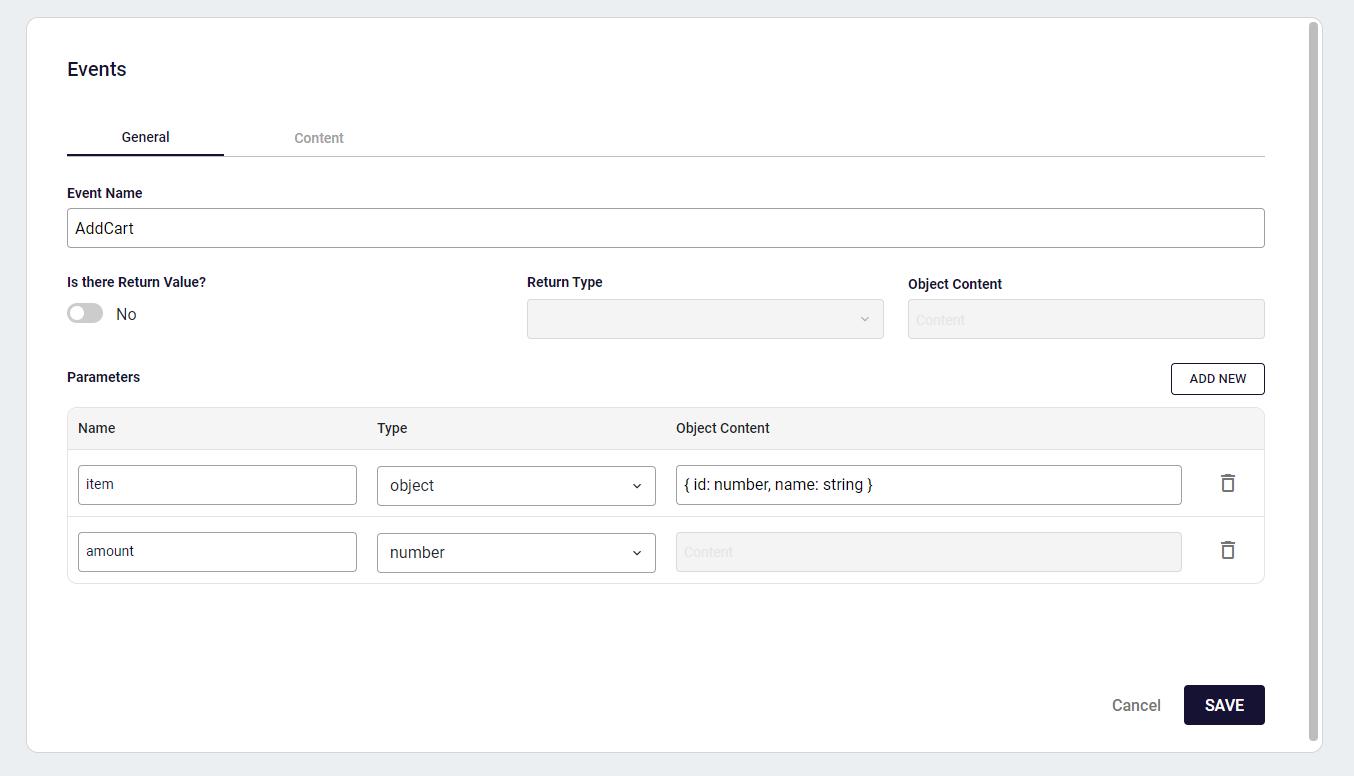
Assume you have an e-commerce application where you want to track every product that has been added to the cart by the users. In order to make this happen, you need to add a custom event that accomplished this task on every add-to-cart button click.
Now, configure a custom event called AddCart. The event will take two parameters as item and amount respectively. Item parameter will be an object consisting of two fields as ID (ID of the product) and name (name of the product).
- Next, you need to add a custom script that will be executed when the event you created in the previous step is triggered.
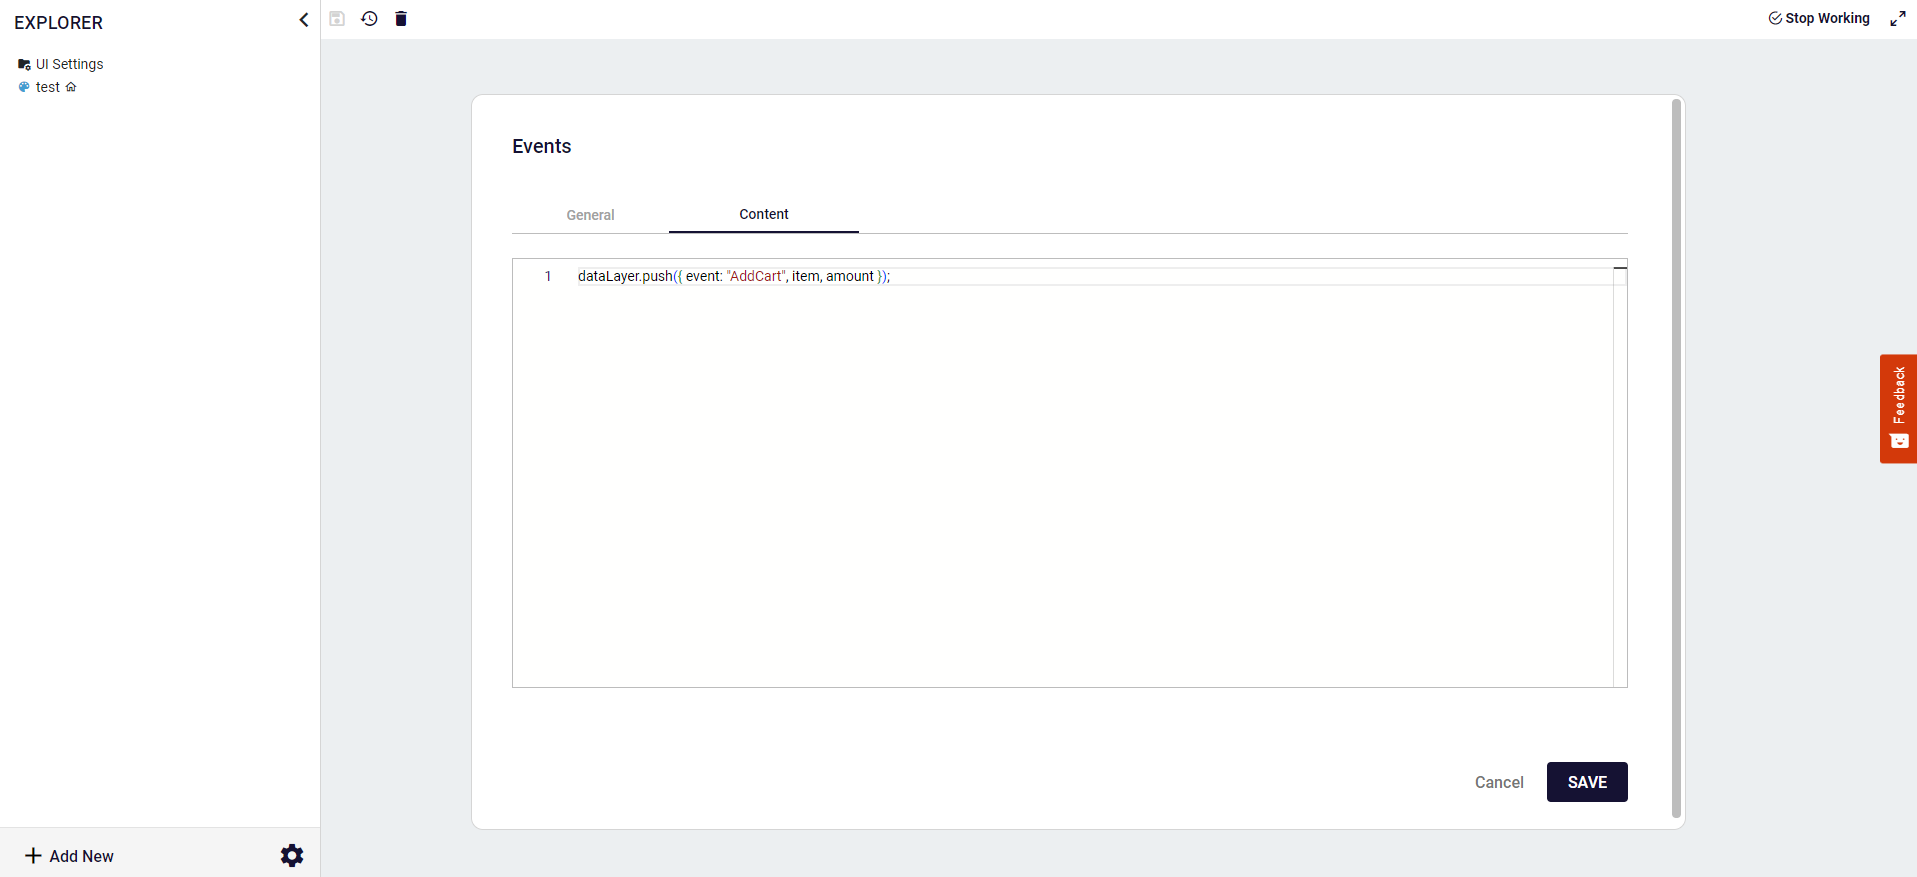
dataLayer object is automatically added to your application when you add the GTM Container to your application in the head and body section. Pushing data to the dataLayer will let you track them in the Tag Manager panel.
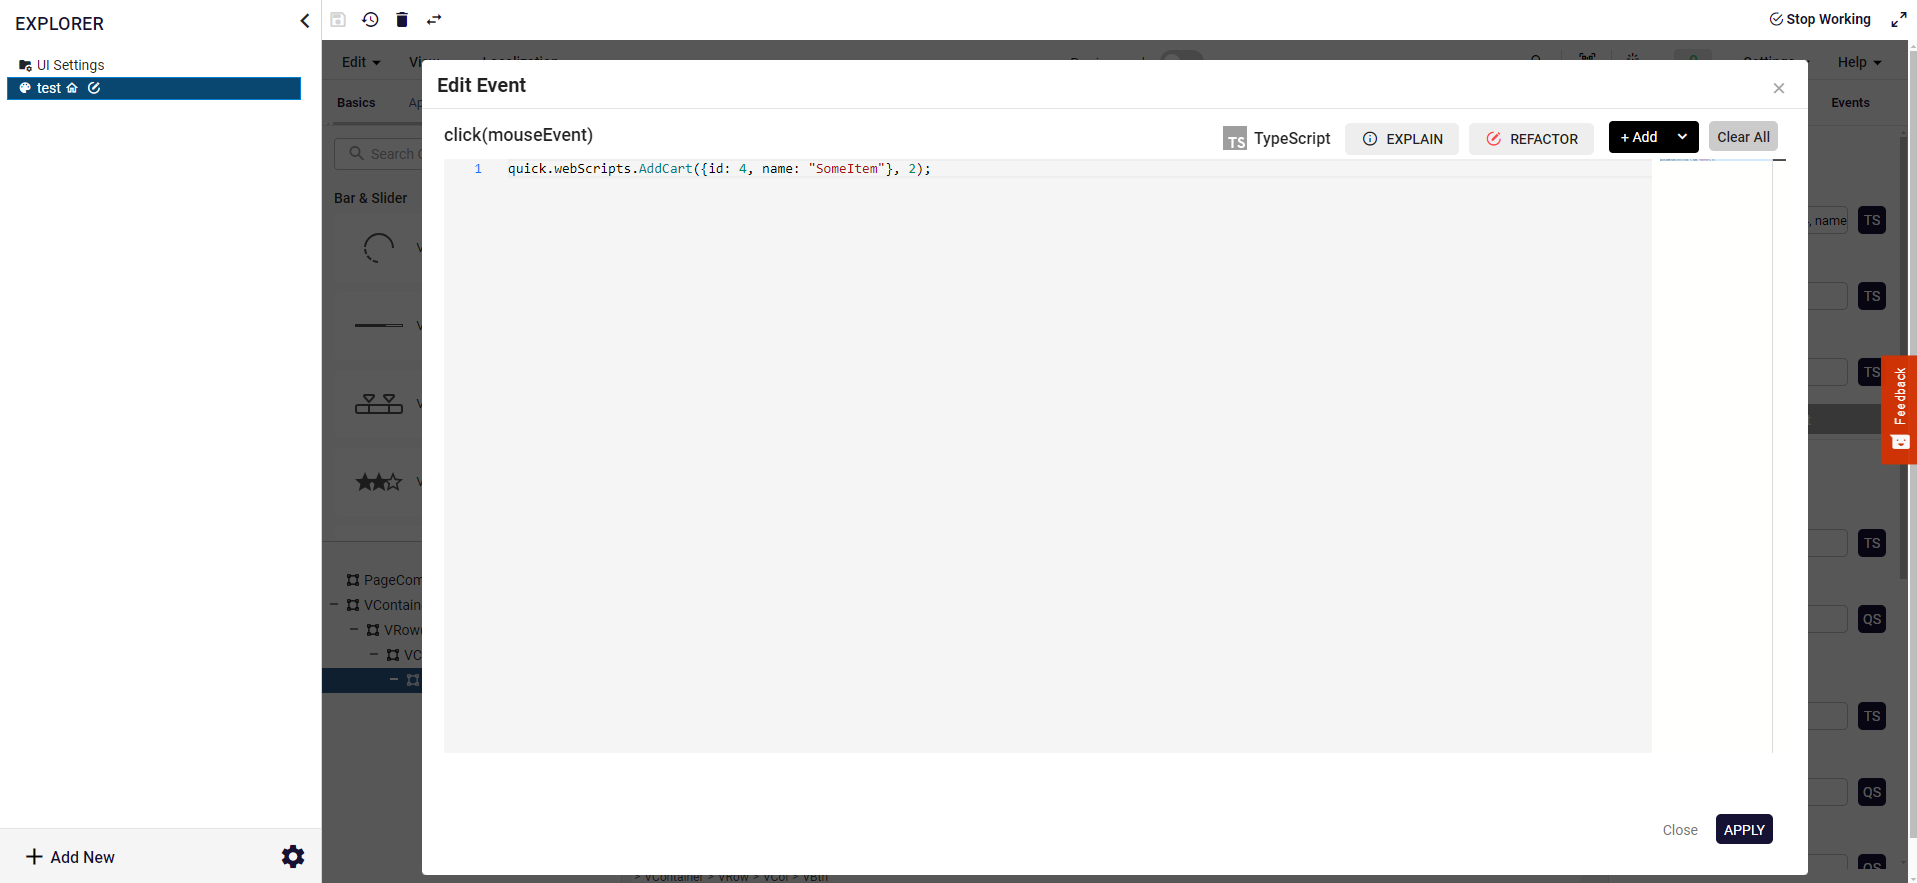
UI Editor Event Calling and Application Export
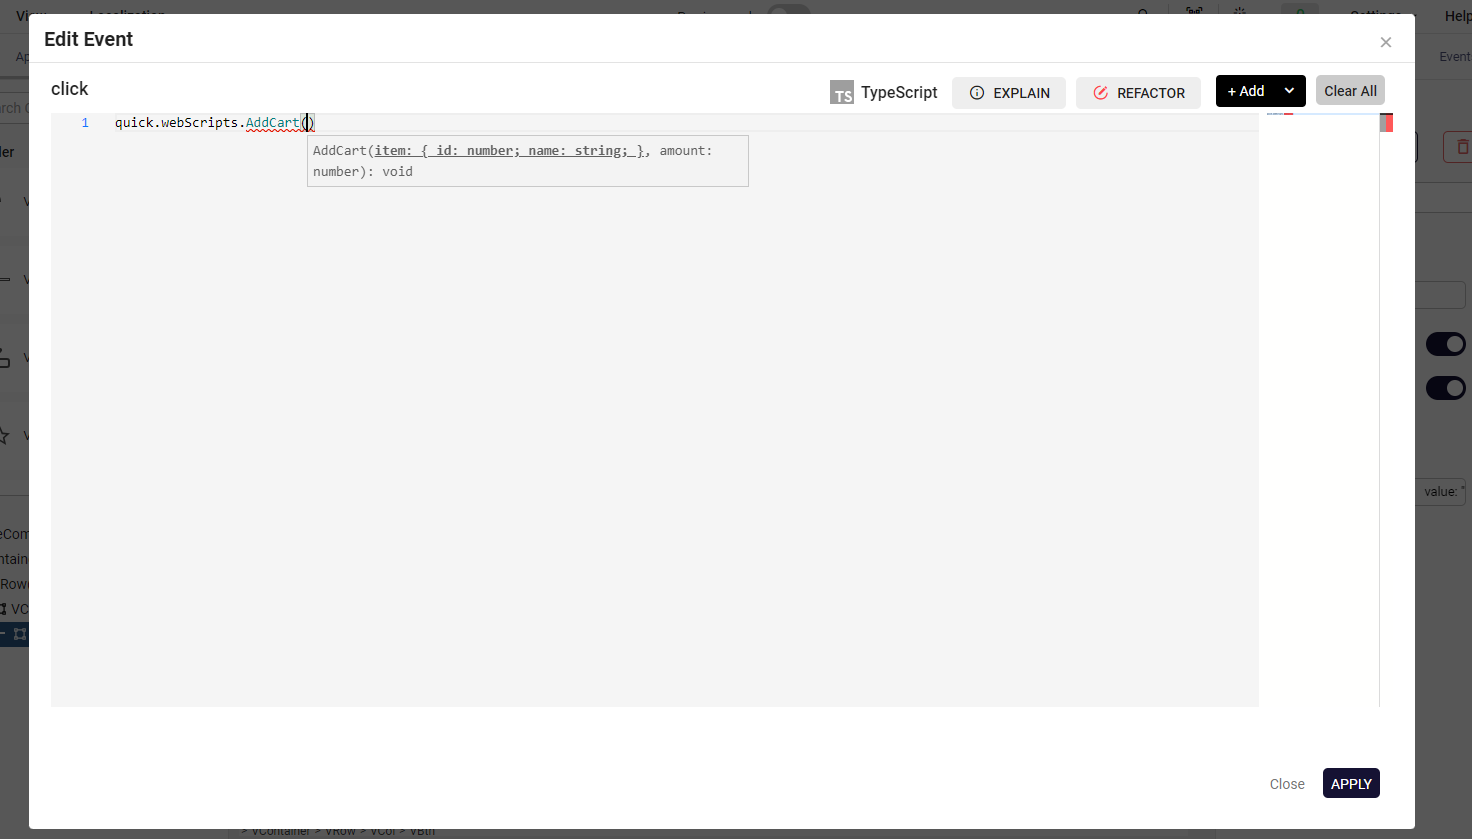
After saving all of configuration for the steps above, you need to proceed to the UI Editor to call your custom event in the corresponding button.
This is the part where you actually trigger your custom event with parameters on a button click.
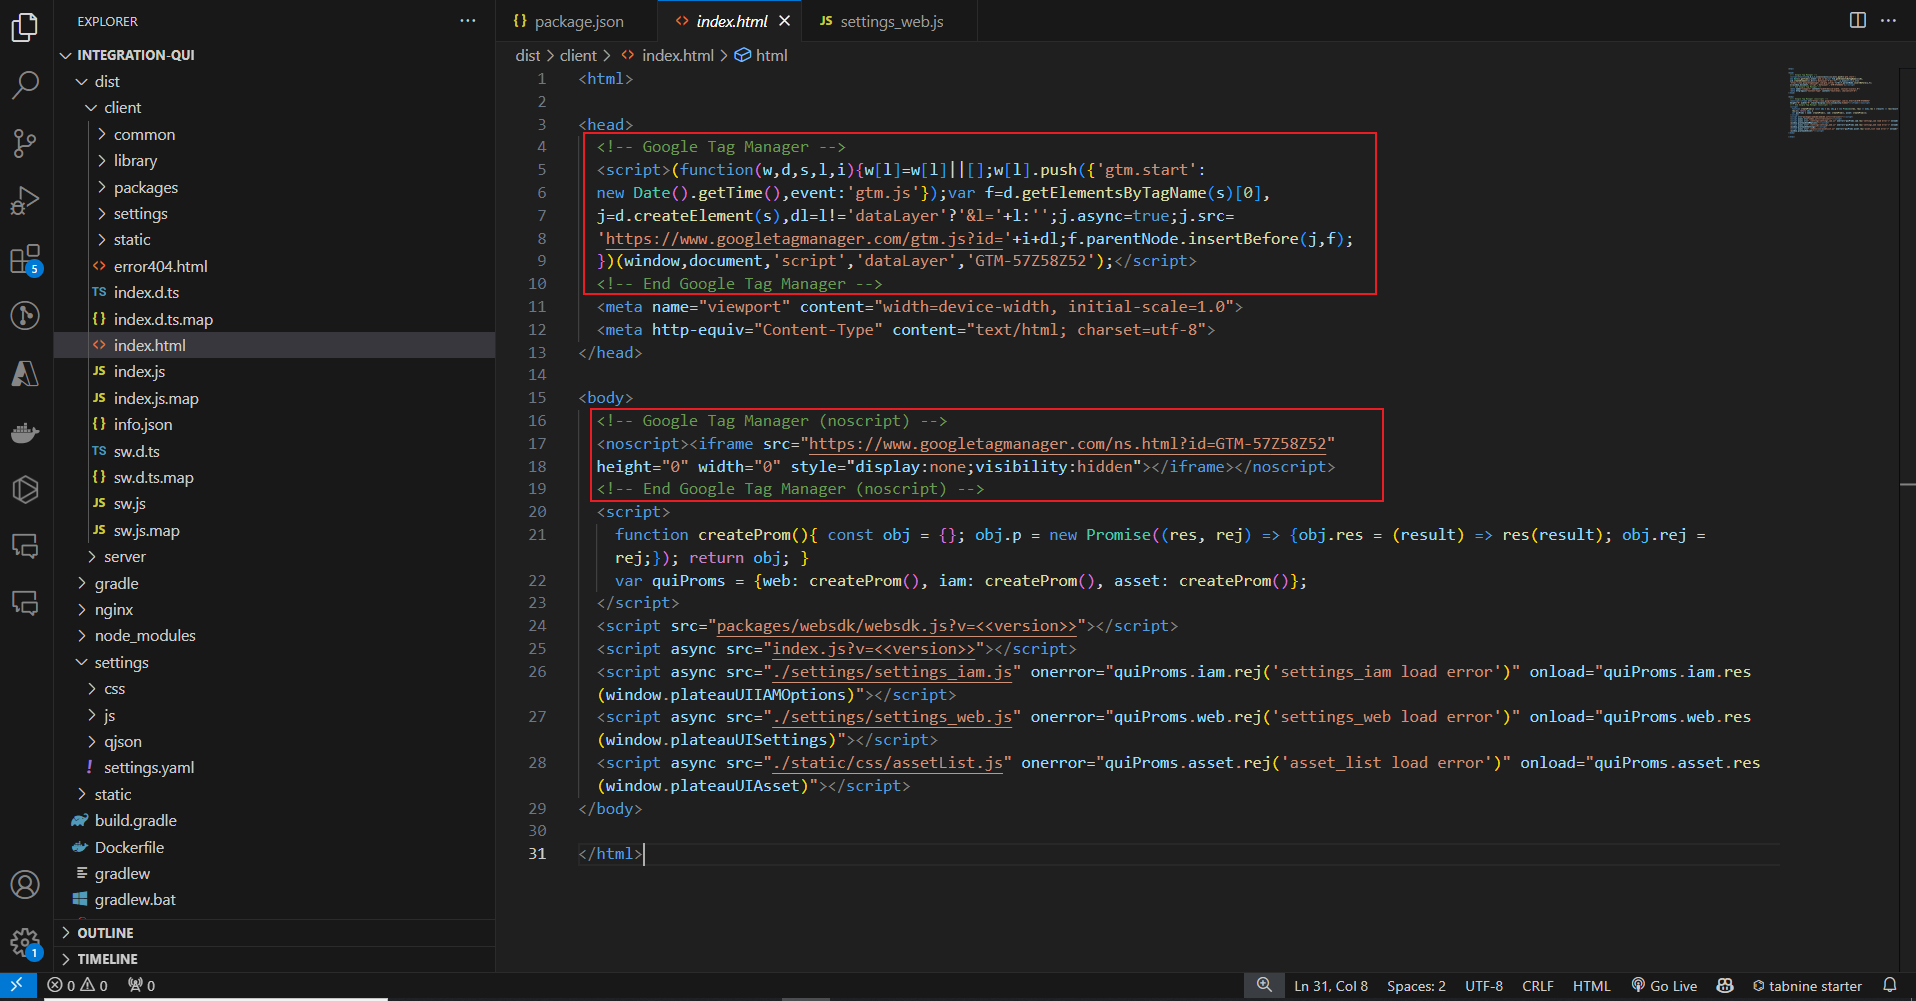
- As a next step you need to save all of your changes and export your project. After the export is completed, you will see that your GTM container is added to the index.html file of your application.
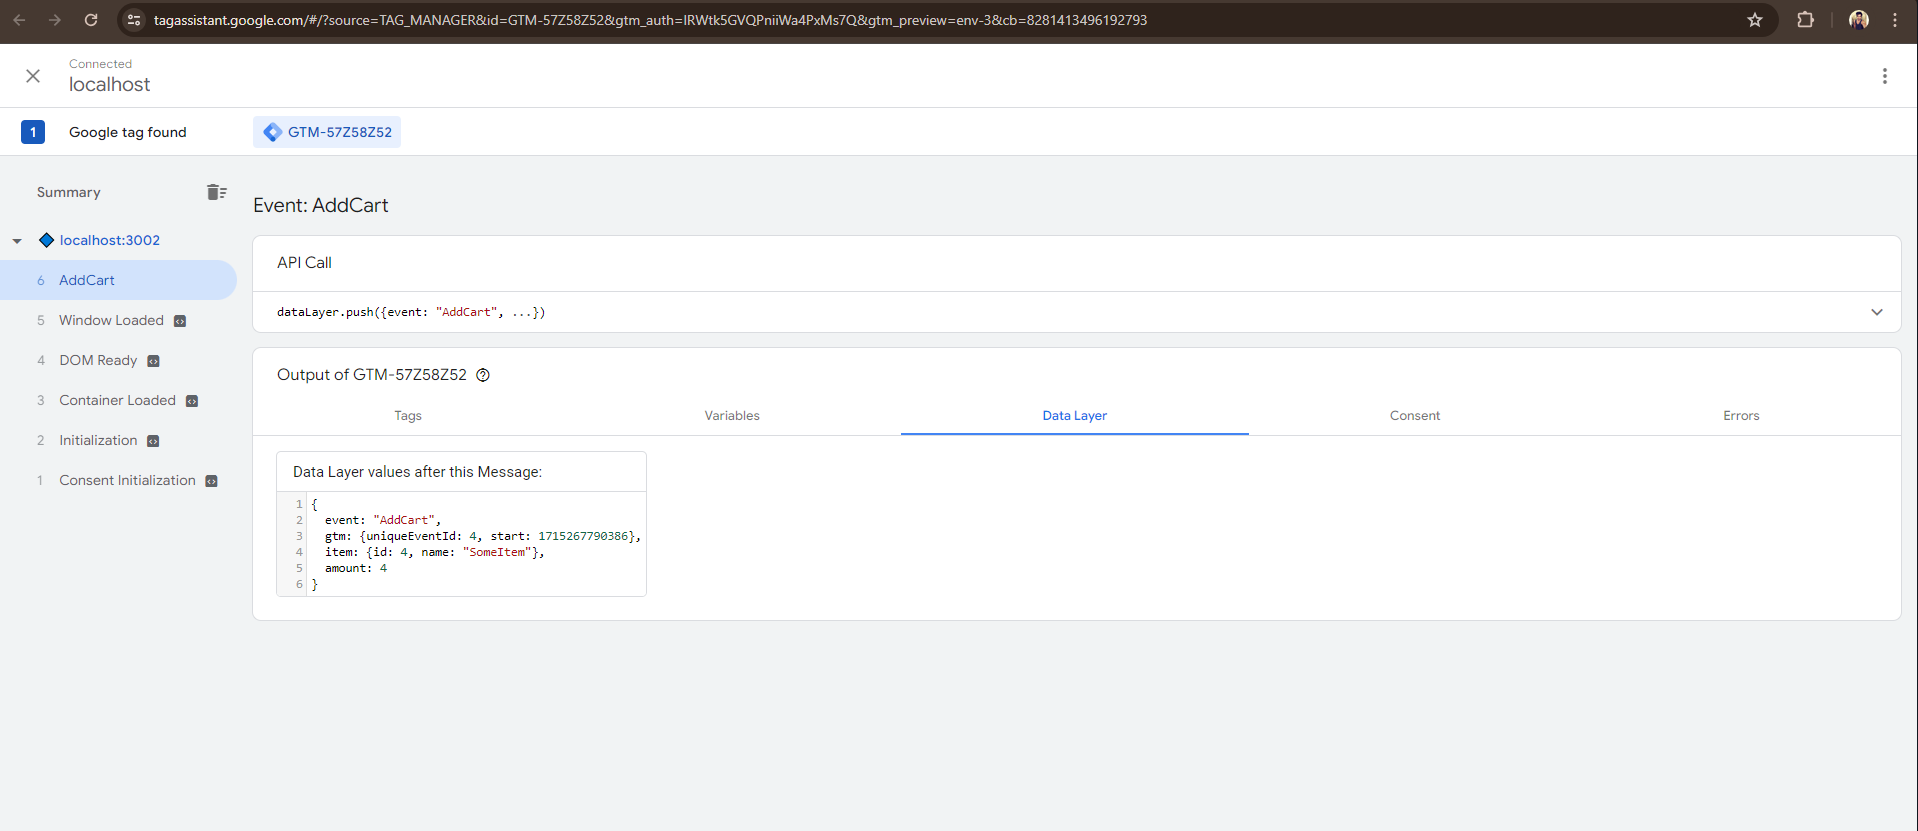
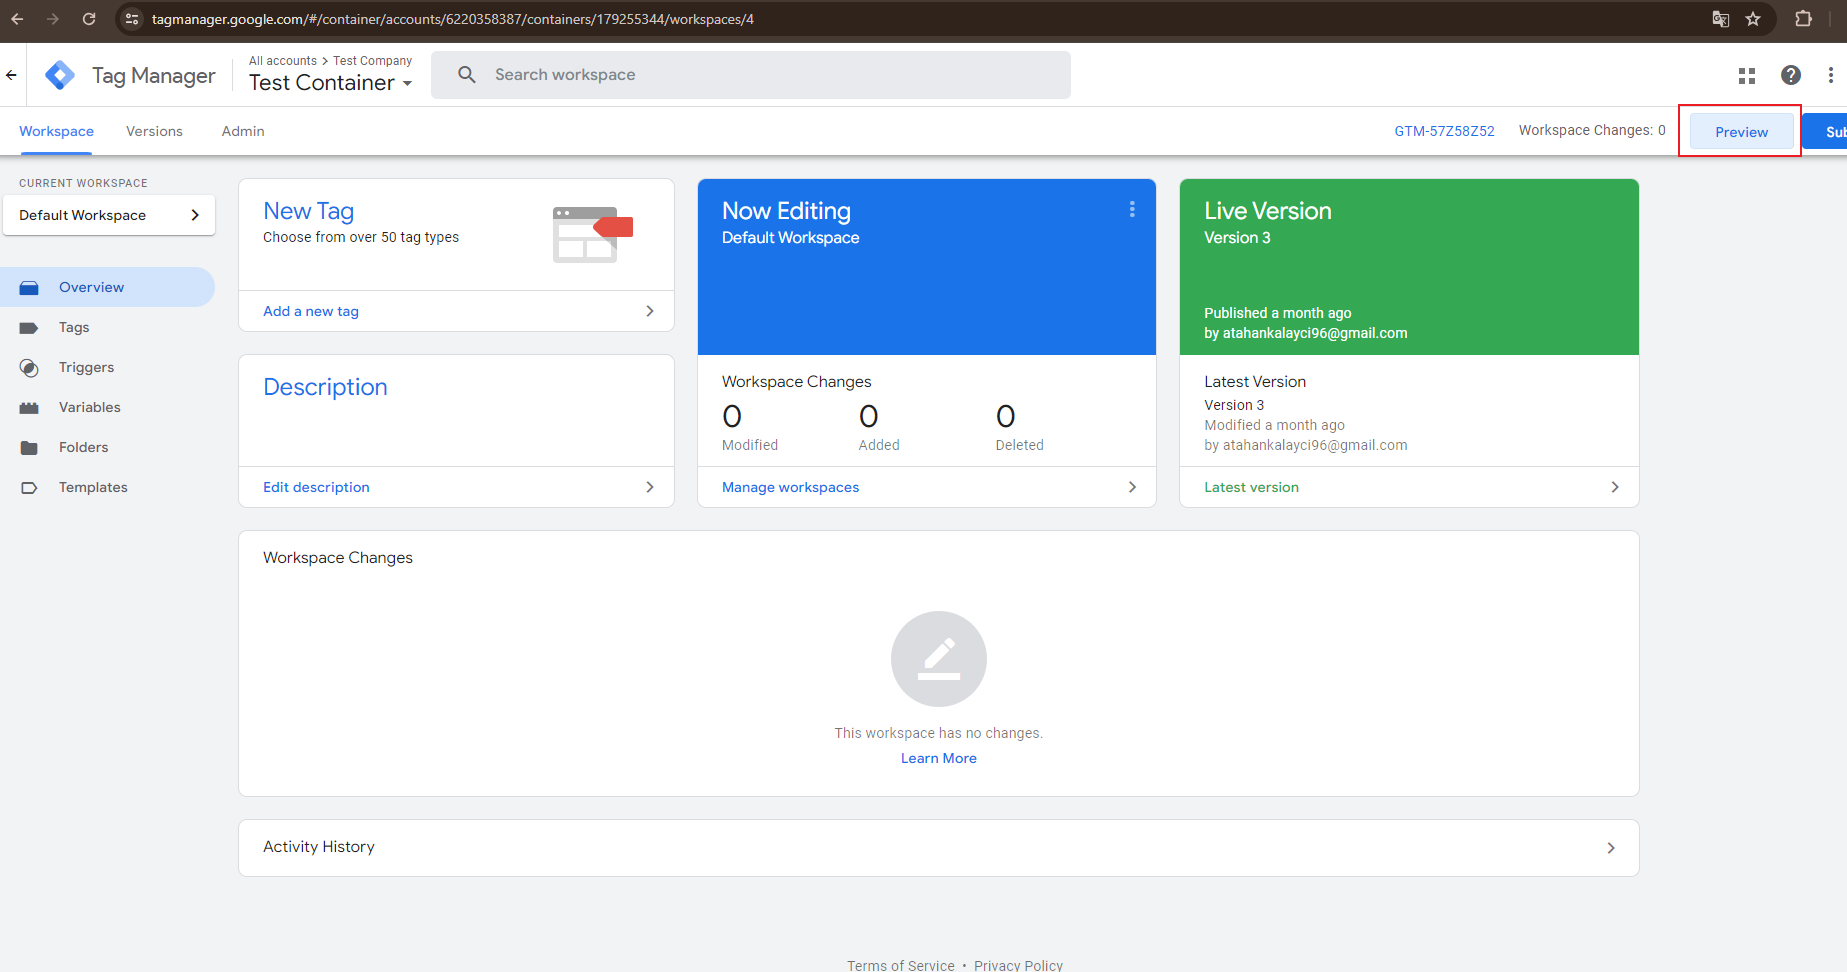
Preview and Test Your Custom Event in GTM
- Click Preview button in GTM Panel.
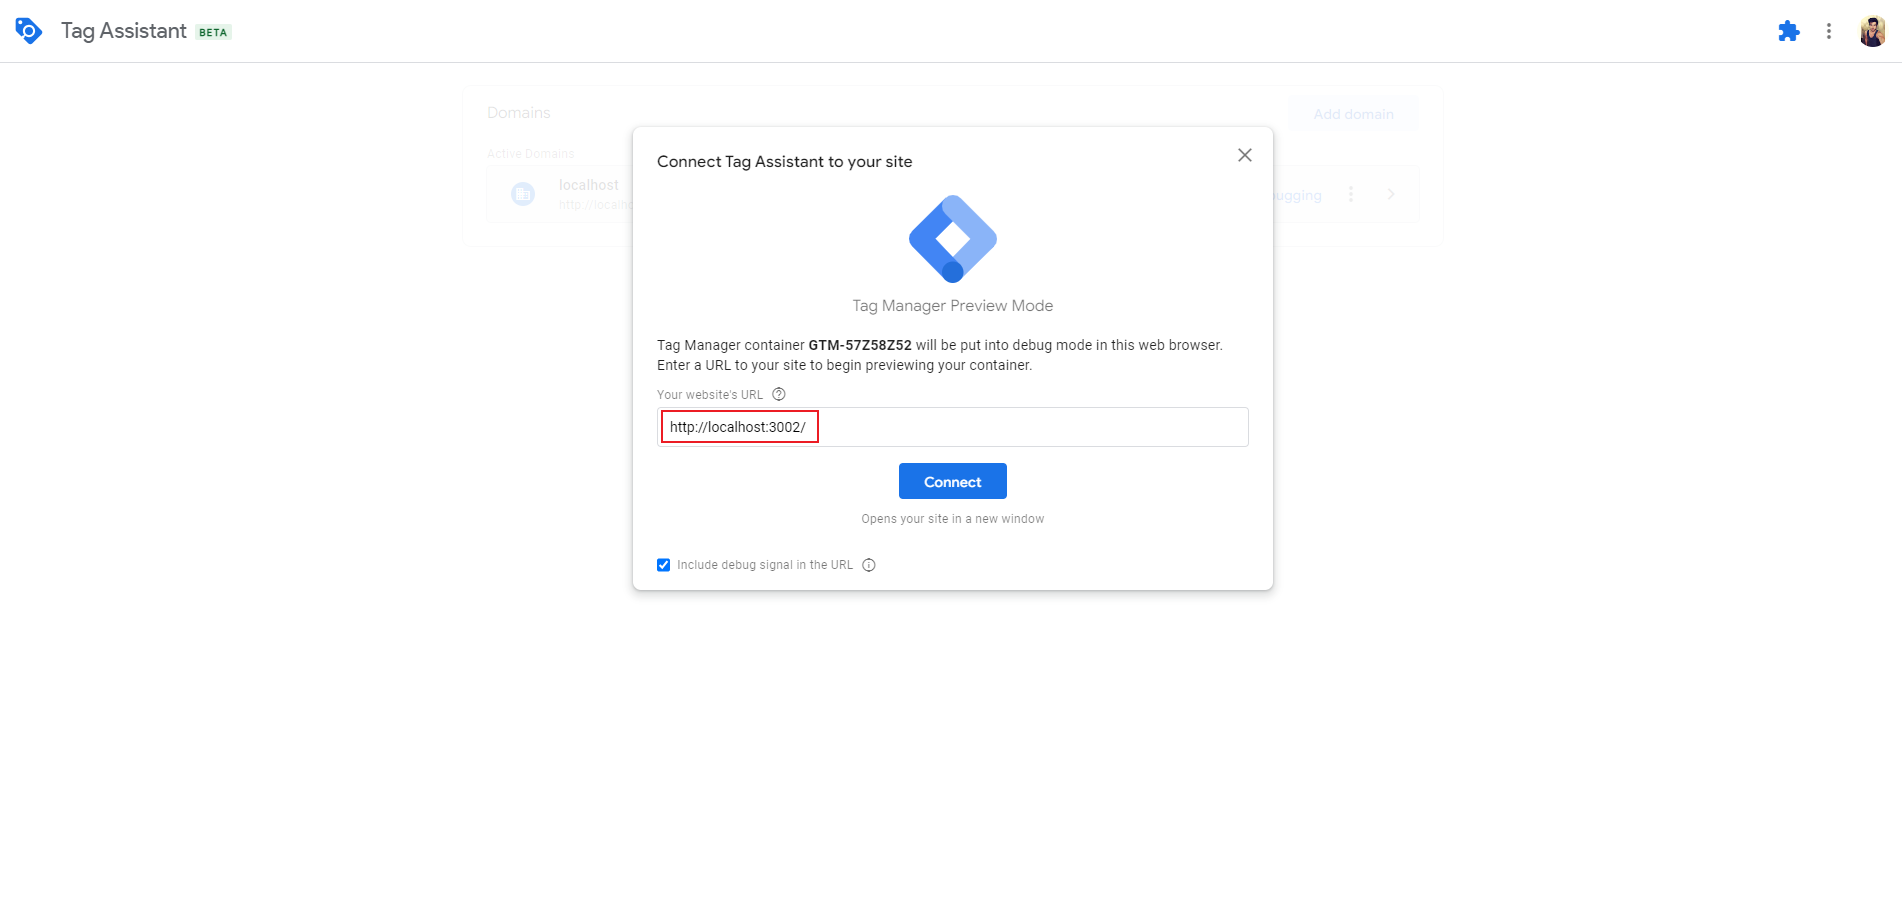
- Enter your QUI url and click Connect.
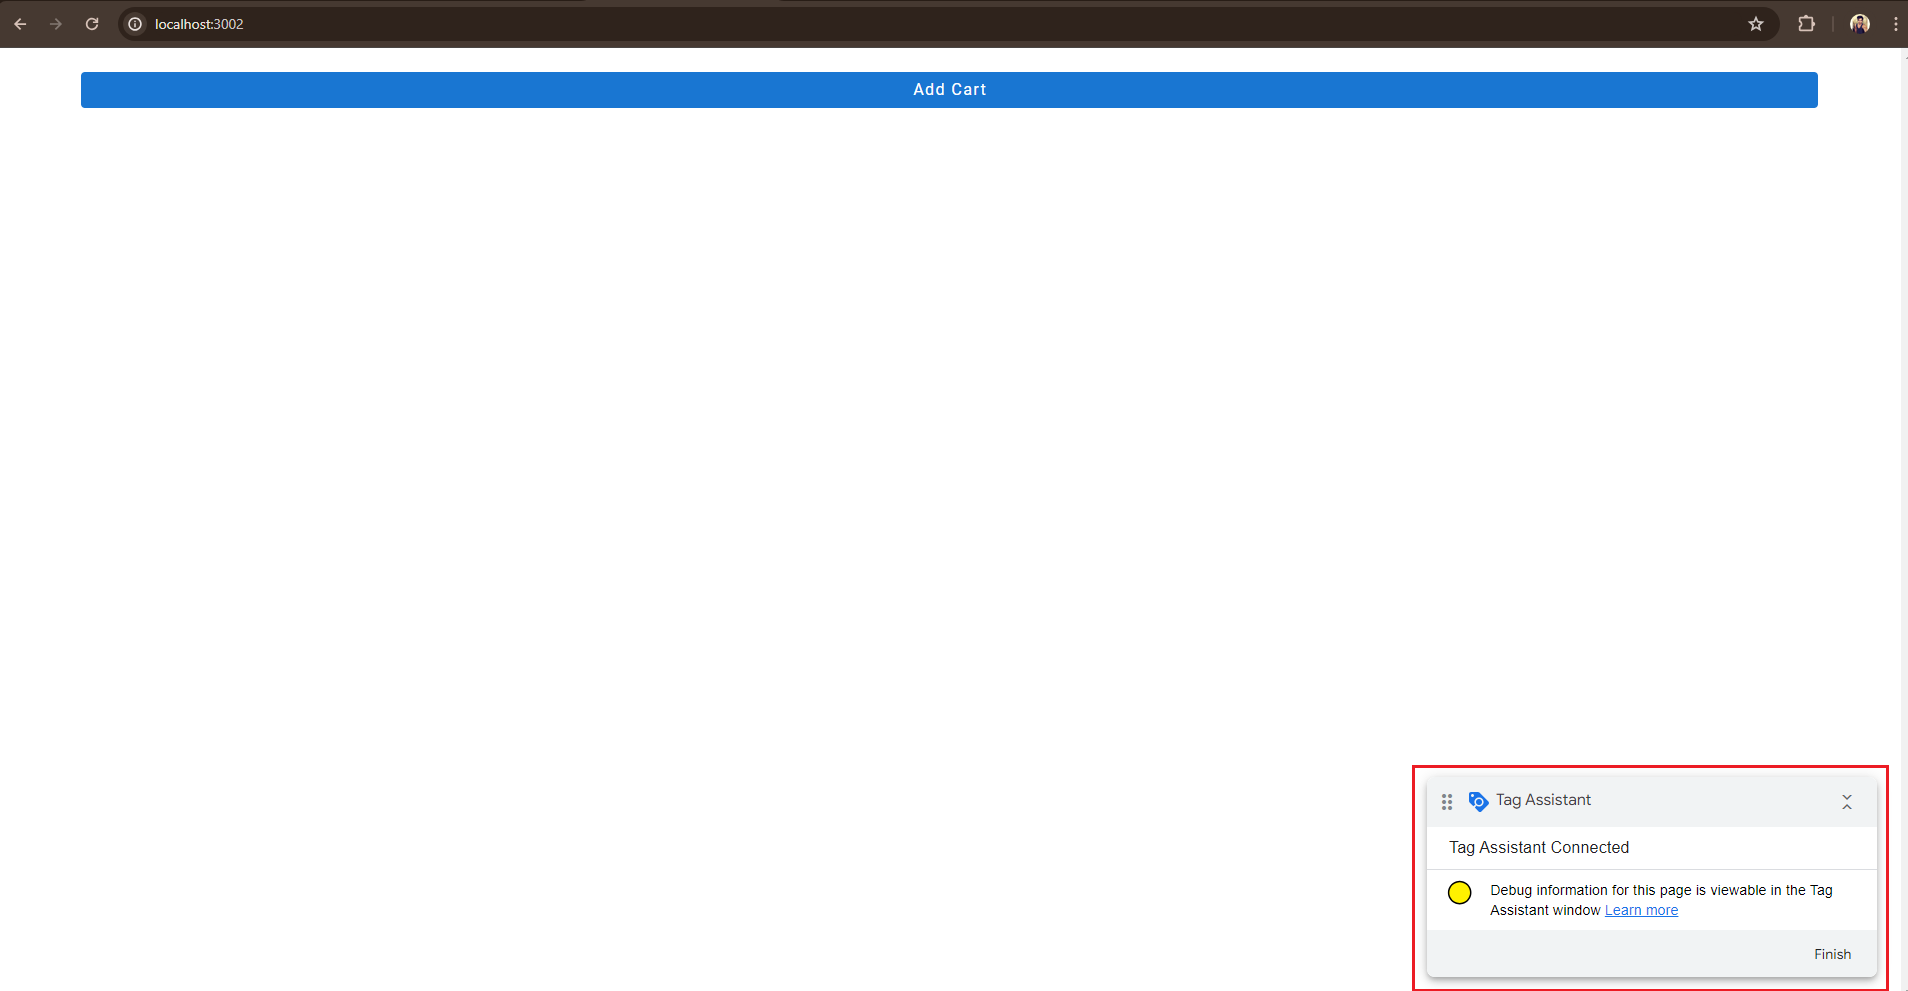
- After GTM is connected to your application, you will see the popup on the bottom right which means GTM is succesfully activated on your application. Then click the AddCart button.
- Clicking the AddCart button will add the corresponding event to the GTM panel and this way you will be able to track your data through GTM website.