Style File
In Plateau Studio, Style File is a file that contains a set of instructions that define the appearance of the user interface.
In the Style File, you can define the font, color, size, or visual elements in your application, and change the style of multiple web pages at the same time.
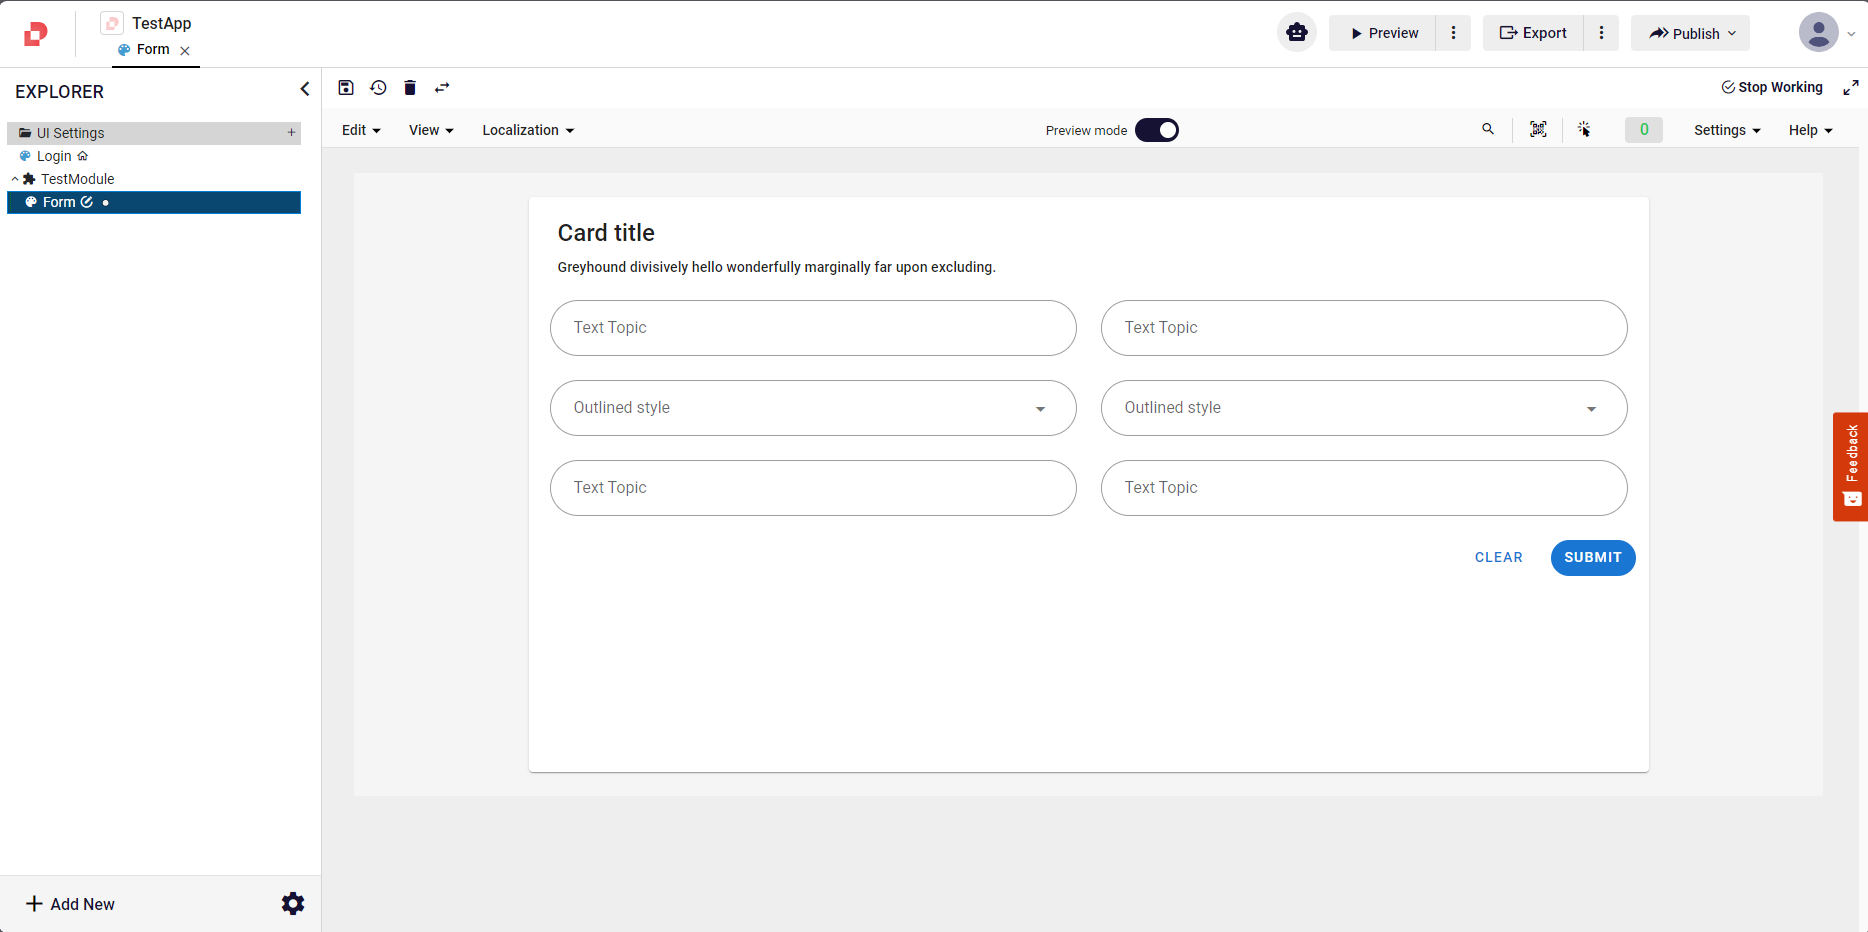
After writing and saving the CSS codes you want to define in the Style File, you can view the change you made with CSS using the Preview button in the StudioApp bar or the Preview Mode Button in the Top Bar in the UI editor.
| Preview Button | Preview Mode Button |
|---|---|
 |  |
How to Create Style File?
- Click the plus button to the right of the UI settings folder located in the Explorer window.
The Style file is selected in the window that opens.
How to Write CSS Code in Style File?
V-application component is part of the Vuetify framework, which is a Material Design component framework for Vue.js. For this reason, you need add the body .v-application at the beginning of your CSS codes.
Usage Example
Create a screen called Form where you can apply CSS.
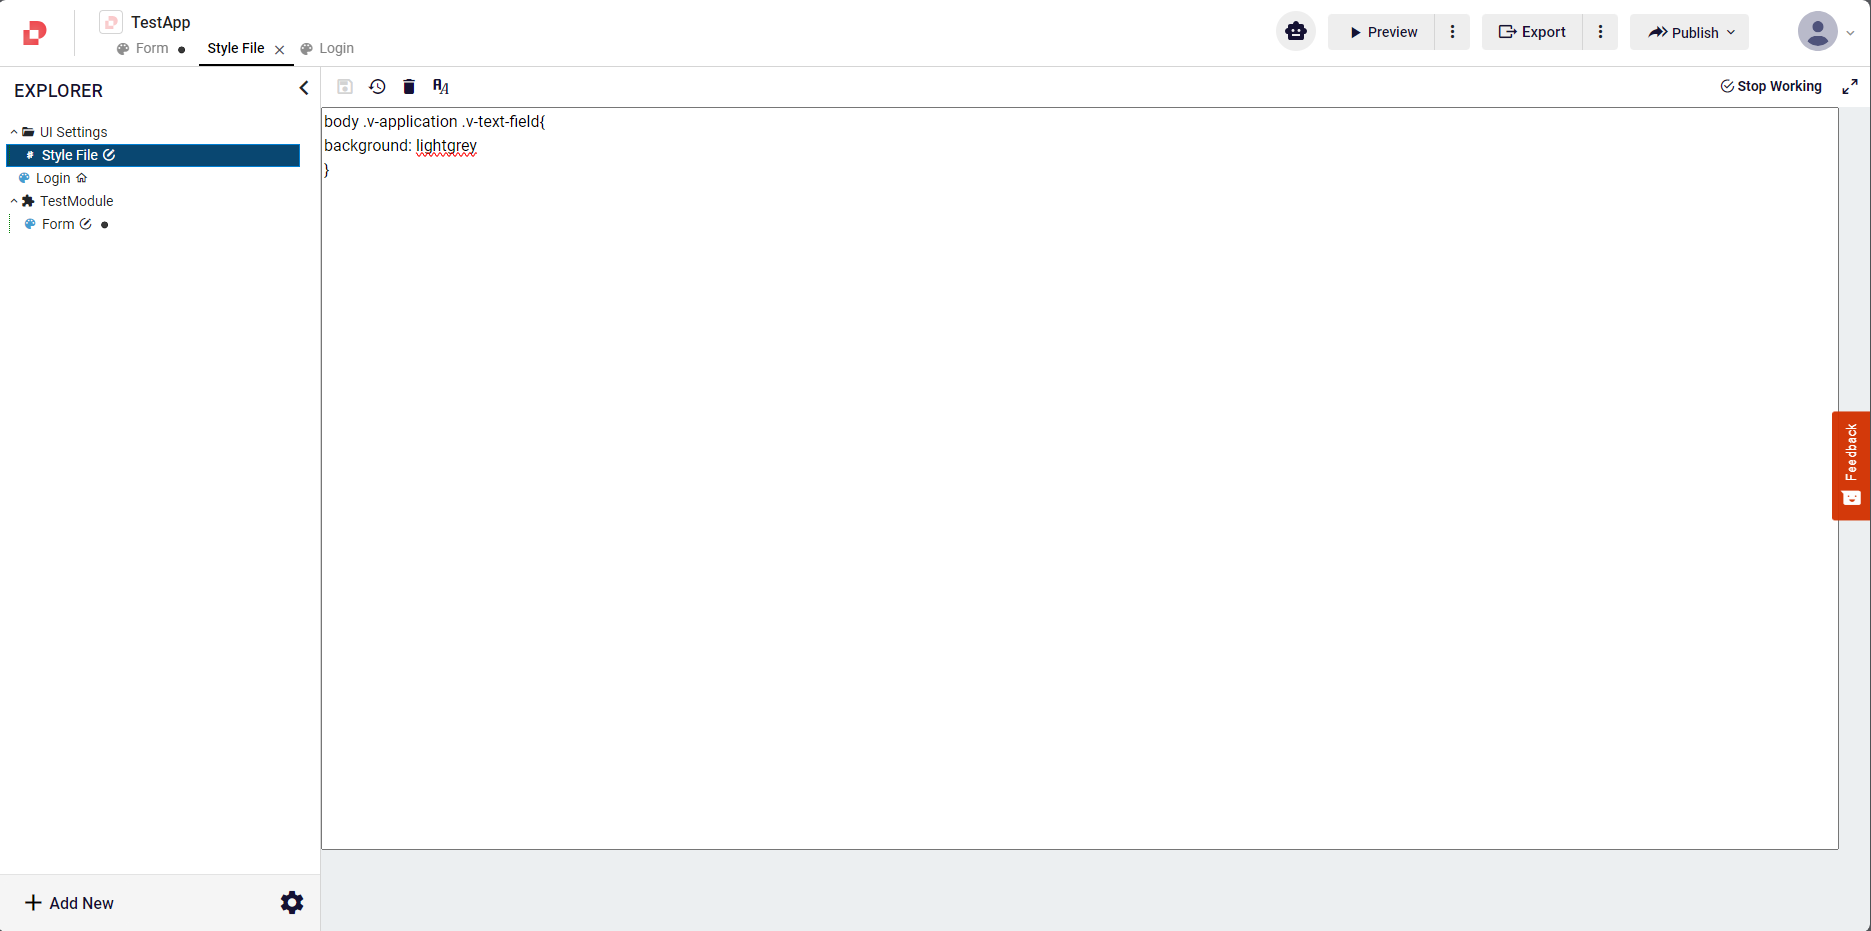
Then create a Style file
To make the background color of the VTextField components on the form screen lightgrey, add the following CSS code to the Style File.
body .v-application .v-text-field
{
background: lightgrey
}
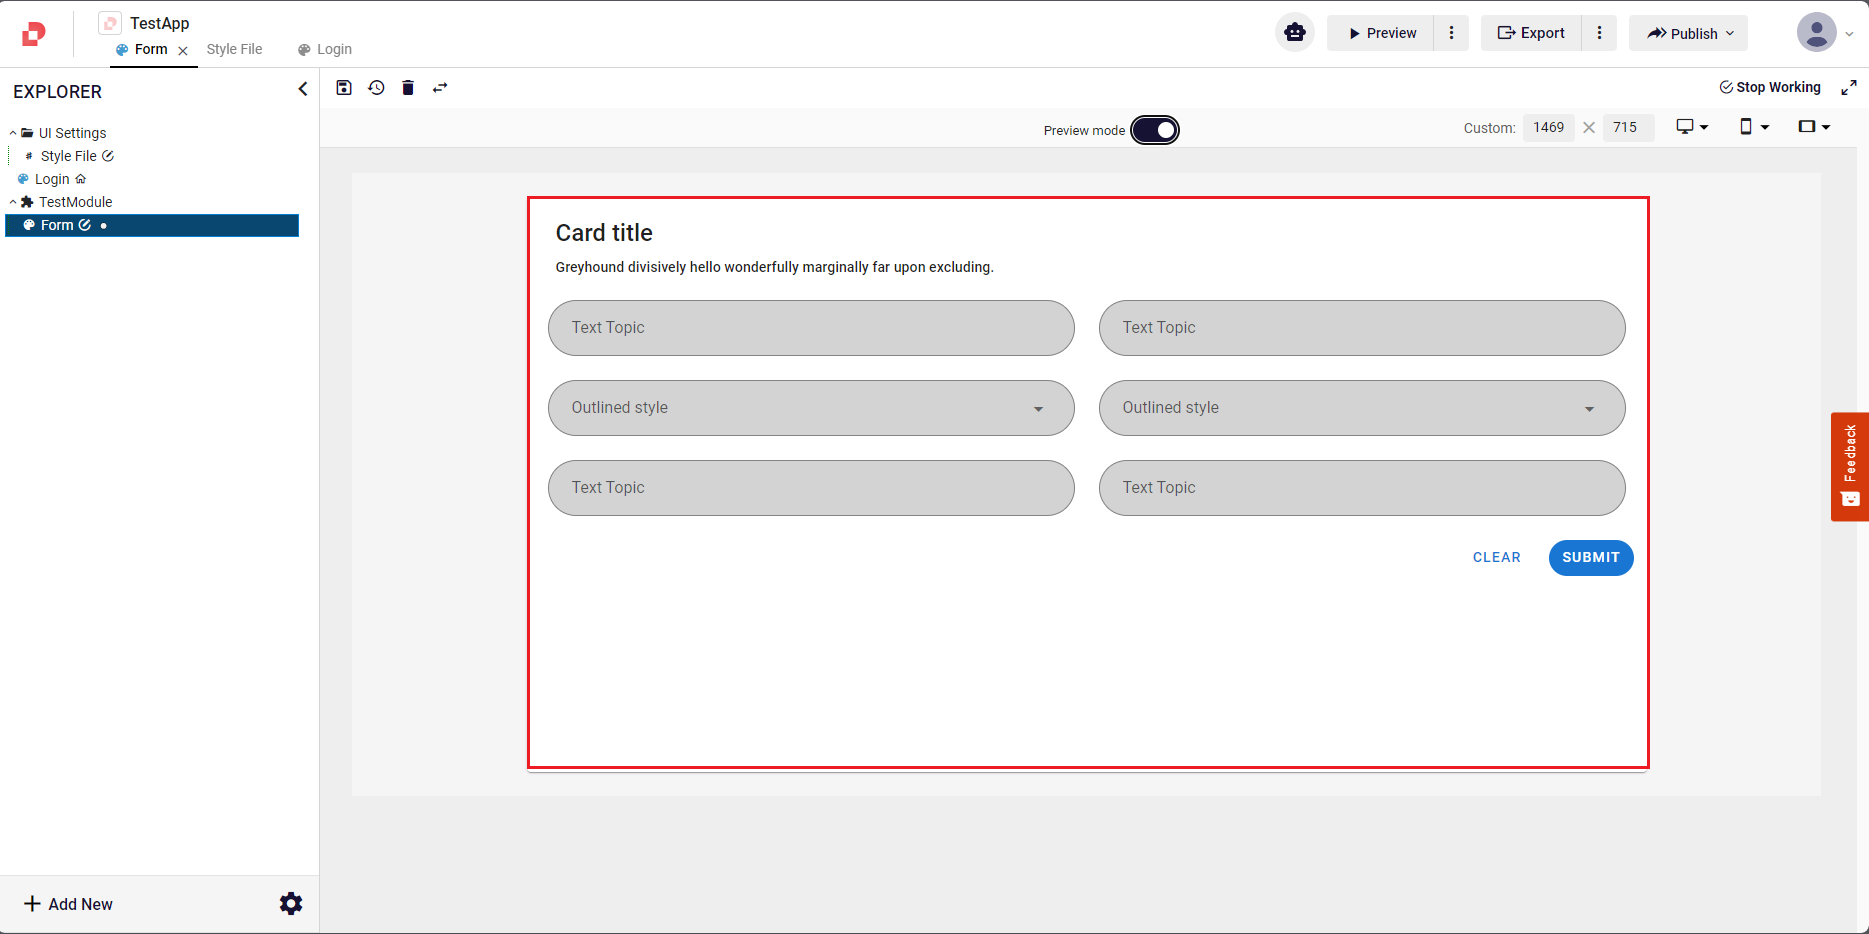
- After the change in the style file, we can switch to preview mode on the Form screen and see that the background color in the components has changed.
How do Use the Add Font Feature in a Style File?
Add Font is a feature in Plateau Studio that enables you to add various font formats and using them in your applications.
How to Upload Font Files into Your Application?
To upload font file into application, click Add New button in the bottom-left corner of the page and click Upload From Local.
Font files are selected by clicking in the middle of the opened dialog, then click Upload button.
Note: Keep in mind that Plateau Studio currently only accepts font files in .woff, .woff2 and .ttf format.
- You can also add font files under modules by clicking Add button next to module.
How to Use Fonts?
You need to add Style Files first from UI Settings to apply font formats in your components as mentioned above.
While in the Style Files, click Add Font button at the top left of the screen.
In the dialog that appears, the fonts added to the application are listed.
When you click the font you want to add, the font ID is written to the location of the cursor in the Style File.
Usage Example
    @font-face {
        font-family: DXIcons;
        src: local("DevExtreme Generic Icons"),local("devextreme_generic_icons"),url("<<woff2:icmn8uep-j6k3-ke30-kkam-nj2hwwav>>") format("woff2"),url("<<woff:hn129hhx-9l9r-d85z-rzqz-nnfeztau>>") format("woff"),url("<<ttf:n84utne4-n5vs-hoqp-7vu9-cf4w7pat>>") format("truetype");
    }
How to add Custom Font?
- If you are using fonts other than Google Fonts in your project, you can add them to your project. After adding your font, it is now accessible to select and use from the Text section under the Style tab.
Using Custom Fonts in Local Projects
When you export your project and run it locally, custom fonts will not load unless the required @font-face rule is added to your CSS file.
To display custom fonts correctly in the local projects, follow the steps below:
- Add the example block below to your CSS file.
- Replace the font-family value with your font name.
- Use Select Font in Studio to choose the font.
- After selecting the font, copy the generated font-id and insert it into the url section.
Usage Example
    @font-face {
        font-family: FontName;
        src: url("<<font-id>>");
    }
How to Block Request Google Fonts?
- Add the blockFontRequest parameter in settings.yaml file.
Usage Example
blockFontRequest: true
- You need to add custom fonts because it will not request Google fonts. You need to import the custom fonts you add to your css file.
Usage Example
@import url("<<ttf:example-font-id>>");
Multiple Style File
Multiple Style Files opens up a new realm of design possibilities, granting you the ability to integrate multiple CSS files into your projects.
In your enterprise projects, you can prefer to utilize this feature instead of Style Editor.
By enabling the concurrent use of multiple stylesheets, you can exercise heightened design control, explore intricate styling techniques, and achieve customized visual aesthetics.
Note: To utilize the benefits of Multiple Style Files, we invite you to connect with us directly. After we ensure the activation of this feature for your organization, you will see the New CSS option under Add New.