Step 1 — Privilege
For the full editor reference, see the Privilege Editor.
What We Define for Our Scenario
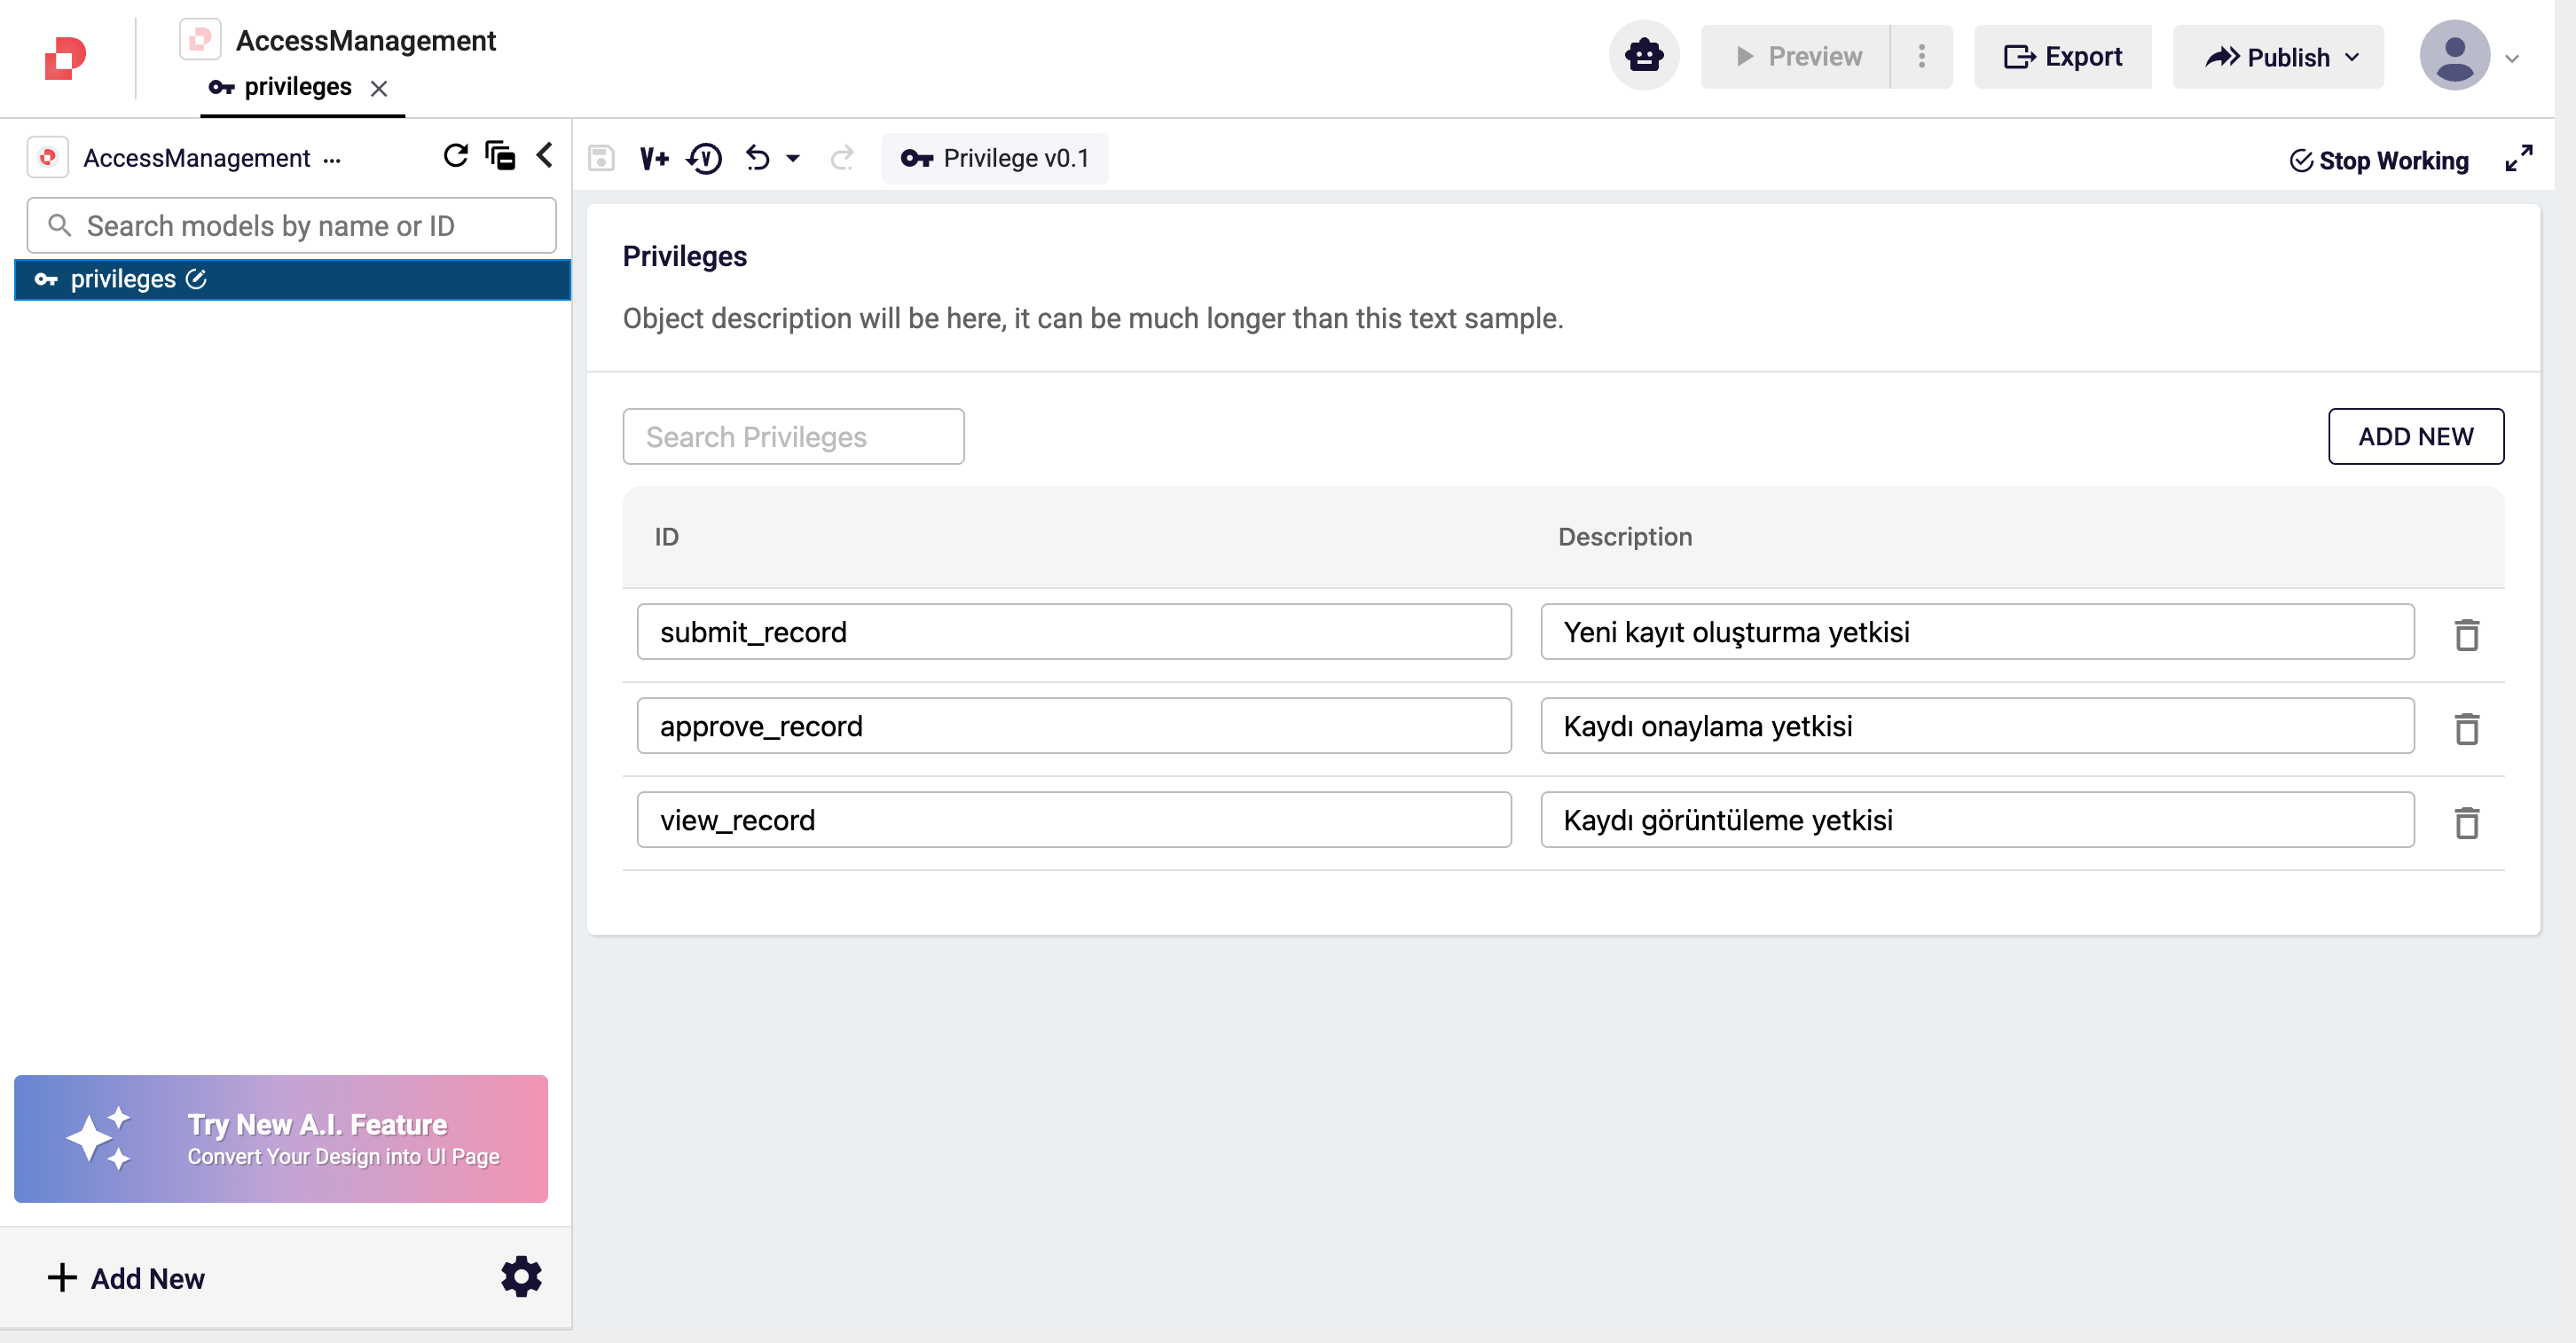
Three privileges are enough:
| ID | Description | Used by |
|---|---|---|
submit_record | Permission to create a new record | Given to the maker |
approve_record | Permission to approve a record | Given to the checker |
view_record | Permission to view a record | Both maker and checker |
Step by Step
1. Open the empty application
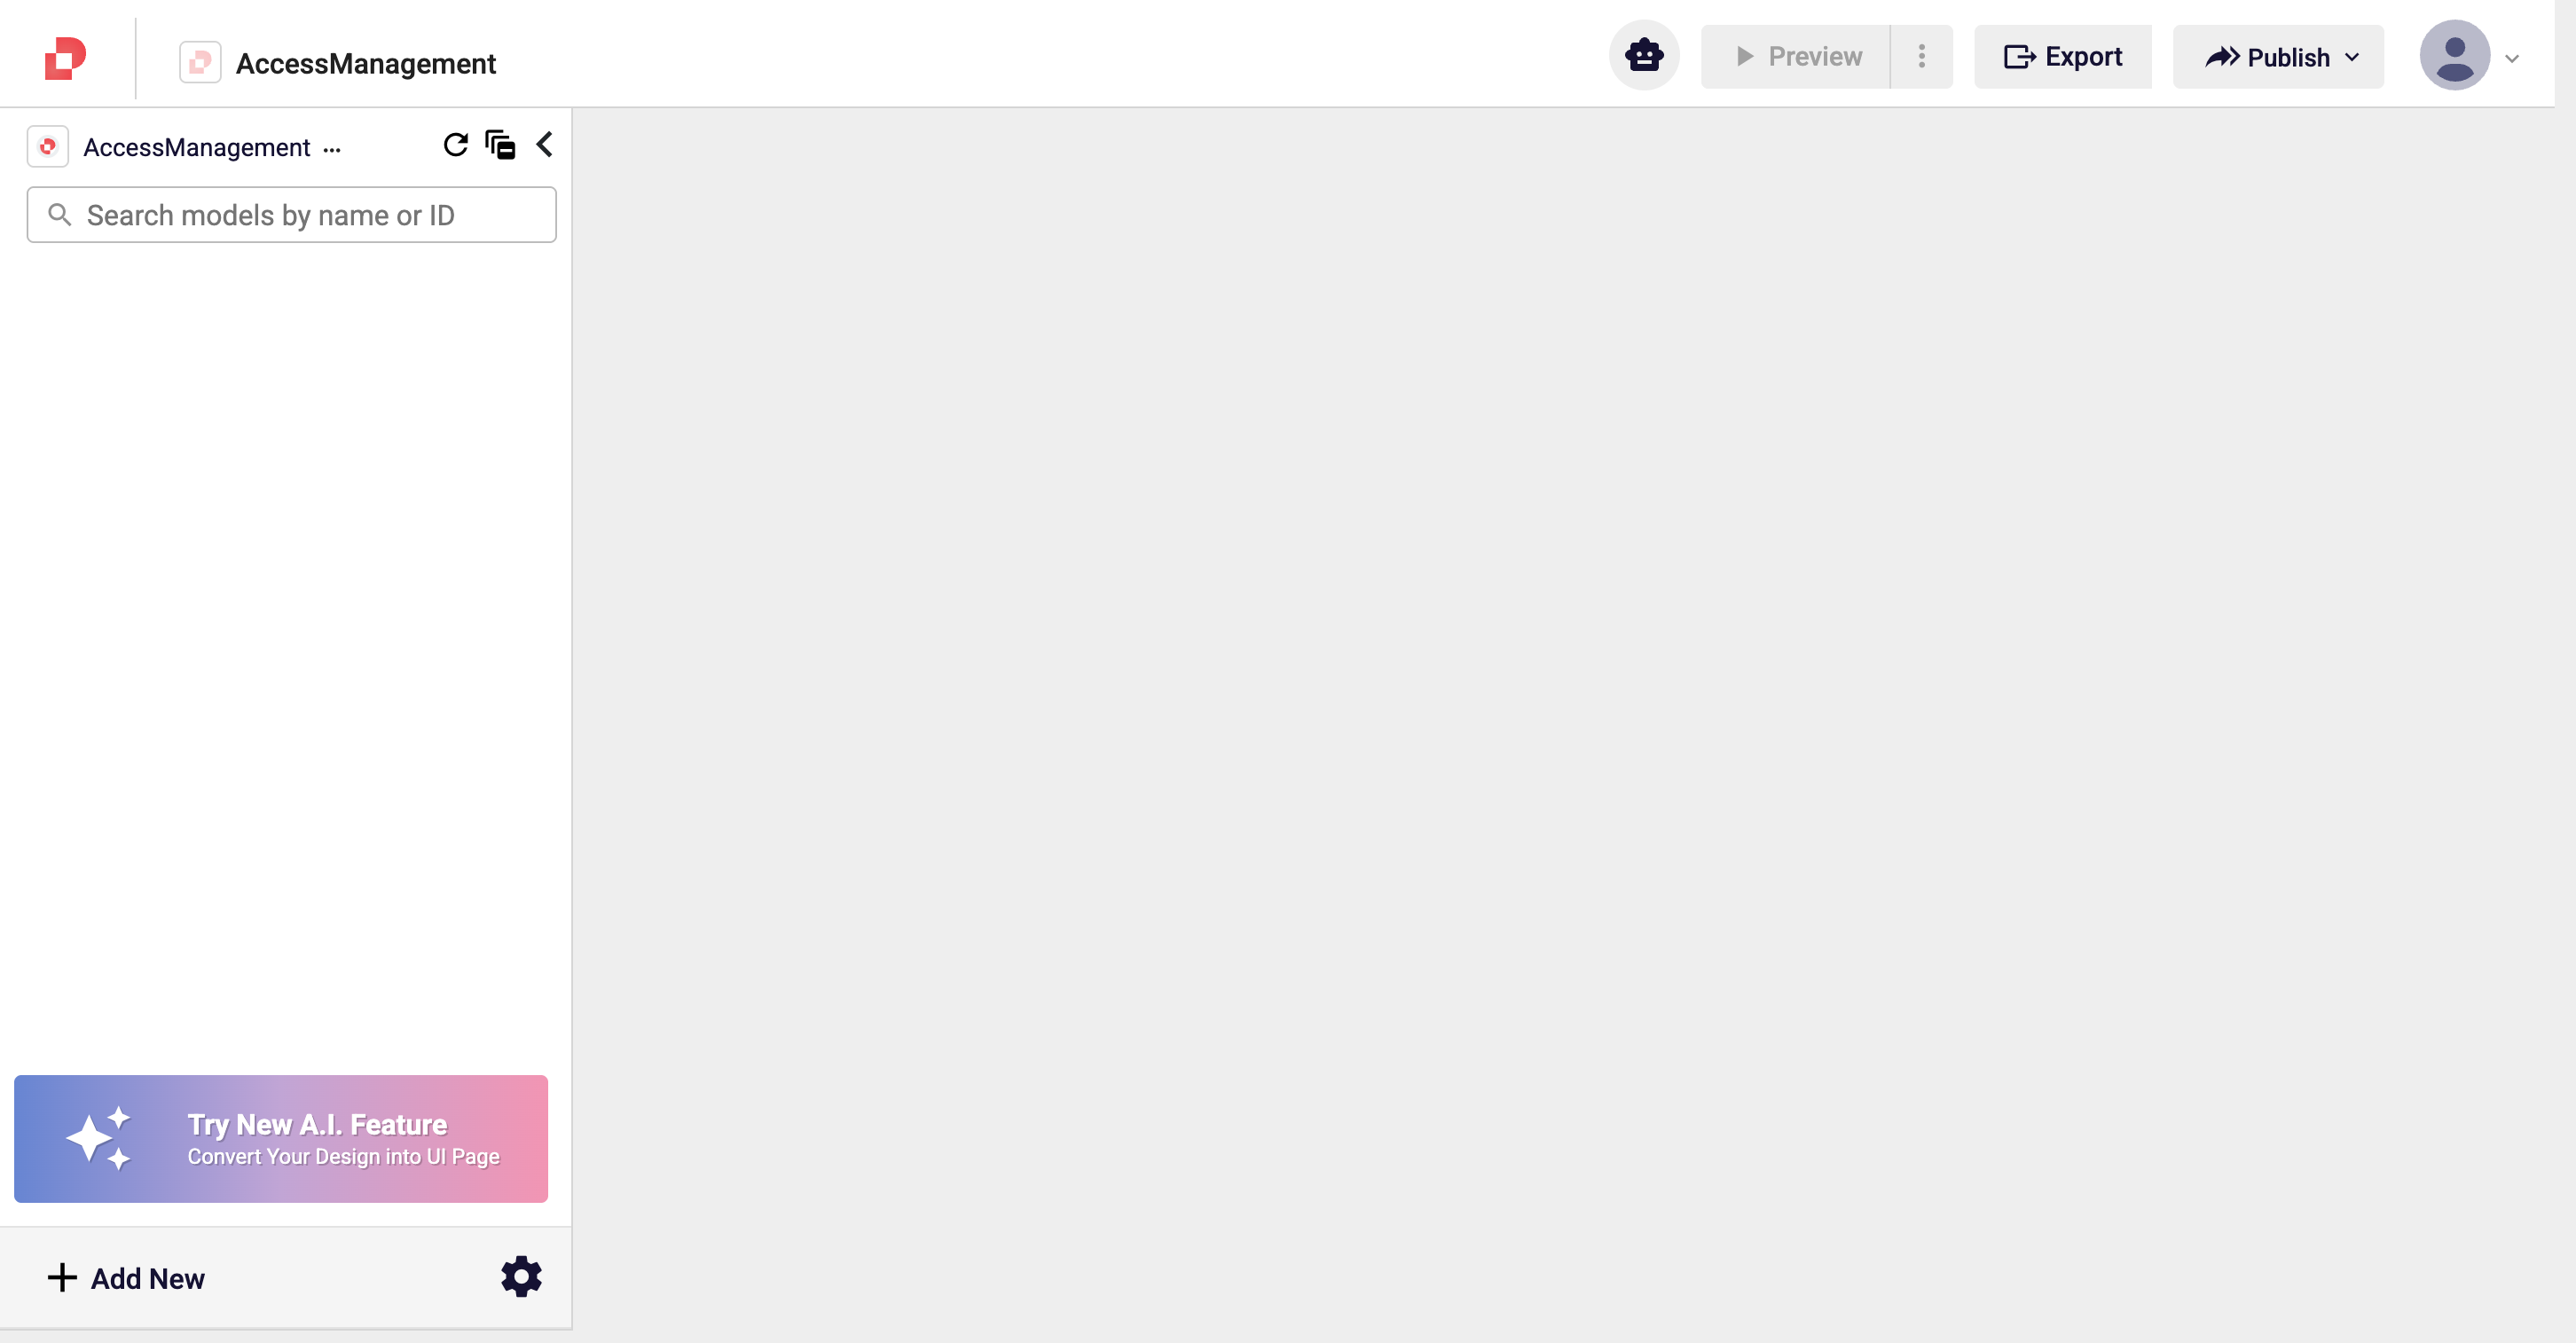
When you create a new Workflow application, the left panel is empty — only Search and Add New are present.
2. Open the Add New menu
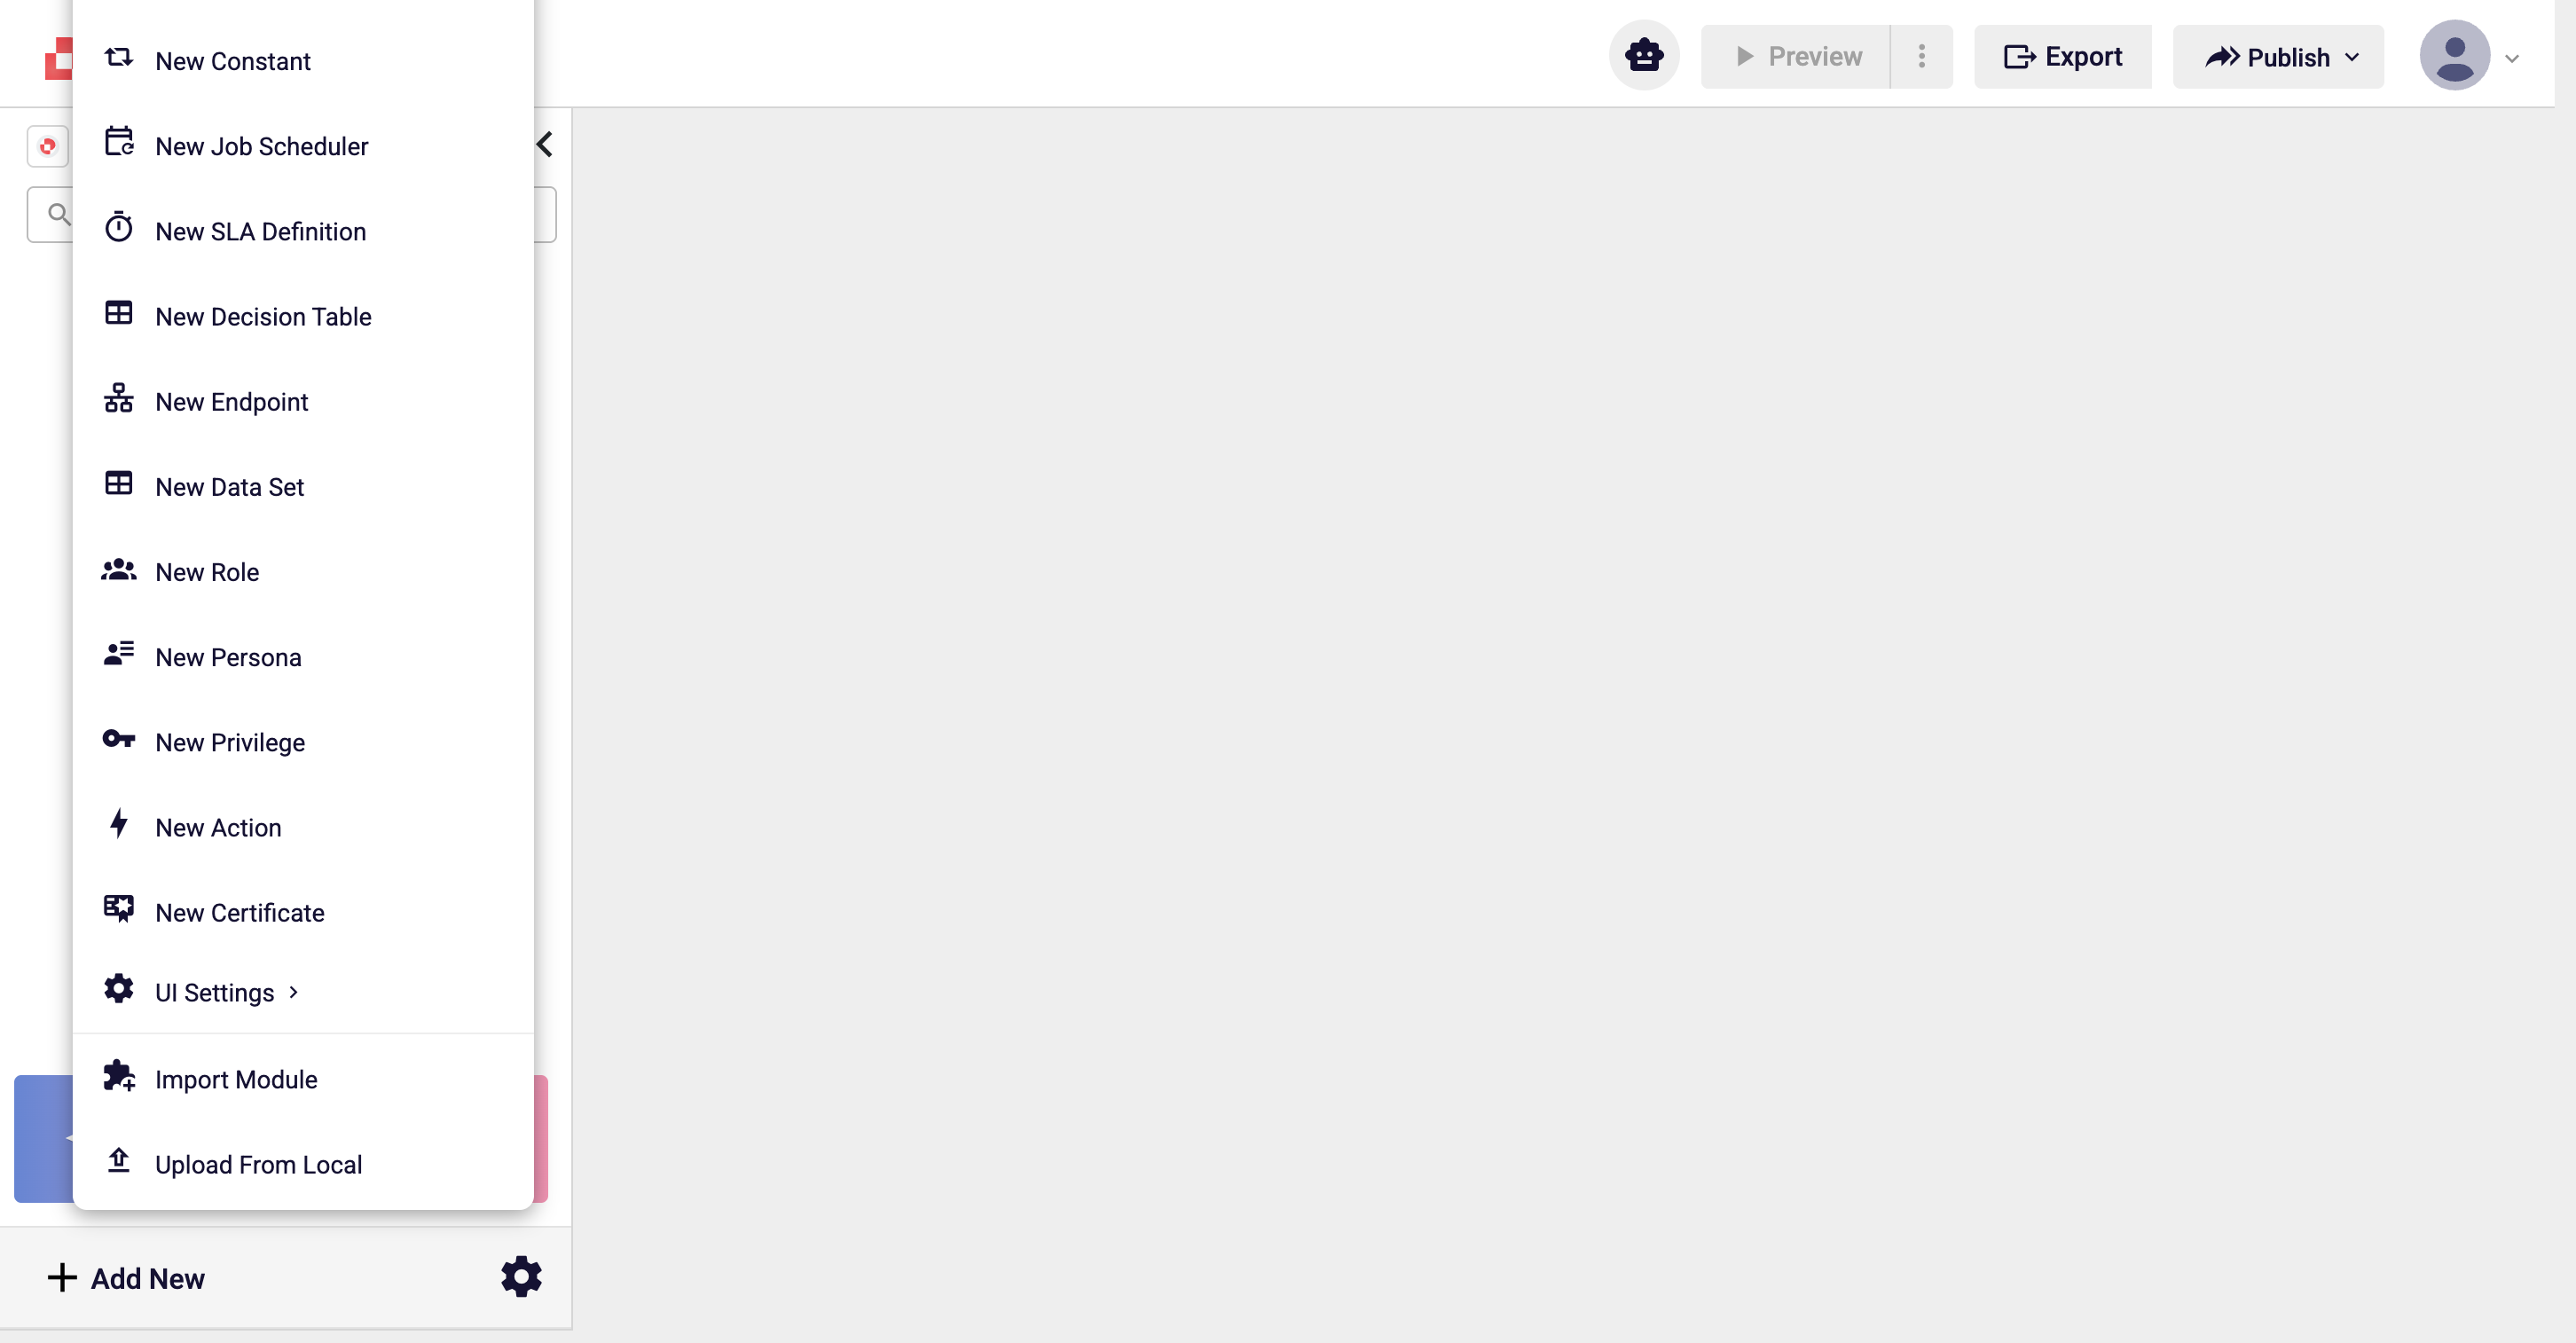
Click + Add New at the bottom of the left panel. Every model type you can add is listed. The Access Management models are toward the bottom: New Role, New Persona, New Privilege, New Swimlane.
3. Choose New Privilege
In the dialog, type the model name. This is the name of the privilege
collection — not of the privileges themselves. privileges is the usual
choice.
This name is only the model file name; it is never shown to end users at runtime.
An application can hold several privilege collections (e.g. privileges_finance,
privileges_hr).
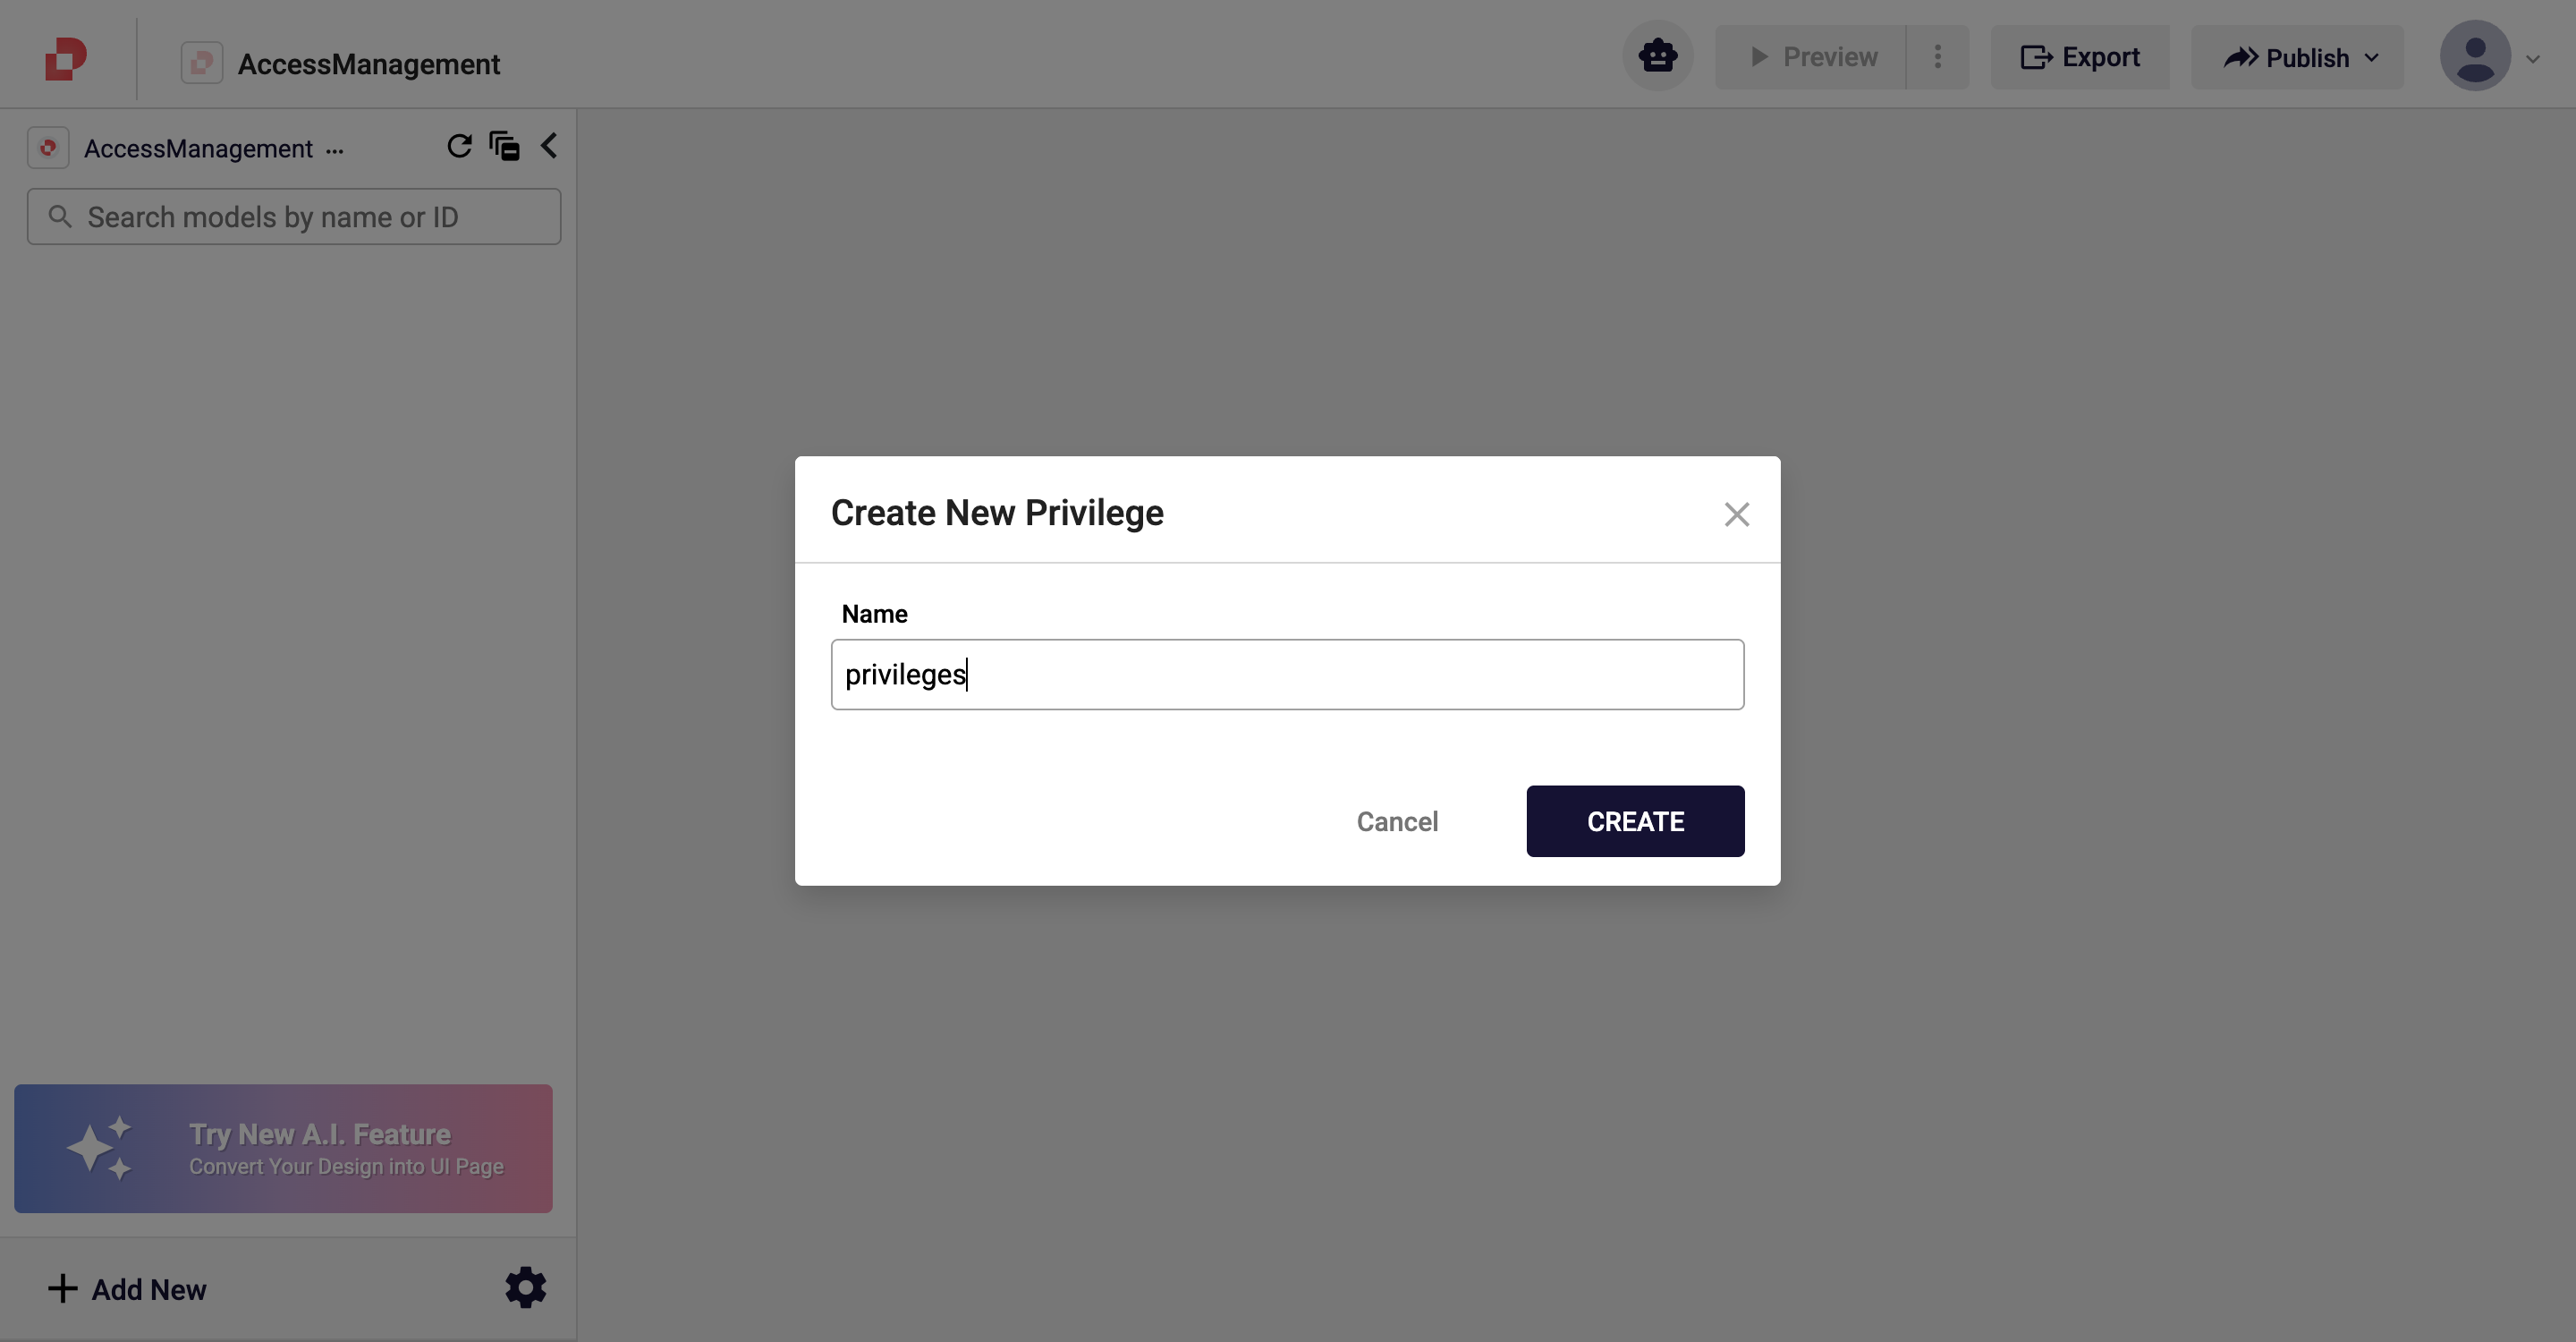
Press CREATE → the Privilege Editor opens.
4. Add the privileges one by one
The editor starts with one empty row. Each row is a privilege item. For each row:
- ID — the unique name of the privilege (
snake_caserecommended). - Description — a human-readable explanation. This text appears in Studio's selection lists.
After typing a privilege, press ADD NEW at the top right to add another row.
5. Save
Click the disk icon (Save And Version) to the left of the model name, top right. Enter a short summary and confirm with SAVE CHANGES.
Choosing Major Version publishes your changes to runtime. Minor Version saves a draft only.
After saving, the editor switches to Viewing mode and a version label appears
(e.g. v0.1).
Good to Know
- Renaming a privilege later breaks every reference to it (in roles, form security, actions). Decide on naming up front.
- Empty definition = unrestricted access: if no privilege is assigned to a resource, it is open to everyone. "Not defined" does not block.
- The description is for humans only; system behavior runs solely on the id.
Next Step
Privileges do nothing on their own. Next we define the Roles that group them:
the Maker role will get submit_record + view_record, and the Checker role
will get approve_record + view_record.