Step 2 — Role
For the full editor reference, see the Role Editor.
Connecting to the Privileges from Step 1
In Step 1 we created three privileges:
| Privilege | Description |
|---|---|
submit_record | Create a new record |
approve_record | Approve |
view_record | View |
In this step we define two roles and distribute the privileges:
| Role | Privileges |
|---|---|
| Maker | submit_record + view_record |
| Checker | approve_record + view_record |
view_record is in both — both must be able to see the record. Only the
approve/create permission differs.
Step by Step
1. Add New → New Role
From + Add New, click New Role. Name the model — usually roles.
As with privileges, this is the role collection name, not the role itself. An application can hold several role collections.
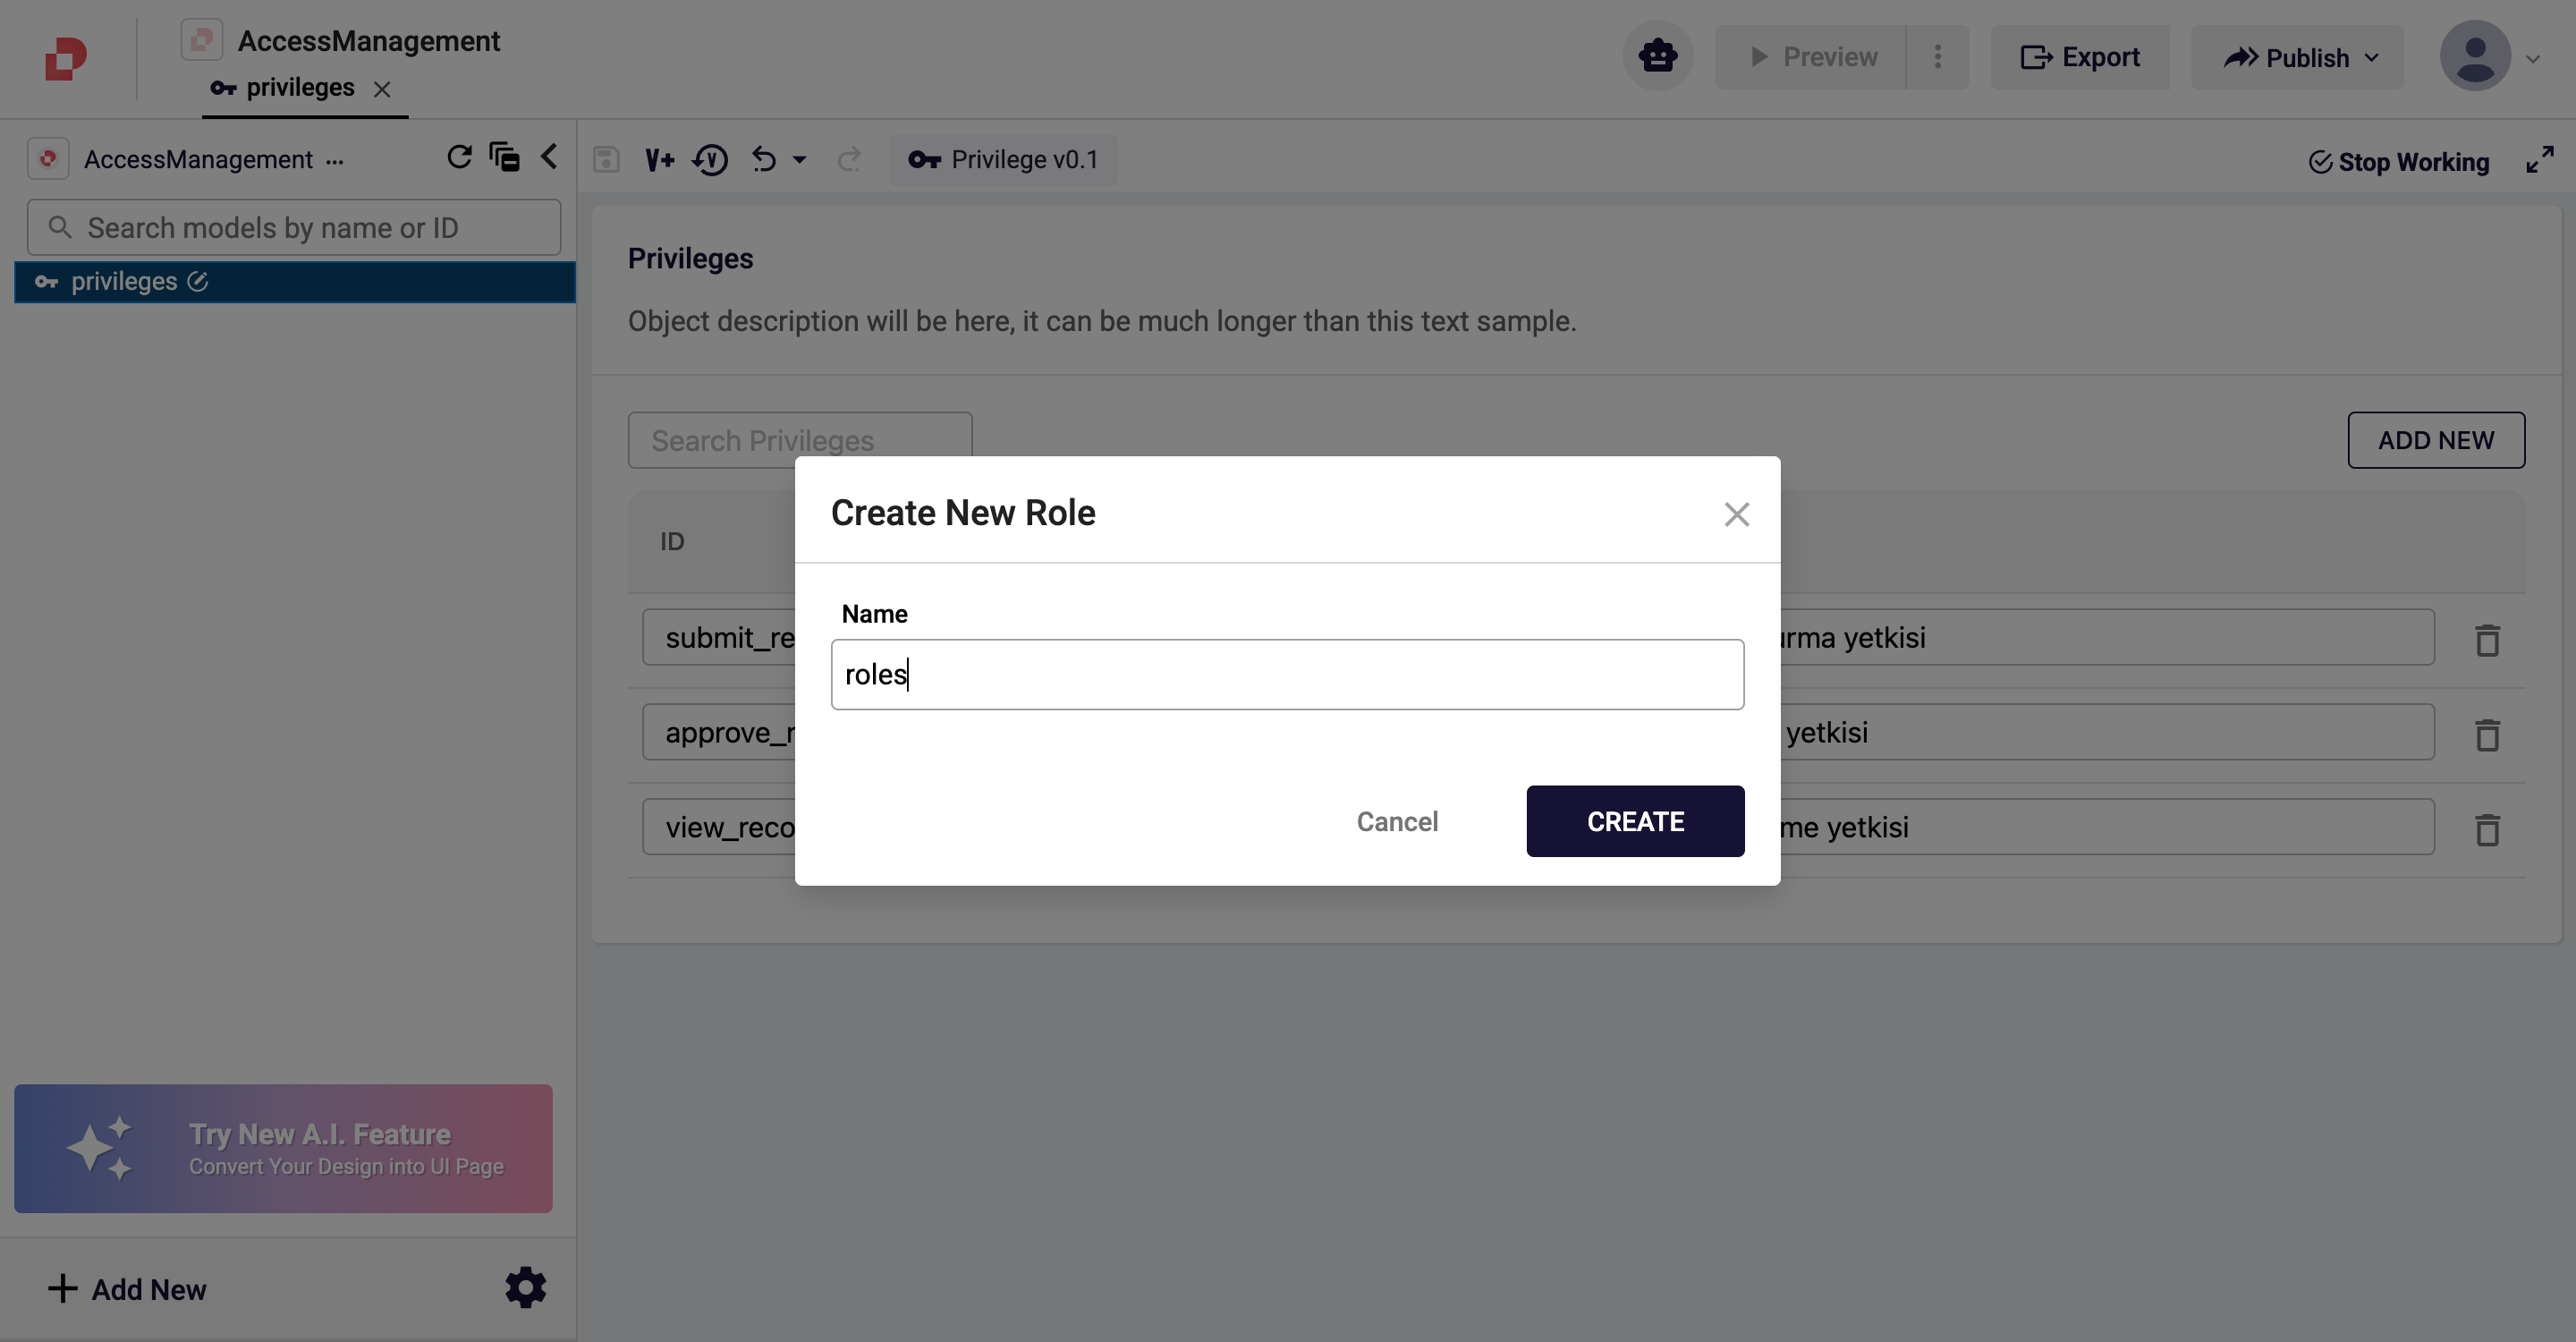
Confirm with CREATE → the empty Role Editor opens.
2. Add the first role (Maker)
In the list view, press ADD NEW → the role detail page opens. It has these sections:
| Section | What to enter |
|---|---|
| Role Name | The unique role name (Maker) |
| Parent Role | The parent to inherit from (optional — left empty here) |
| RBAC Set | Resource-based CRUD permissions (left empty in this example) |
| Privileges | The privileges assigned to this role |
For Maker:
- Type
Makerinto Role Name. - Under Privileges, press ADD NEW.
- From the Select Privilege dropdown, choose
submit_record. - Press ADD NEW again and choose
view_recordfor the second row.
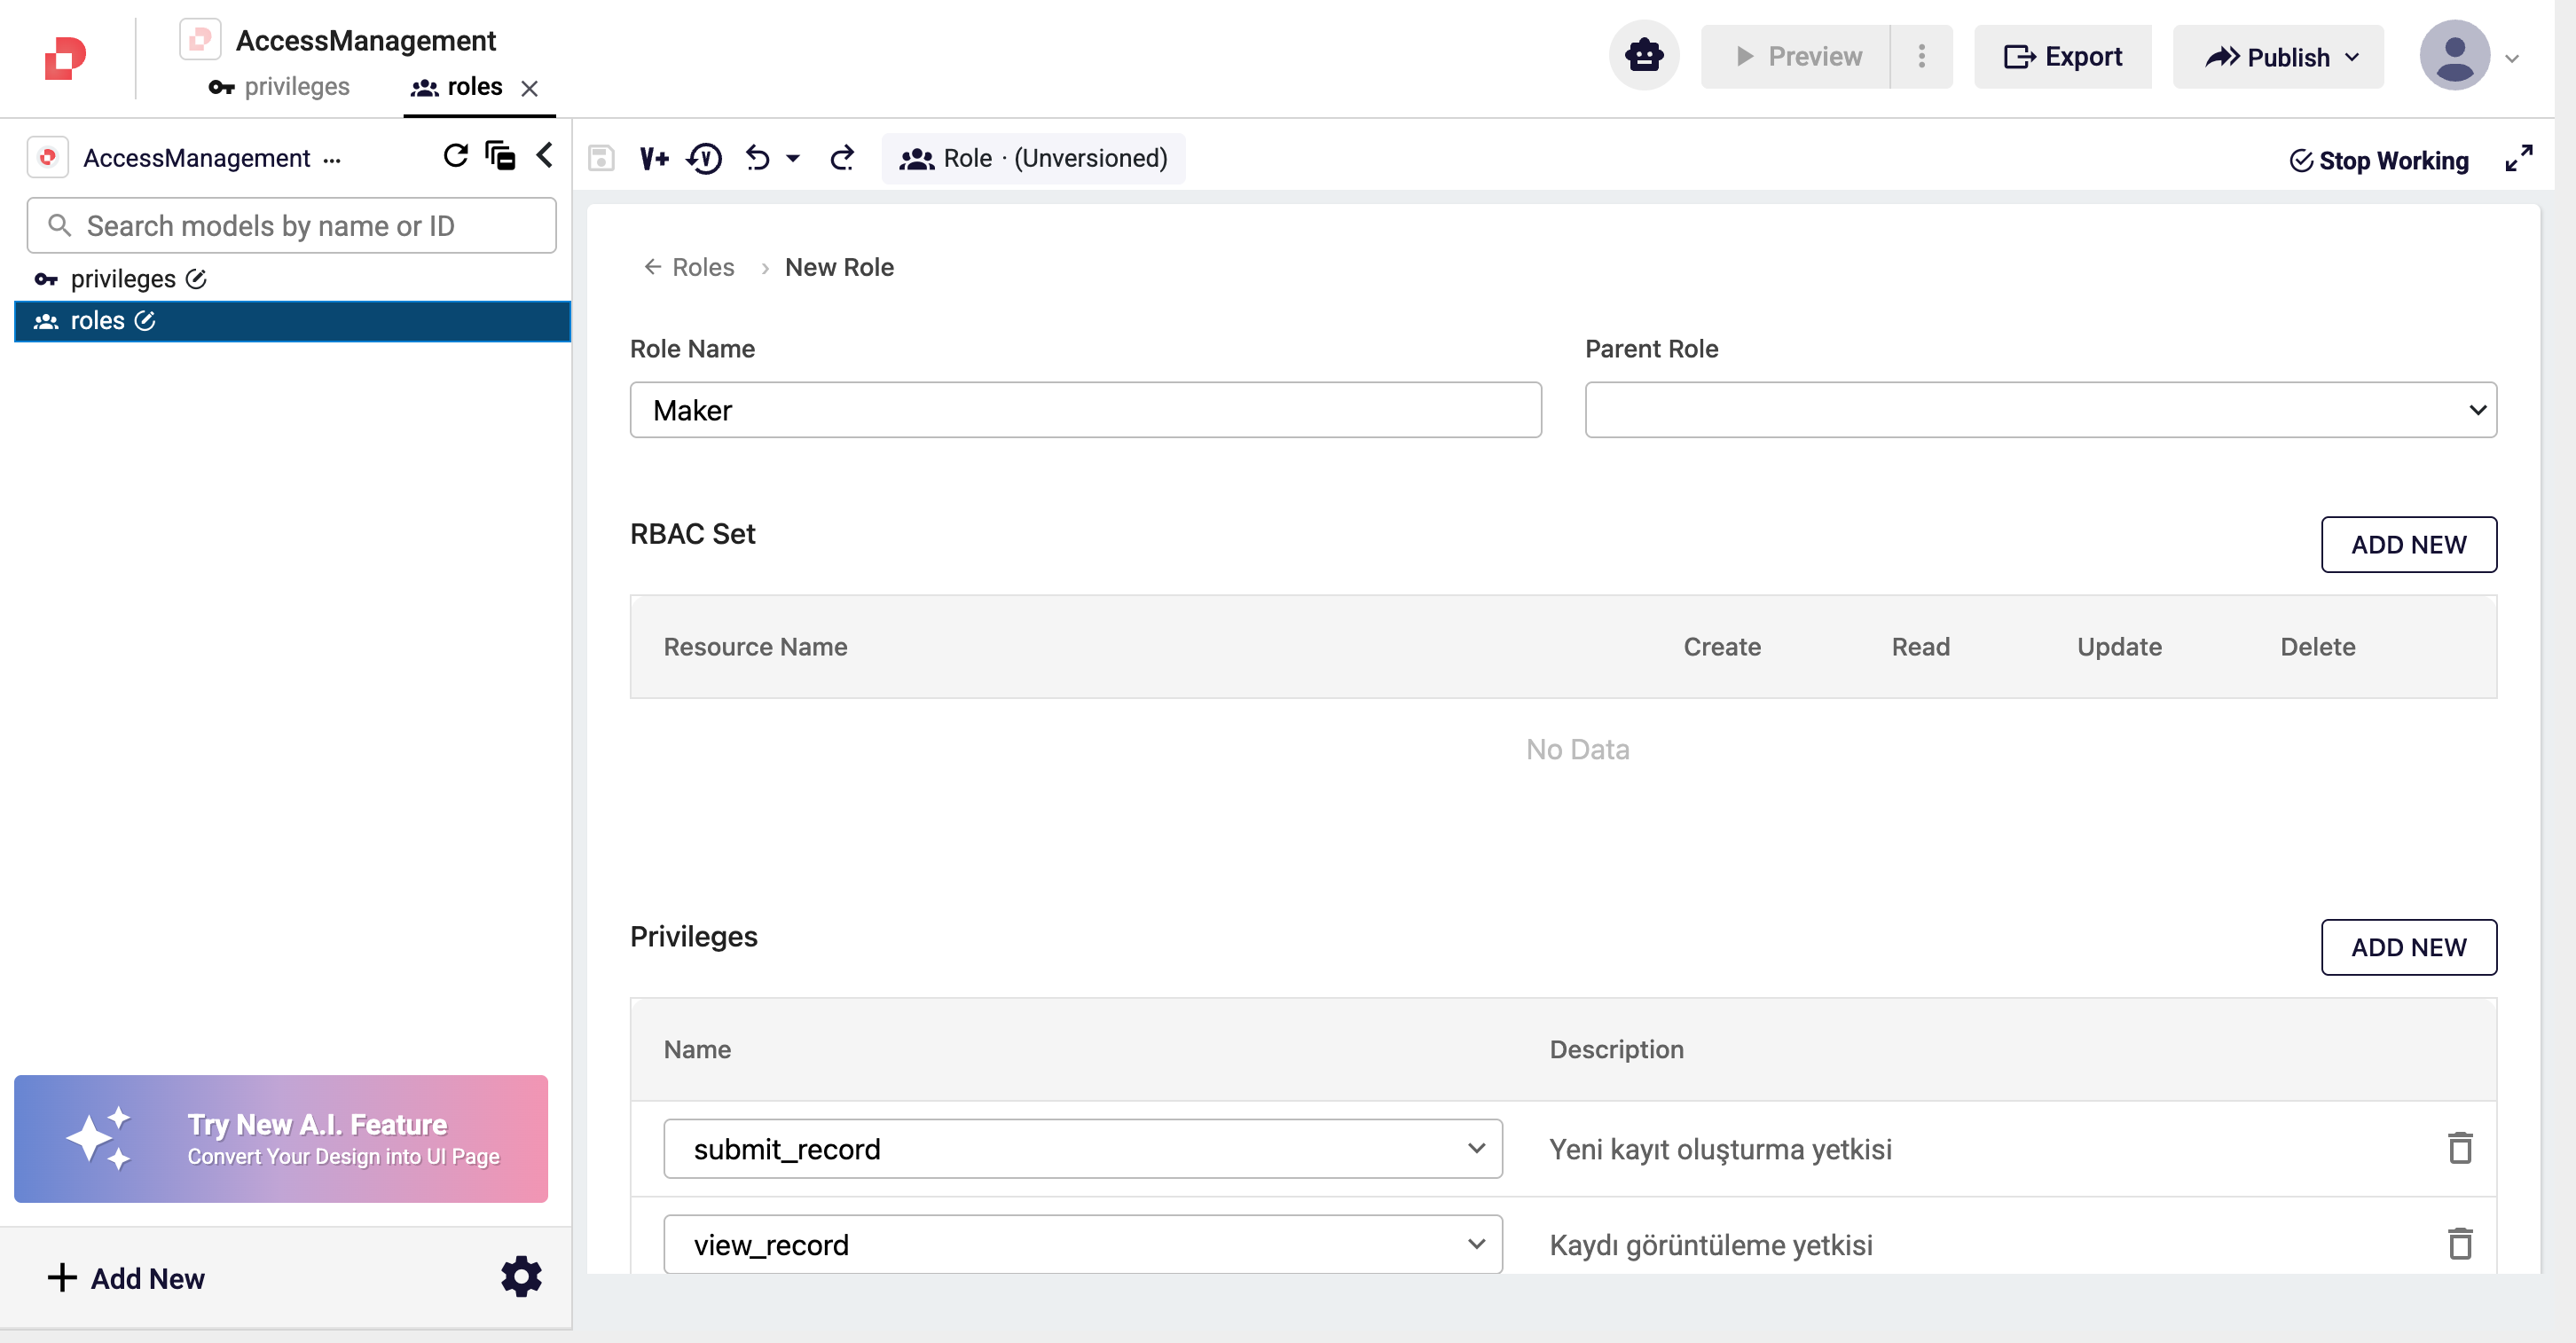
- Press DONE → you return to the list view; the "Maker" row appears.
3. Add the second role (Checker)
Repeat the same steps:
- Press ADD NEW again → an empty detail page opens.
- Role Name =
Checker. - Add
approve_record+view_recordunder Privileges.
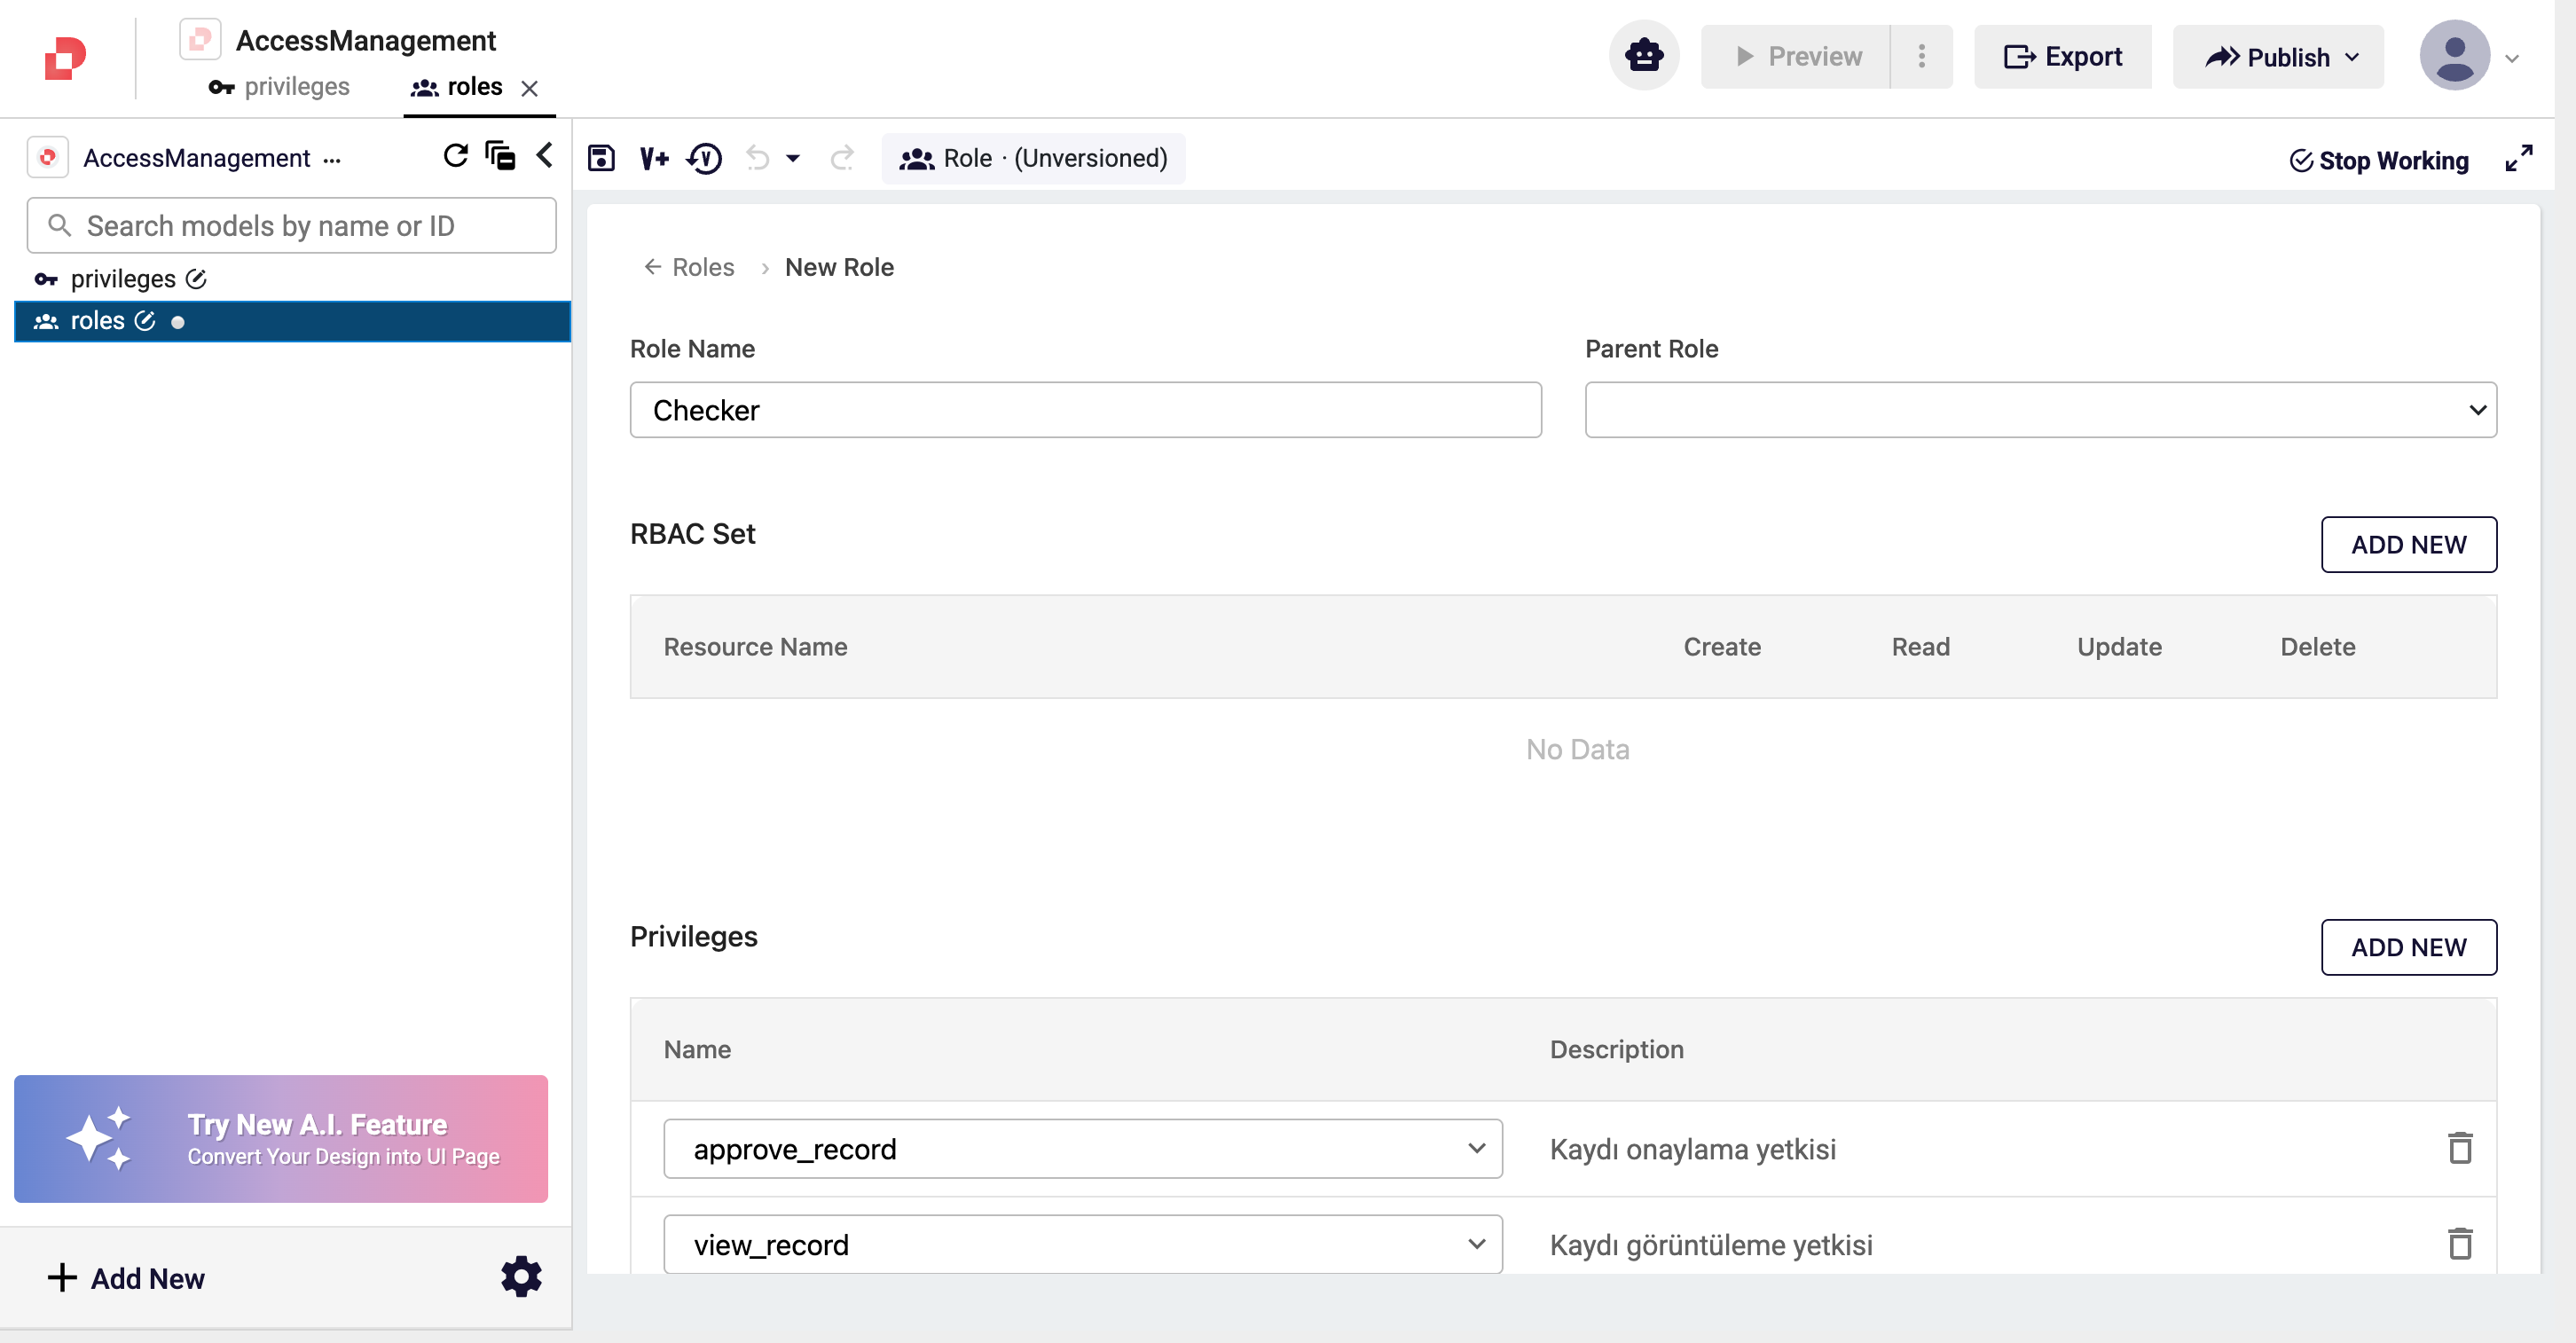
- DONE → back to the list.
4. Save
Click the disk icon in the toolbar, enter a short summary, and confirm with SAVE CHANGES. Both Maker and Checker now appear side by side.
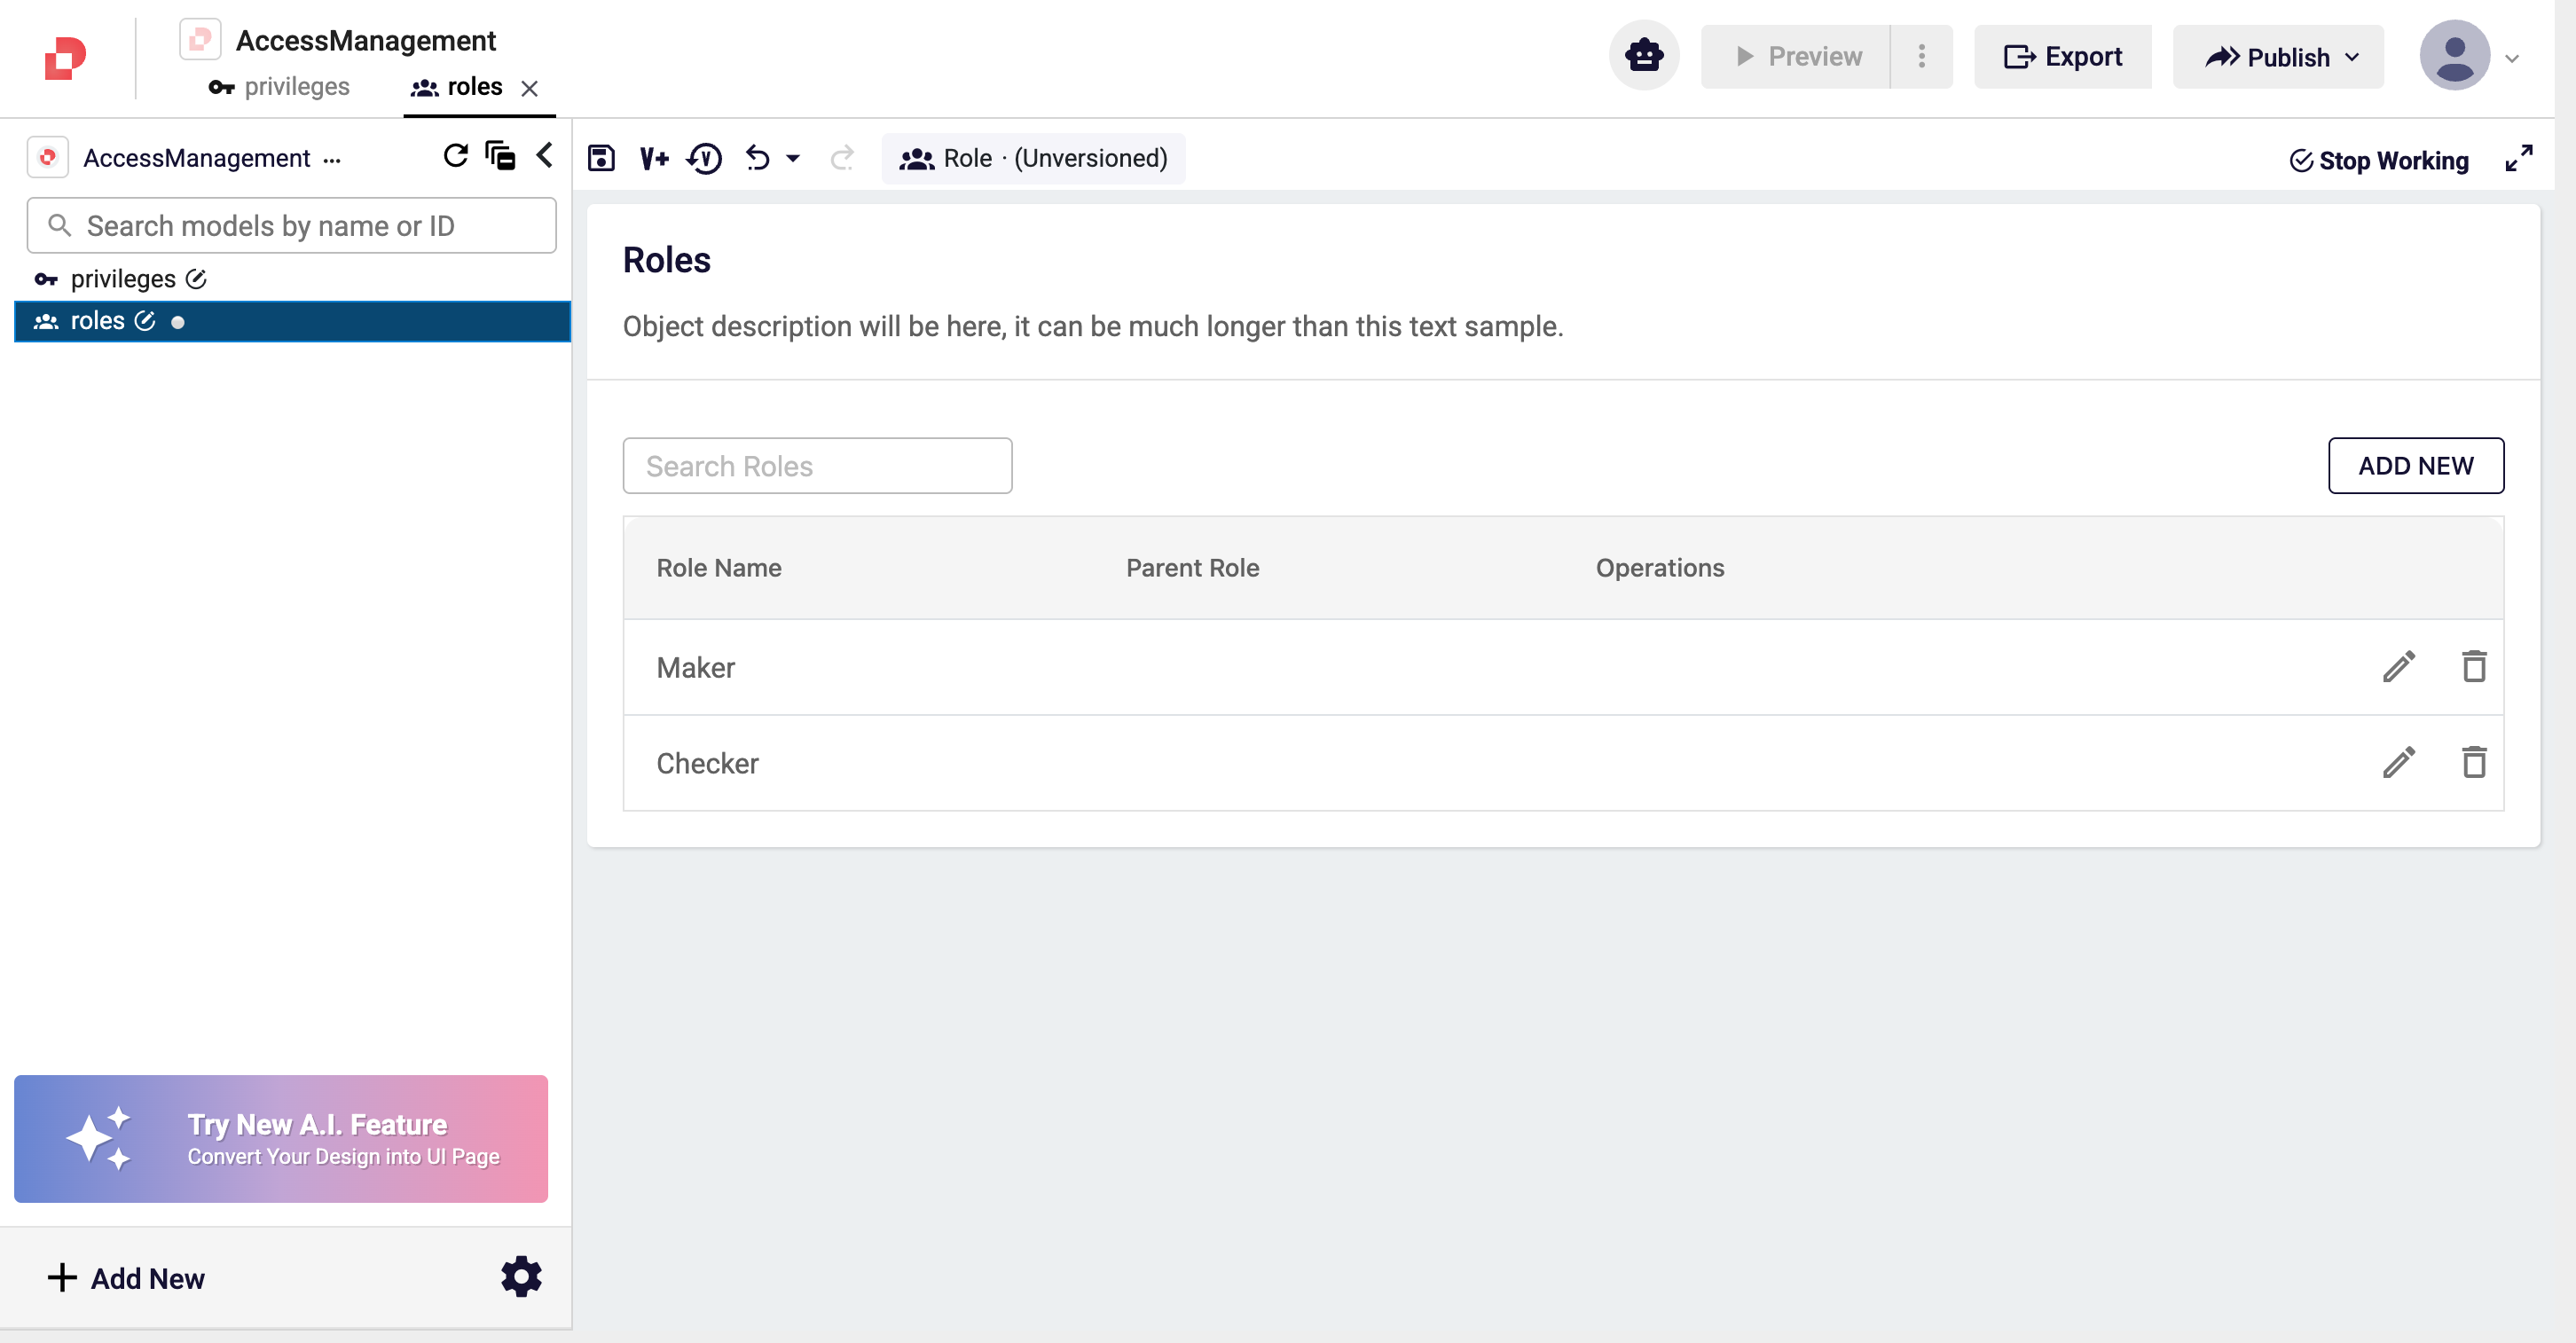
Good to Know
- Parent Role. If filled in, the parent's privileges/RBAC are inherited and the child adds its own. We did not use a parent here because Maker and Checker do different jobs — no common ancestor.
- RBAC Set is covered in Step 7. In this example all access is distributed through privileges only, which is simpler.
- The privilege dropdown fills automatically from the privileges defined in Step 1 (you must have saved the privilege model first).
- Renaming a role updates the personas and swimlanes that reference it. Check the usages before renaming.
So Far in Our Scenario
- ✅ 3 privileges (Step 1)
- ✅ 2 roles: Maker and Checker (Step 2)
No user is bound to these roles yet. That is the job of the Persona, next.